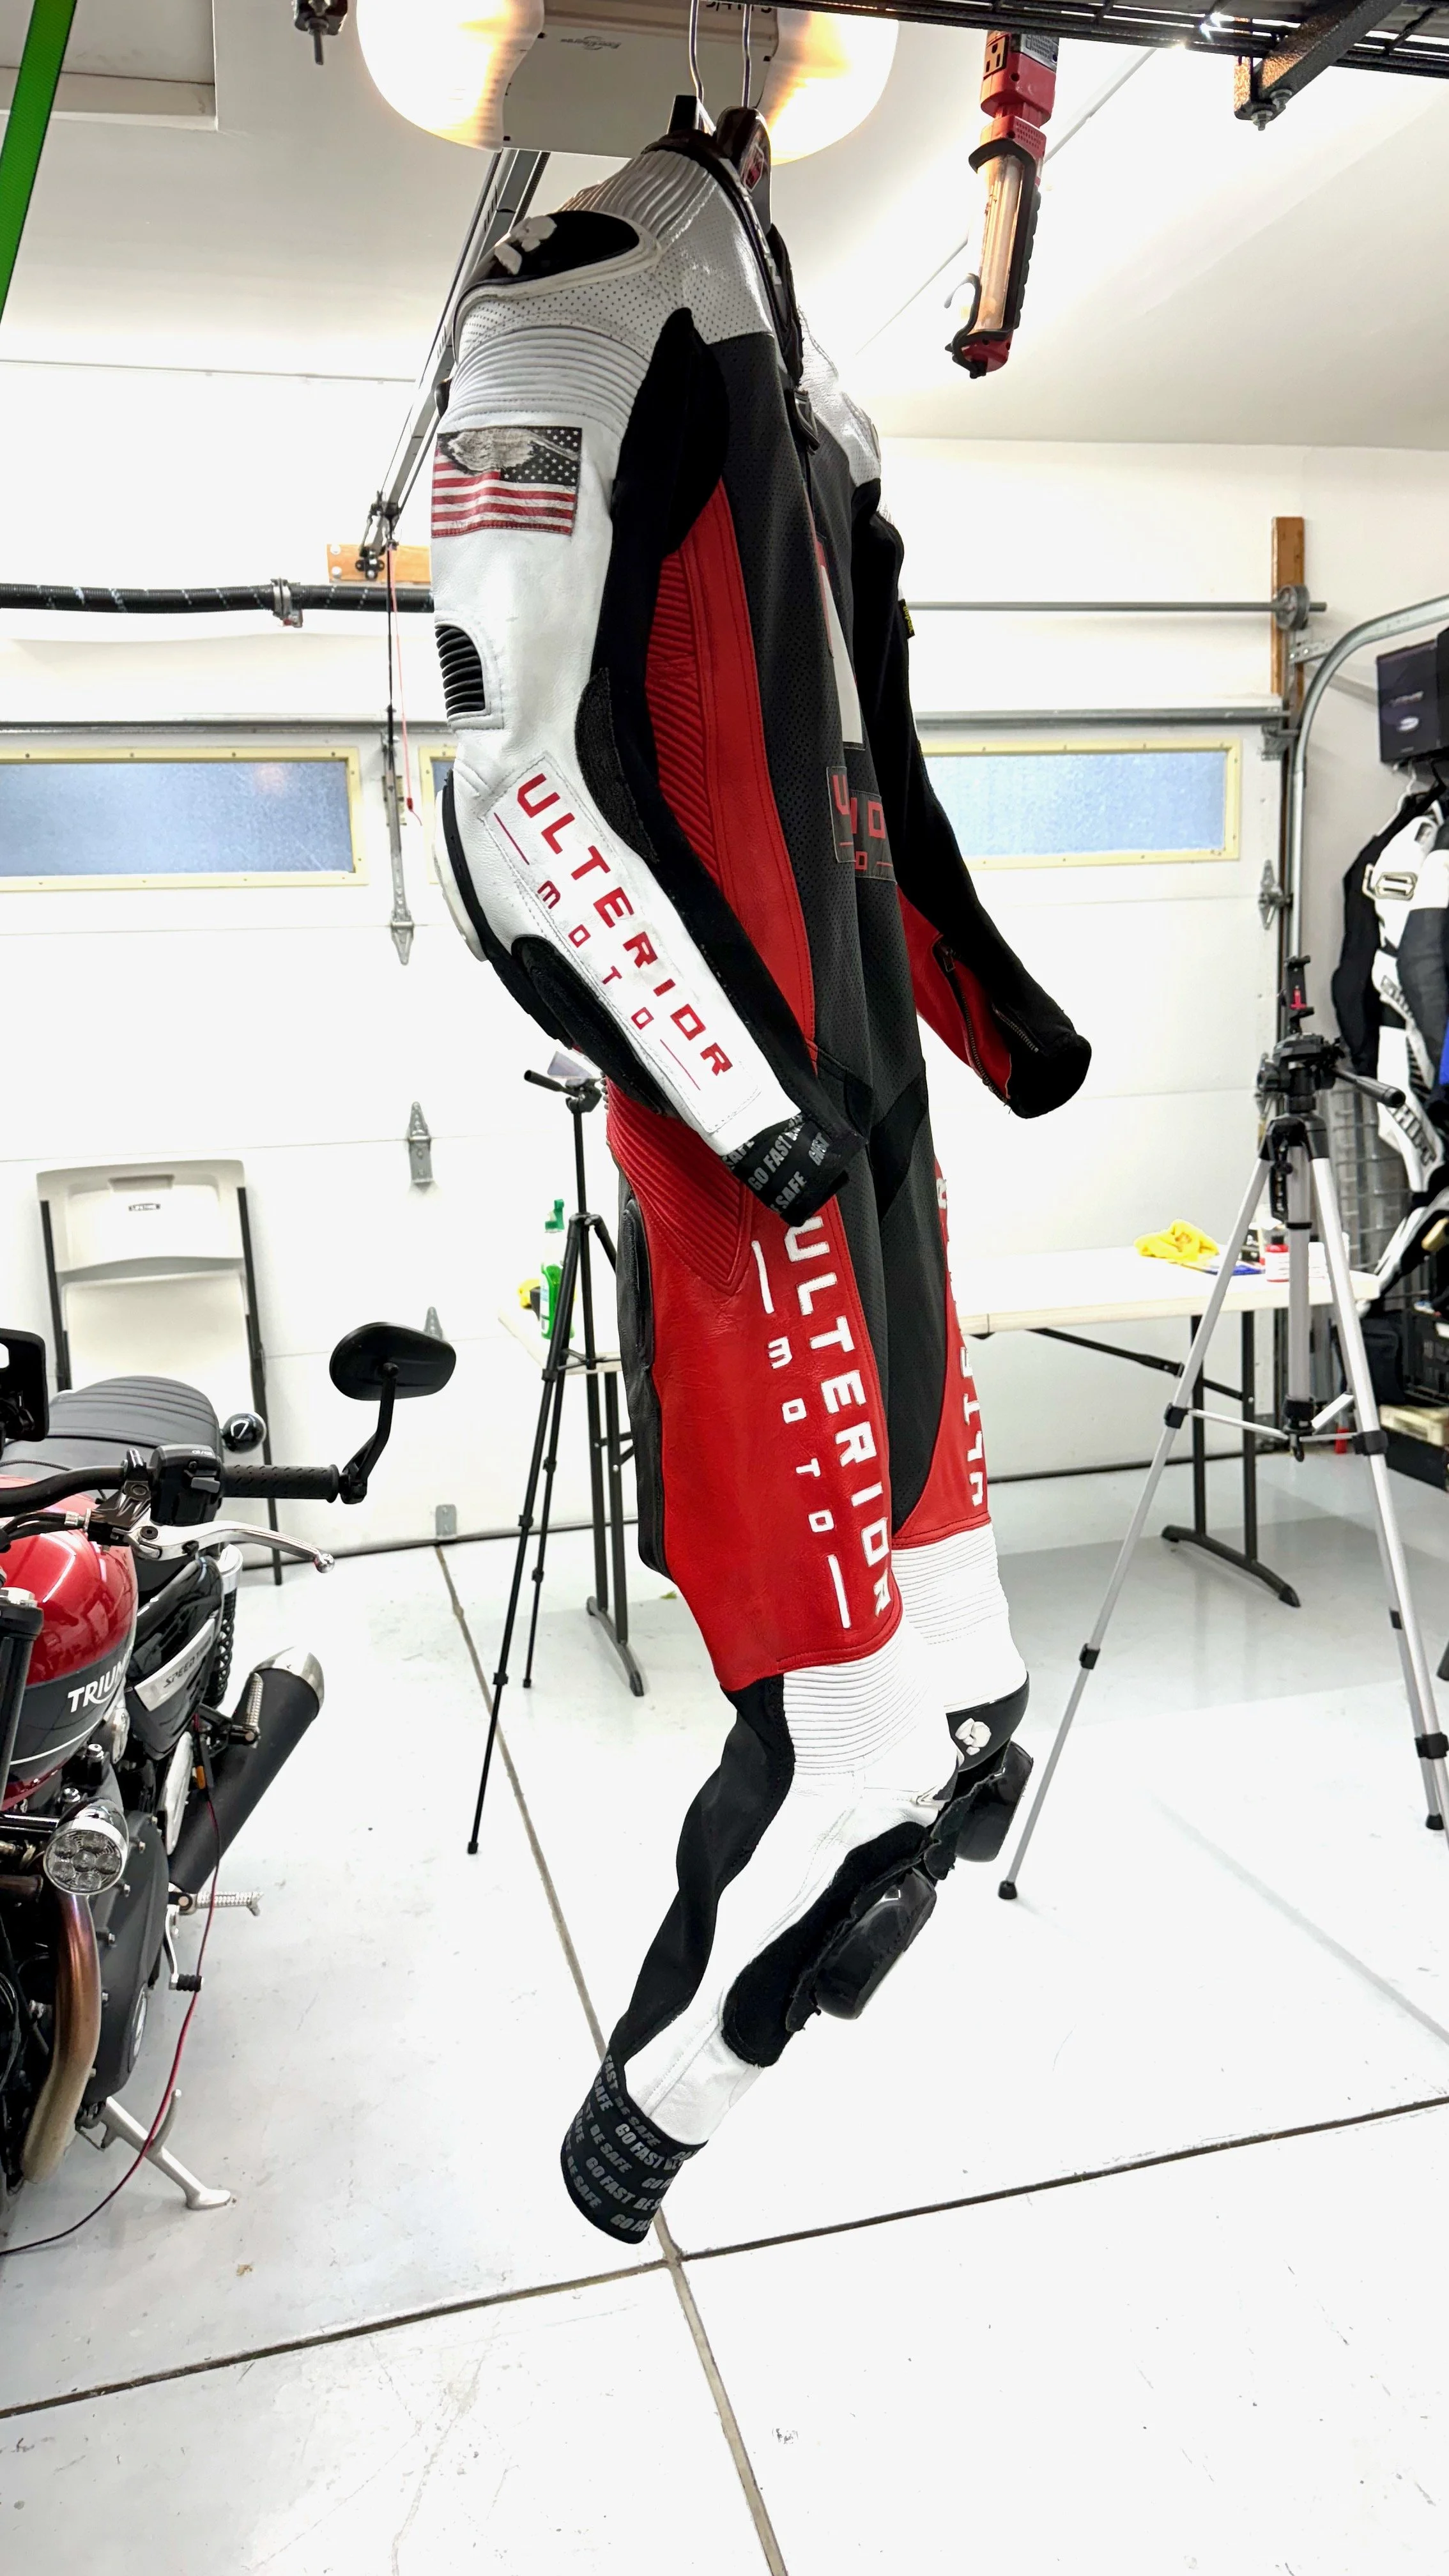
Restoring Scuffed Leathers
You’ve taken a spill and hopefully you’re alright. Your gear is definitely showing battle scars. If it is still in good operating condition, you can make them look practically brand new. My first time out in my new Bison leathers, I dumped the bike at Laguna Seca turn 5—even a little bit of throttle can be too much on cold tires. Follow along as I transform my leathers from track rat status to like-new.
Inspecting Your Leathers
Before you get too far down this path, be sure to verify that your leather items are still in good working condition. There is little sense in restoring the finish of your garment if it is structurally unsound. The first and most obvious sign is the presence of holes in the leathers. If that’s the case for yours, the area can either be replaced or patched, depending on your budget and preference. If your leathers have cleared this hurdle, check for separation at the seams and broken threads. You don’t want to compromise the burst strength of the seams or you may well find yourself unprotected in your next crash. Lastly inspect all of the zippers. If you have plastic zippers, particularly the coil type, make sure they have not been compromised. If they have, you may still find them functional, but they will never have the same strength they did when new. Have your leather specialist replace them.
Step 1: Clean the garment
I like to start with a mild cleaning agent such as glass cleaner on the entire garment. This will get the bugs and dirt off the surface so when you’re cleaning later you avoid possible contamination. Either avoid the scuffed areas at this time, or prepare to let them dry. Glass cleaner has a high water content and now that your leather is missing its PU coating, it is susceptible to absorbing that water. You’ll want to make sure the areas you’re going to work on are thouroughly dry before Step 3.
Step 2: Deep clean the abrasion zones
For this you’ll need special leather cleaner. I had good results using Angelus Leather Preparer and Deglazer. Use a lint free white towel you don’t particularly care for or paper towels for this process. I found this product was strong enough to pull the yellow from my loathsome Kirkland microfiber towels and transfer small amounts to the leather. Lesson learned, use white towels. The preparer will remove dirt and debris from the leather and it will also pull some of the leather’s color along with it. Don’t be too concerned by this, but also don’t clean very far beyond your affected areas, because you will need to cover this next.

Step 3: Painting, yes Painting the leather
“Oh, that can’t possibly work,” is what I heard from a friend when I was telling her about this process. “Oh, but it does.” Nearly all leather garments are painted. That’s part of the process of coloring the leather. A final layer of, usually polyurethane, is applied for a uniform look. For our purposes, you’ll want to use an acrylic paint for this step. I chose to stick with the Angelus brand for the red and white portions. Their specialty is leather, so why not use their acrylic leather paint, right? They have a pretty wide selection of colors and you can also mix the paint if one doesn’t properly match your leather color. For now, find the one you think is closest. Start with a thin coat. You will likely notice this doesn’t do a whole lot to improve the look of the scuffs, but trust the process. You need the first coat to be thin so it adheres well to the leather and all subsequent coats depend on this first one. You are going to lay down a few coats of color, so as long as the color is close, you don’t need to worry about it too much. Fortunately for me, Angelus’s “fire red” matched the red on my suit to a near imperceptible degree. I never take white for granted either and their paint matched the white of my suit just as well. When applying the paint, I alternated between red sections and white sections. This process gave each color nearly enough time to dry so I could minimize my down time. It took about four coats of each color to fully cover the abraded areas. For the scuffs on the seat and lower back accordion panel, I went with the Drtulz leather and vinyl recoloring balm. I chose this over paint because the seat of a suit is prone to wear even when you don’t fall off the bike. I wanted to make sure it was as durable as possible. The product worked really well. The only issue I had with it was that it was really shiny if applied too thick. On my last coat, I used a smaller amount and dragged the included sponge across. This dulled the finish substantially and was very close to that of the surrounding black panels. In my case, the crash also roughed up the “BISON” logotype. I wasn’t willing to go to so far as repainting it, plus I paid full retail so I don’t feel too bad about it when I covered it with dye too.


results
As you can see from the pictures, it really does. I have ridden in this suit since the scuff repair and experienced none of the flaking that you might assume would happen with paint on leather. I had my repair specialist go over my suit with a fine tooth comb after the season was over and he surprised me with a brand new flag to replace my old one. When you’re more than two feet away, its nearly impossible to tell the difference from new.