

How To: Swap the Front Wheel on Triumph Modern Classics
Being able to remove and replace the front wheel on your own bike can save you money, hassle, and time. When you need a new tire, you can just haul it in to your shop for a quick swap and throw it back on. No paying shop rates for doing work you could do yourself. No more coordinating rides back home while you wait for your bike to be finished. With some stands and a few common tools—and some information—you can do this.
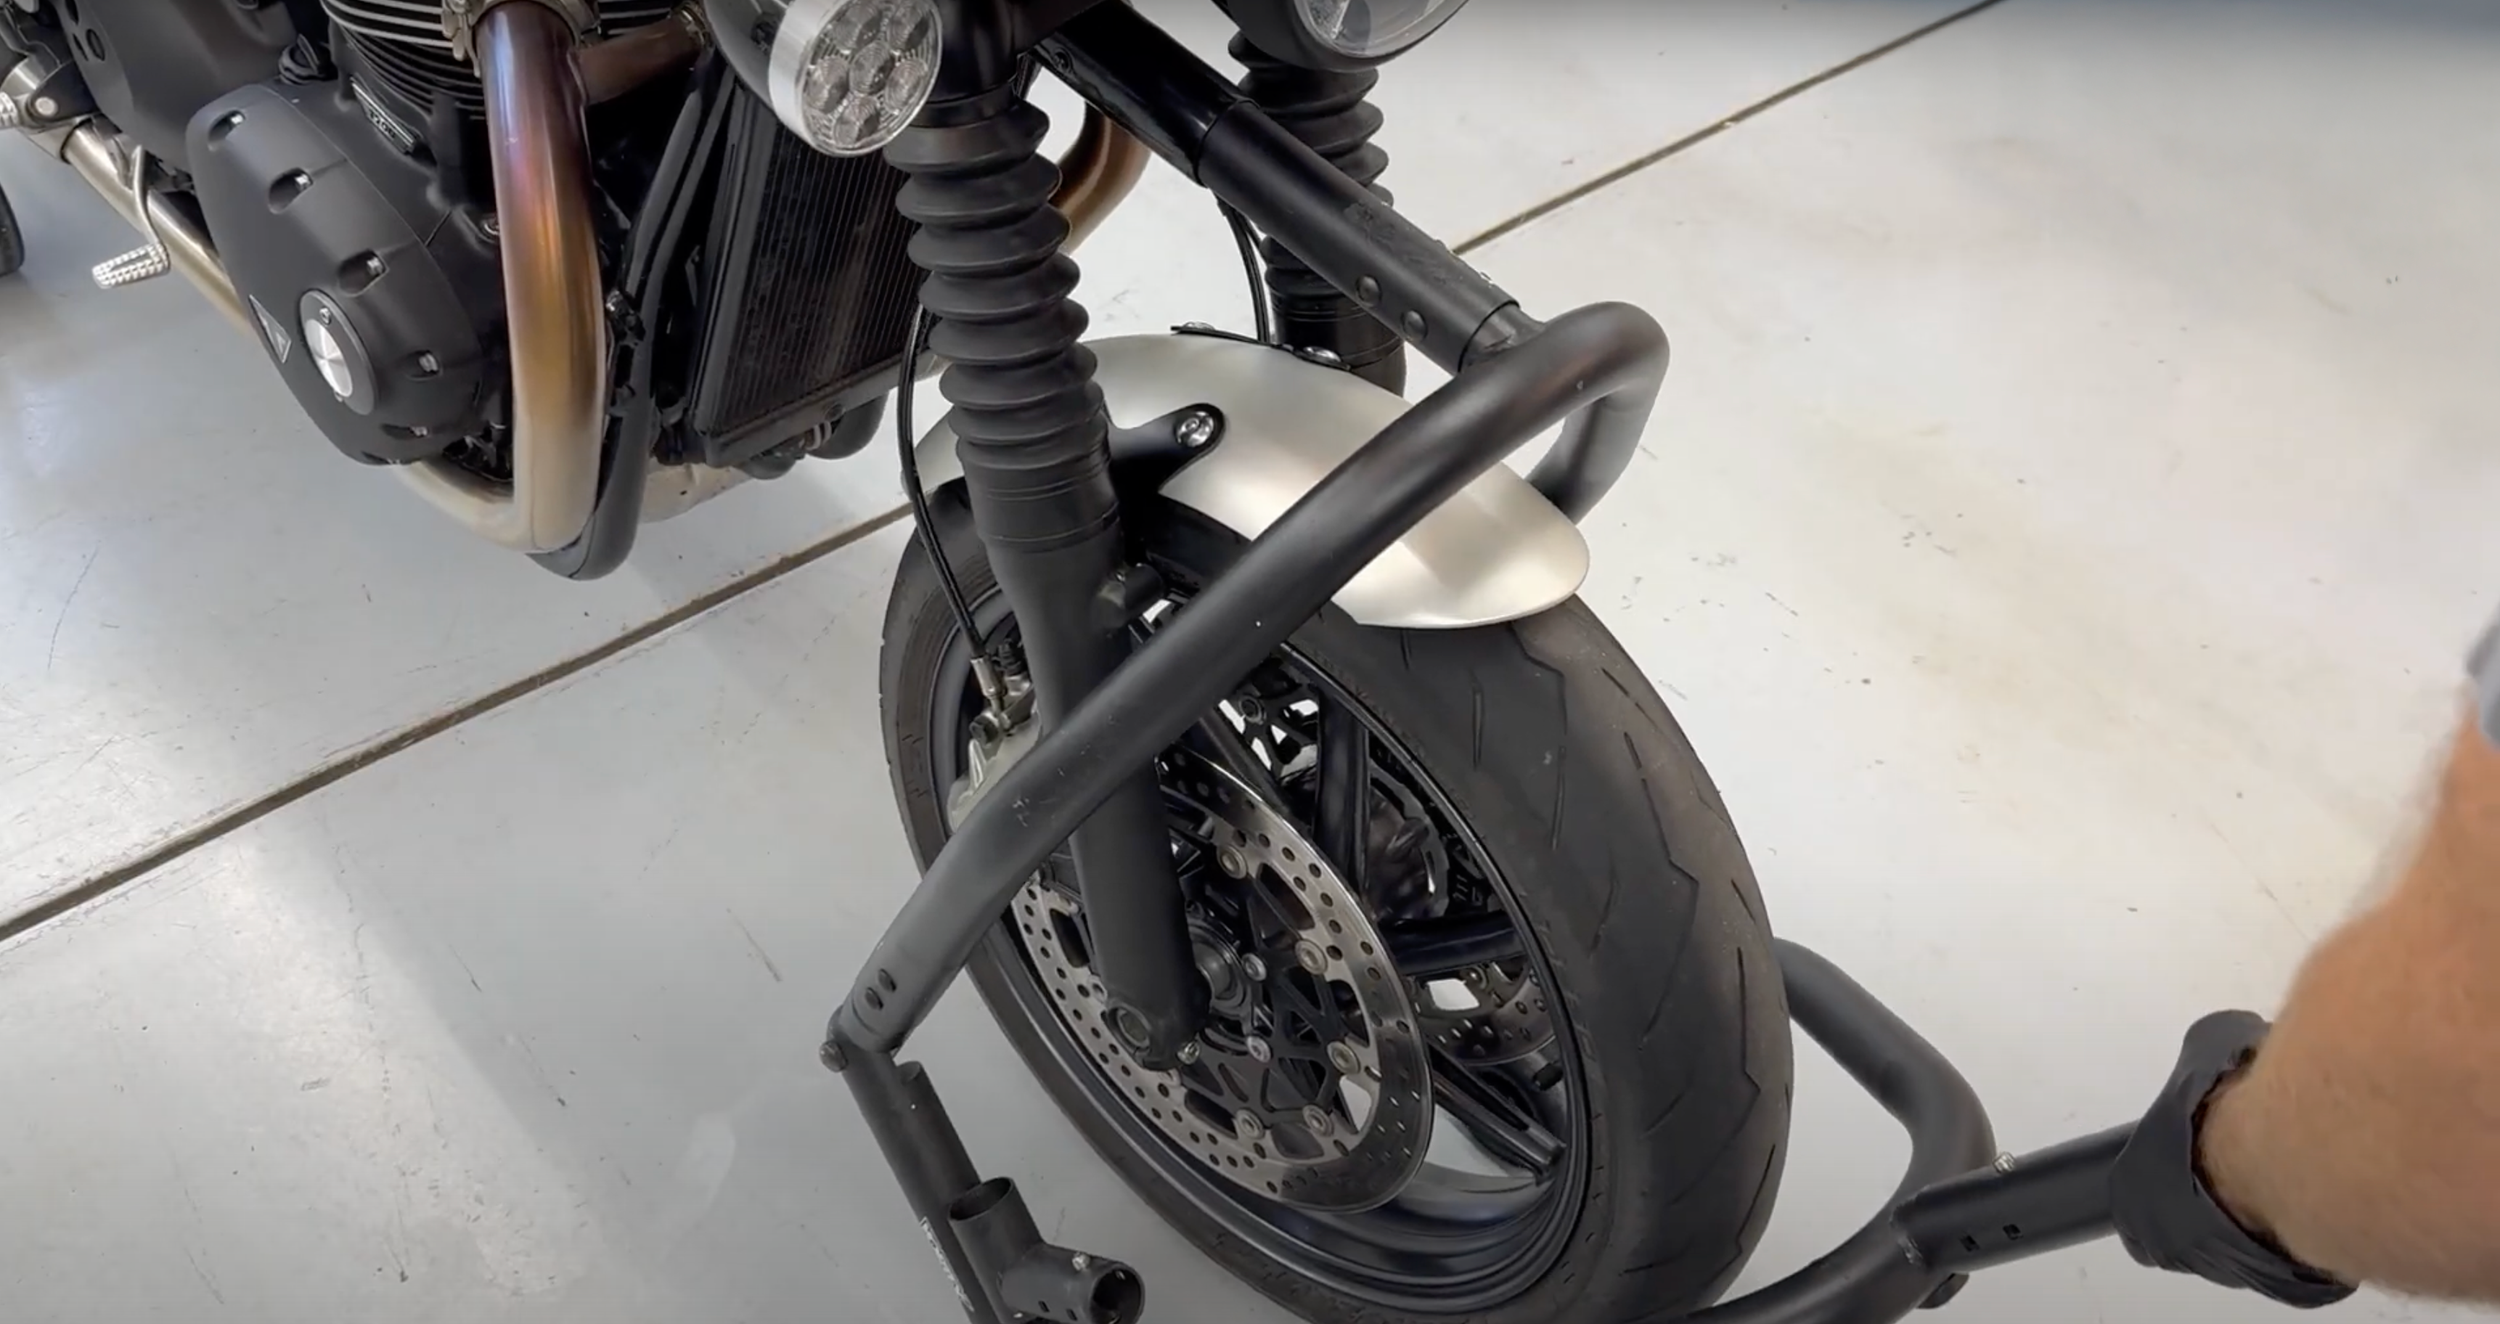
Step 1: Stabilize the Bike
How you choose to do this is up to you. There are many styles of stands to choose from, but if you are just getting started, I think these two styles are the way to go. I have had a few rear stands and I have a strong preference for the Woodcraft adjustable stand. You can get front stands that lift the bike up by the fork ends, but the problems with these is they’re often not that stable and you can’t use them when you want to remove the forks for service. A good head stand will securely hold your front tire off the ground and allow you to pull your forks off should you need to change fluid or springs. It’s cheaper to get the right stand once.
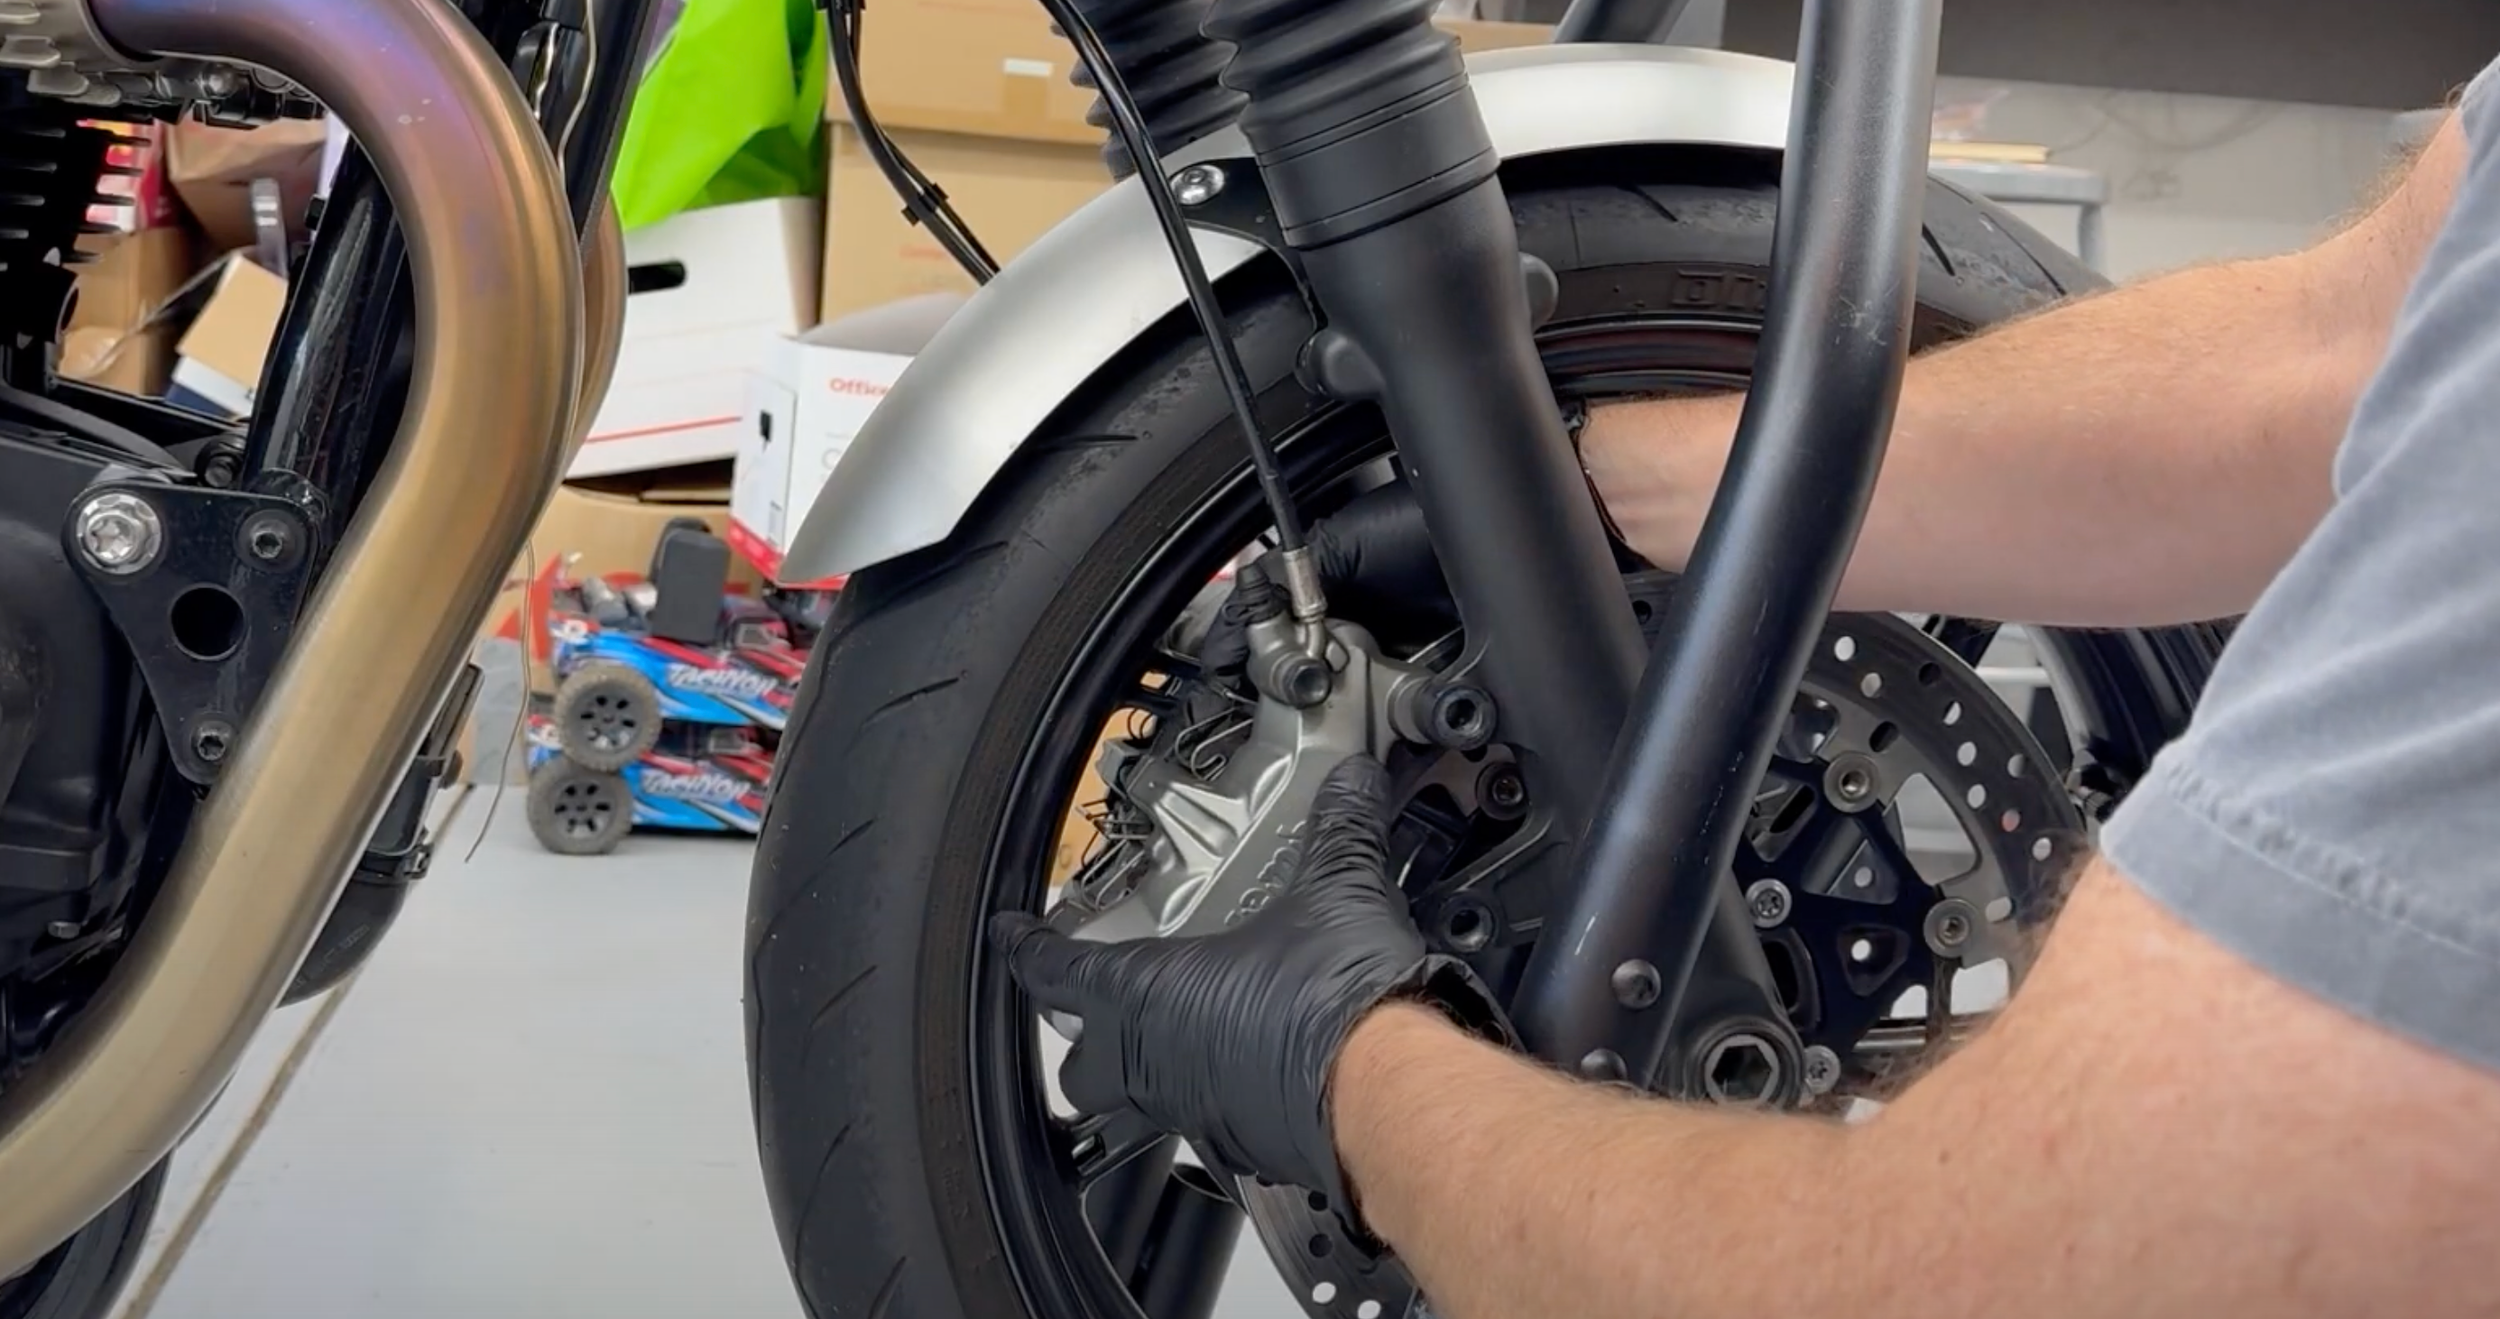
Step 2: Remove Calipers
Remove the calipers. It would be nice if you had a cool endurance racing setup and didn’t have to do this step, but there is no way to remove the wheel without doing so. Fortunately, it’s pretty straightforward with just one trick. You really don’t want to let your calipers hang by the brake lines. That puts stress on them that they were not built to withstand. Breaking one of these would be a real pain, so don’t take the chance. Get yourself some cheap baling wire and cut off a couple lengths. Hang them from a sturdy part of the bike, as I did with the radiator mounts, before removing the calipers.
Unbolt the calipers with a 14mm socket. Slide them off of the rotors and thread the baling wire through one of the bolt holes. Do this high enough on the wire that there will be no tension on the brake line. Then wrap the wire around the hole so that it won't slide off. I like to put the bolts back into the holes so I don’t lose them, or more likely kick them into the least accessible area of the garage.
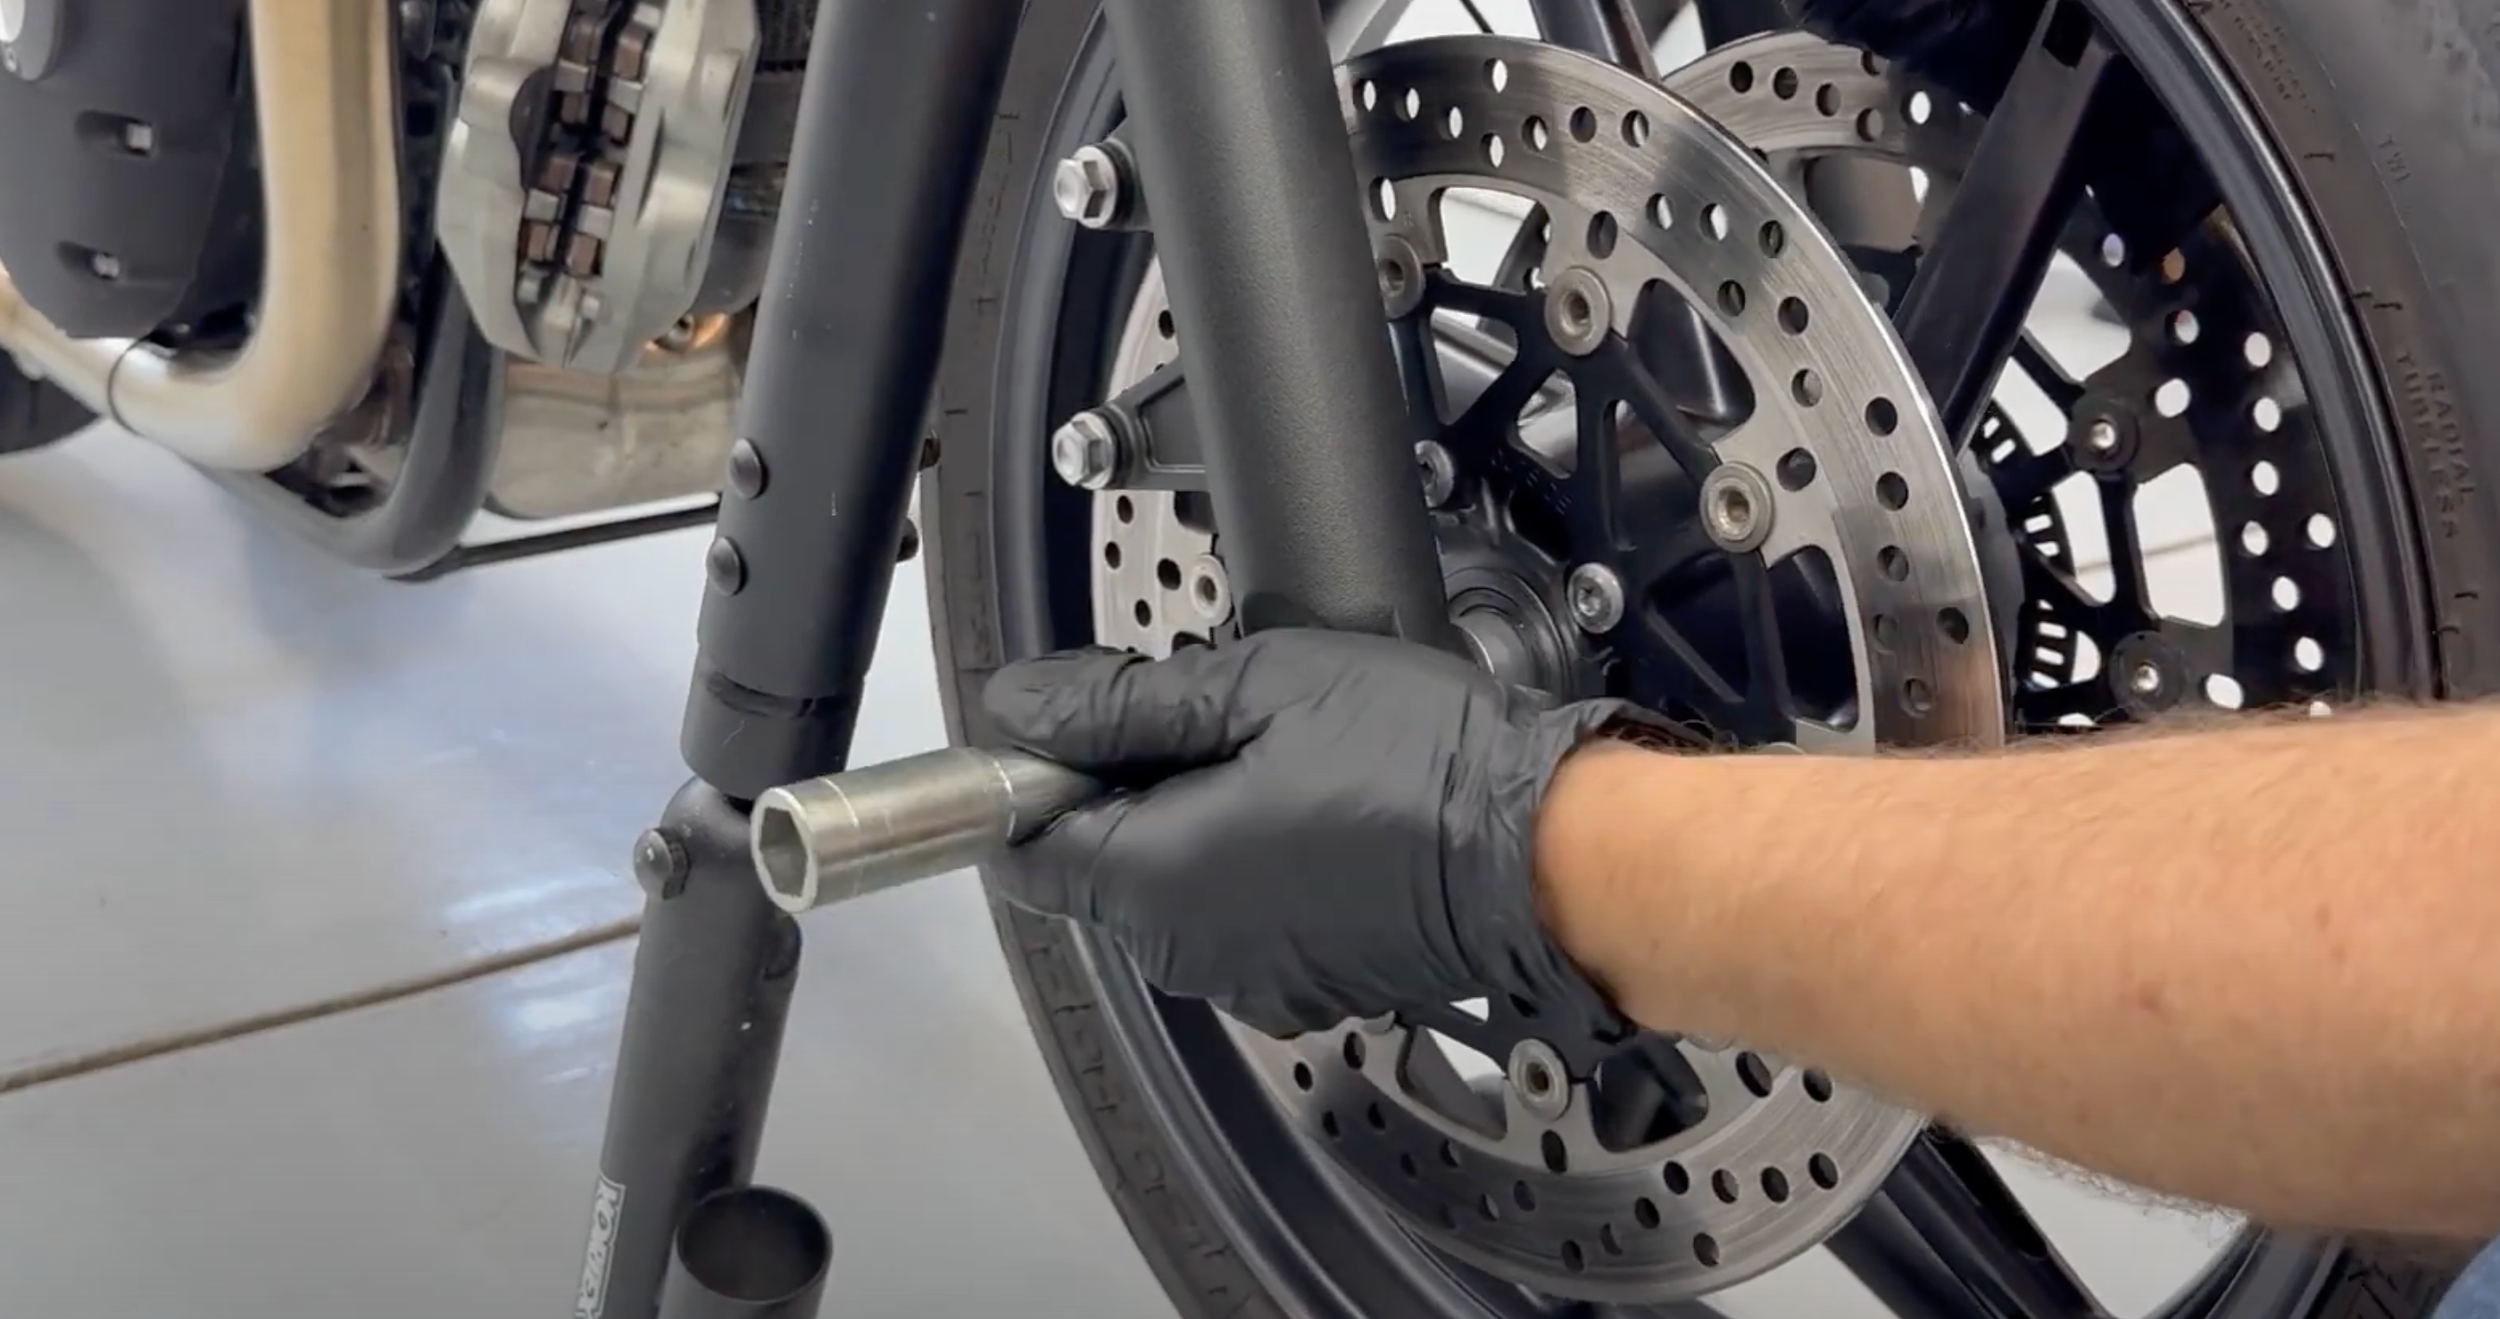
Step 3: Remove Axle
Loosen the pinch bolt on the right fork with a 6mm hex tool. You don’t need to remove it—loose is all that’s required.
To remove the axle, you’ll need an axle hex tool. Your local motorcycle parts shop should have them. It’s best to get one that will fit multiple common axle sizes. For example, my GSXR axle uses the 24 mm hex and my Triumph uses the 17 mm hex. One tool to rule them all. Have a plan for where you are storing the axle. You want to keep it perfectly clean, so if your stand has a storage method, that’s great. Otherwise a clean towel will suffice. Attach the axle hex tool to a breaker bar to loosen it. Leverage is your friend. The threads are fairly long, so keep twisting the tool by hand until the axle stops coming out of the left fork. Support the top of the wheel with one hand and pull the fork out with the other. Place the axle in your storage area, and you are done removing it.
Step 4: Clean and grease
There are metal spacers on each side of the wheel. Remove these and clean them thoroughly. The inner face of the spacers sit against the wheel bearings. Clean those as well. Apply a small amount of lithium-based grease to the inner face of the spacers and press them back into place. Do not get any grease on the rotors. This could cause severe braking issues. If you do, be sure to fully remove it. The grease I use is Lucas Red “N” Tacky for this and many other applications. Remove any excess grease from around the outside of the spacers to reduce the amount of dirt they will attract. You can also add some grease to the axle, but I find the grease from the spacers will coat the axle sufficiently. Note, the wheels do not spin on the axle, that is the job of the bearings.

Step 4: Reassembly
To remount your front wheel, follow all of the steps listed above, but in reverse. Be sure to torque all bolts to the specifications for your bike. Have breaker bars that can accurately measure the torque settings you need. I use two different wrenches for this job. The specs below come from the Haynes manual. Make certain that they are correct for your application. The values below are suitable for the 2016-2019 Bonnevile T100, T120, Speedmaster, Bobber, Speed Twin, Thruxton (non-R), Street Twin, Street Cup, and Scrambler (non-1200.) I’m sure they will apply to other years as well, particularly the Speed Twin which remained unchanged through 2021.
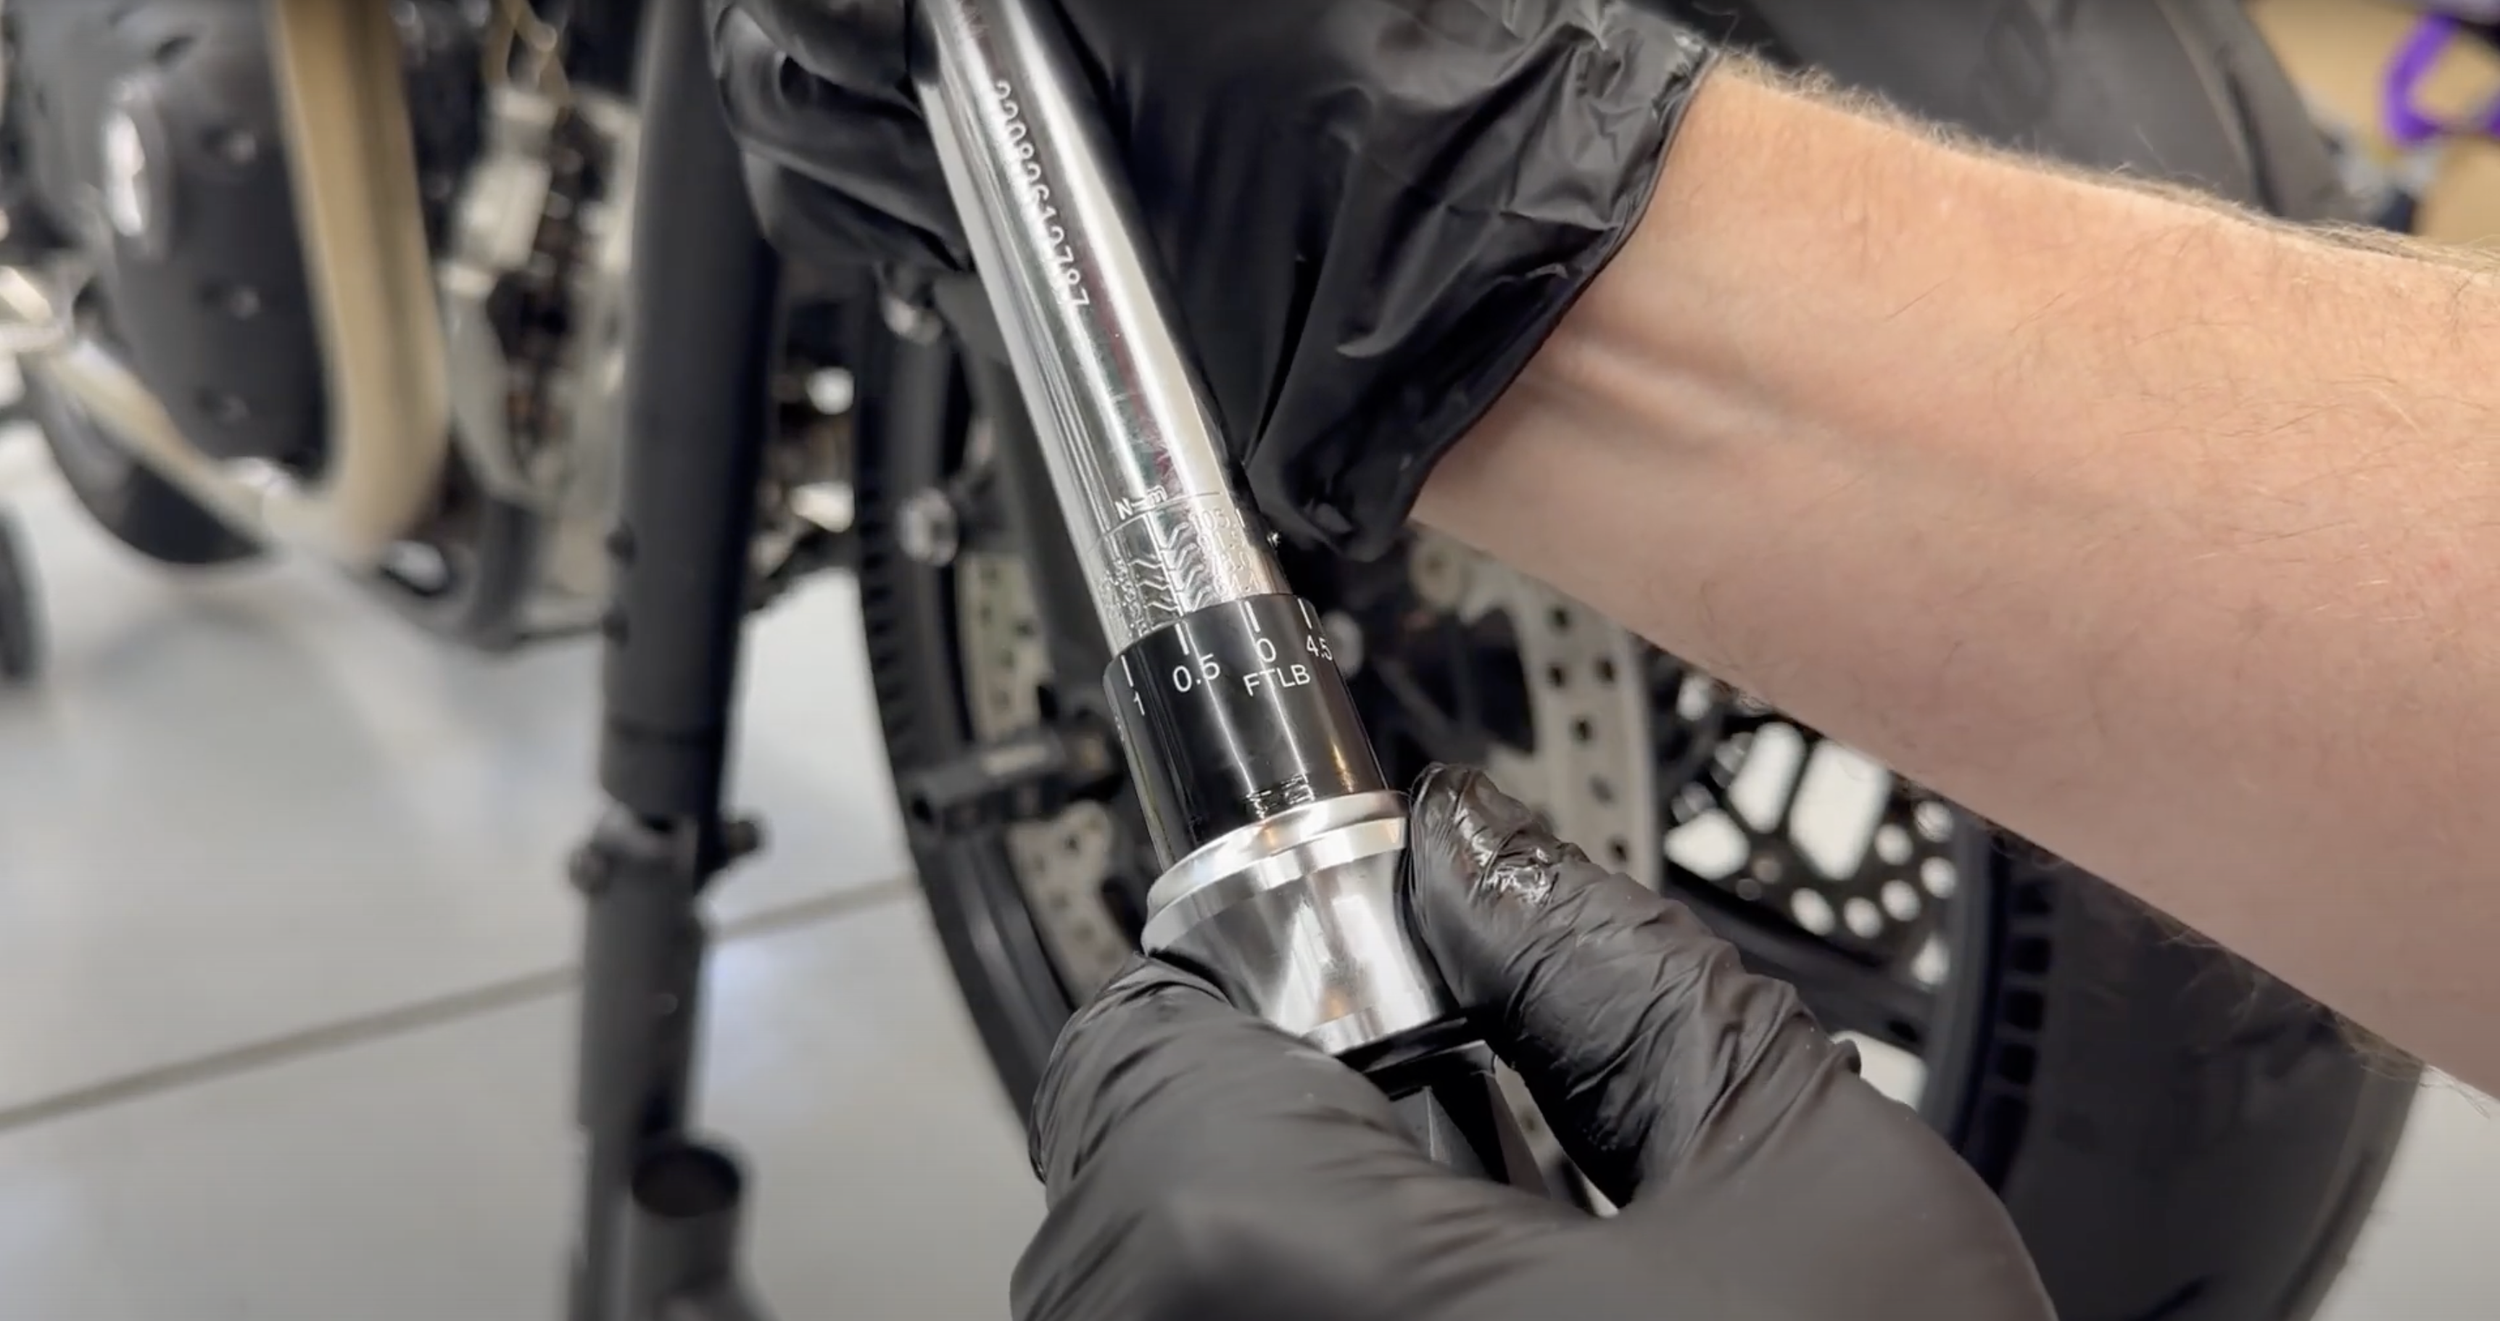
Torque Values:
Axle: 65 Nm
Pinch Bolt: 22 Nm
Caliper Bolts: 21 Nm


