Budget SV650 Track Bike Build
Of all the riding I have ever done, I can’t say that any of it has been as challenging and rewarding as being on track. There are no rewards without risks however, so I limit just how precious I will allow my track bike to get. As my auto racing father used to say, “If you can’t afford to wreck it, you can’t afford to race it.” Its easy to get sucked into buying all the coolest go-fast parts, and if that is within your means and you have the skill to leverage that, by all means go for it. I’m not in either of those positions however. I do need to maintain a budget and as a fast intermediate (oxymoron?) there’s only so much to be gained from parts. Both the joy and the improvements come from turning laps and approaching my limits.
An end-to-end tour of our modified SV650
The Stock Bike
There is absolutely nothing wrong with taking your showroom stock bike to the track. In fact, I highly recommend it as a starting point. Its probably the one you’re most familiar with and there is a lot to learn the first time you turn a hot lap. Learning a new bike isn’t something you need to add to the equation. That is exactly how I started out, with my nearly stock 2003 SV650S. As my speed increased, I soon realized there were certain functional components I needed to address. Fortunately, the second generation SV650 is a great platform to start with. Just realize when you get started down this path that few modifications will make things better in every way. There are almost always tradeoffs.
First track day, Thunderhill Raceway, 2008
And So it Begins
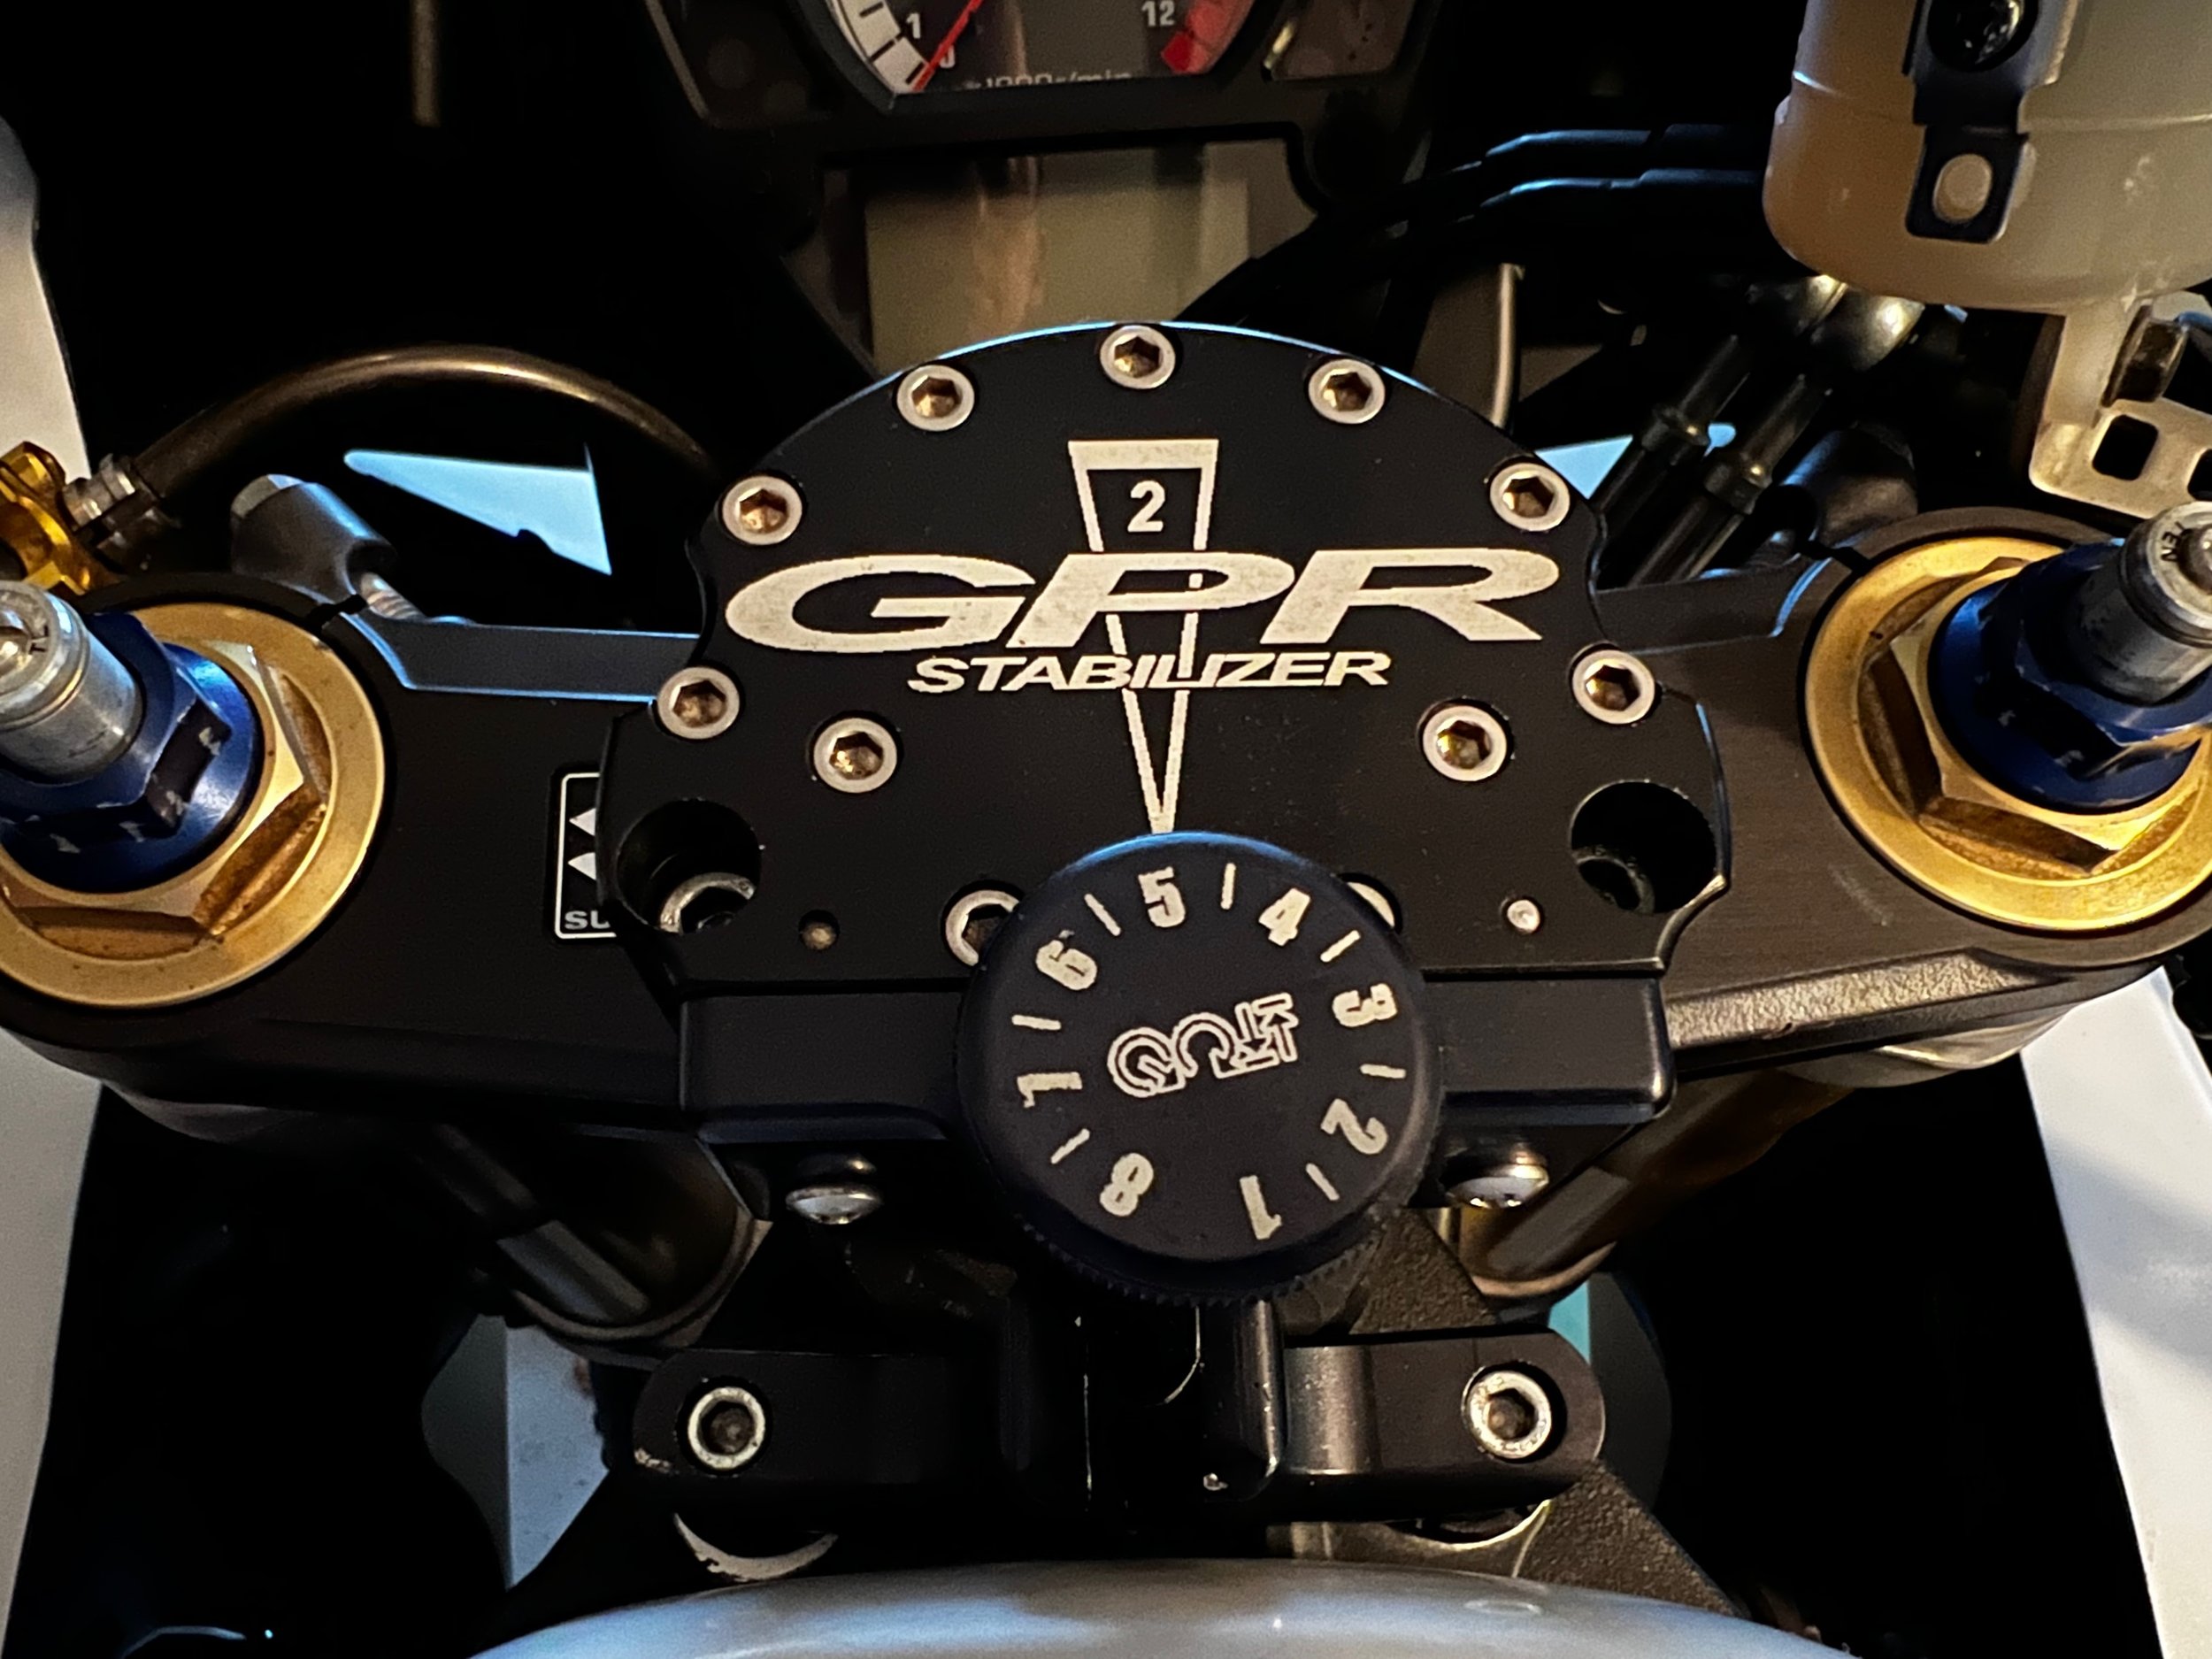
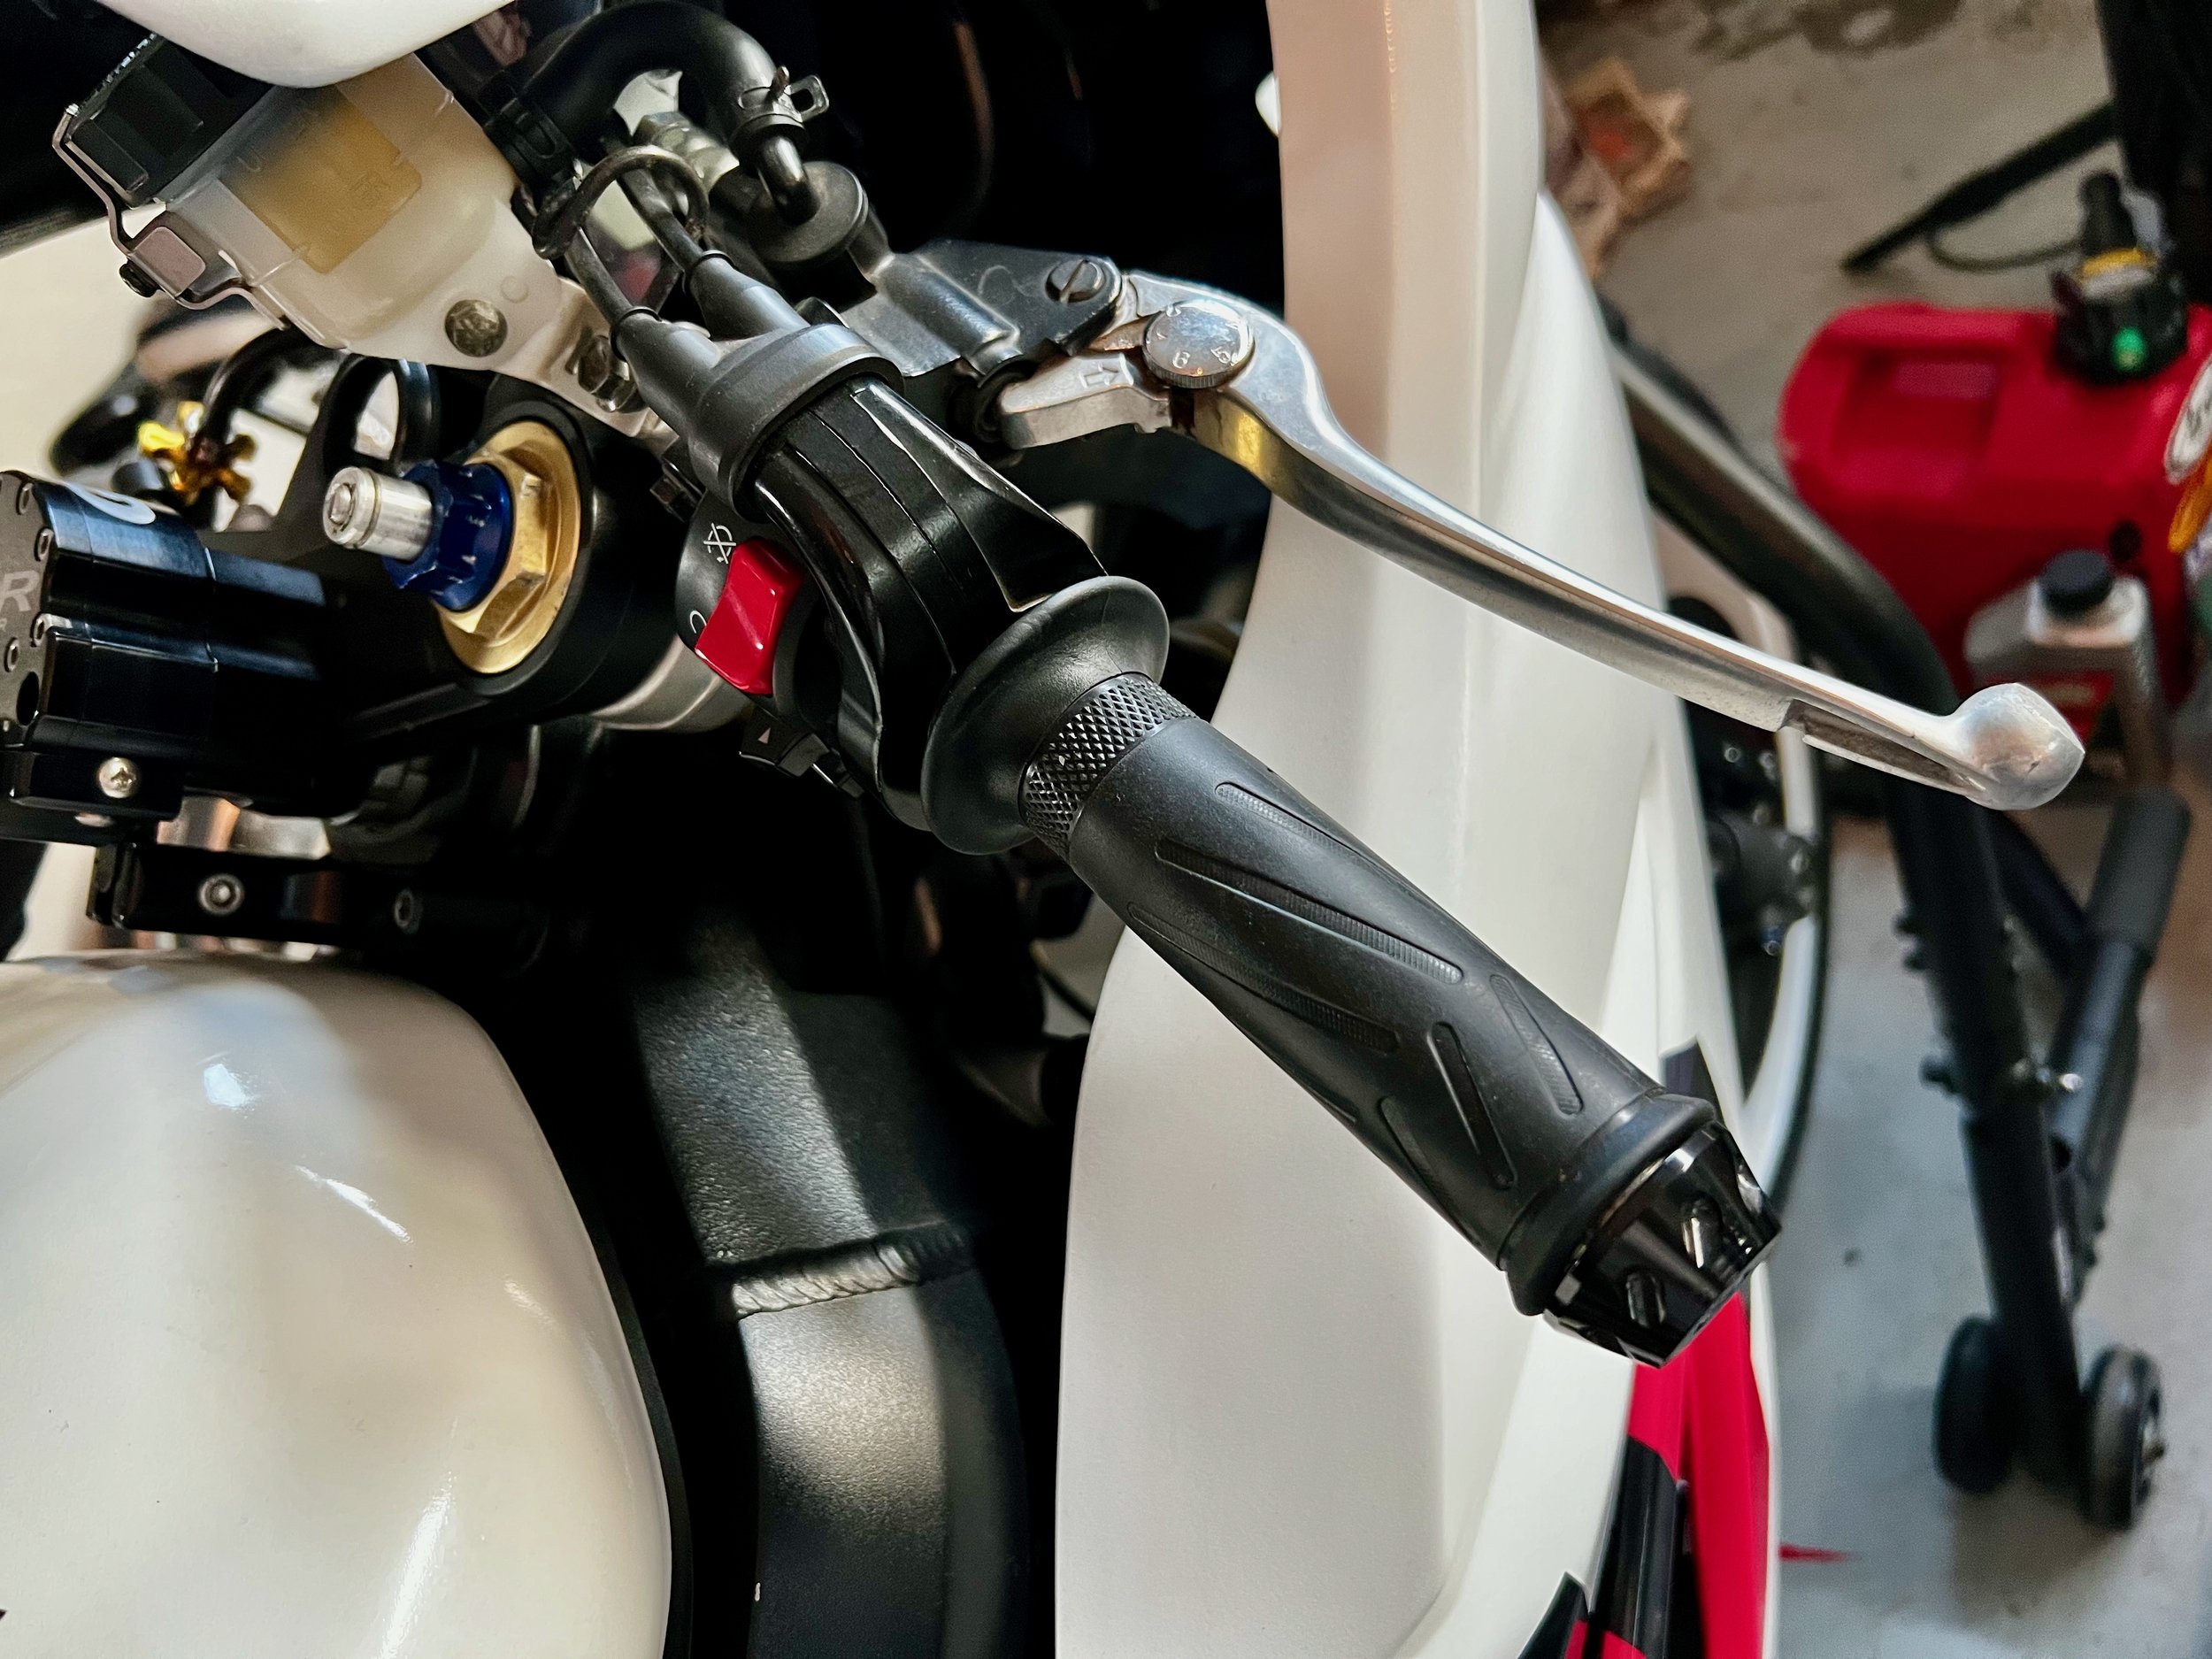
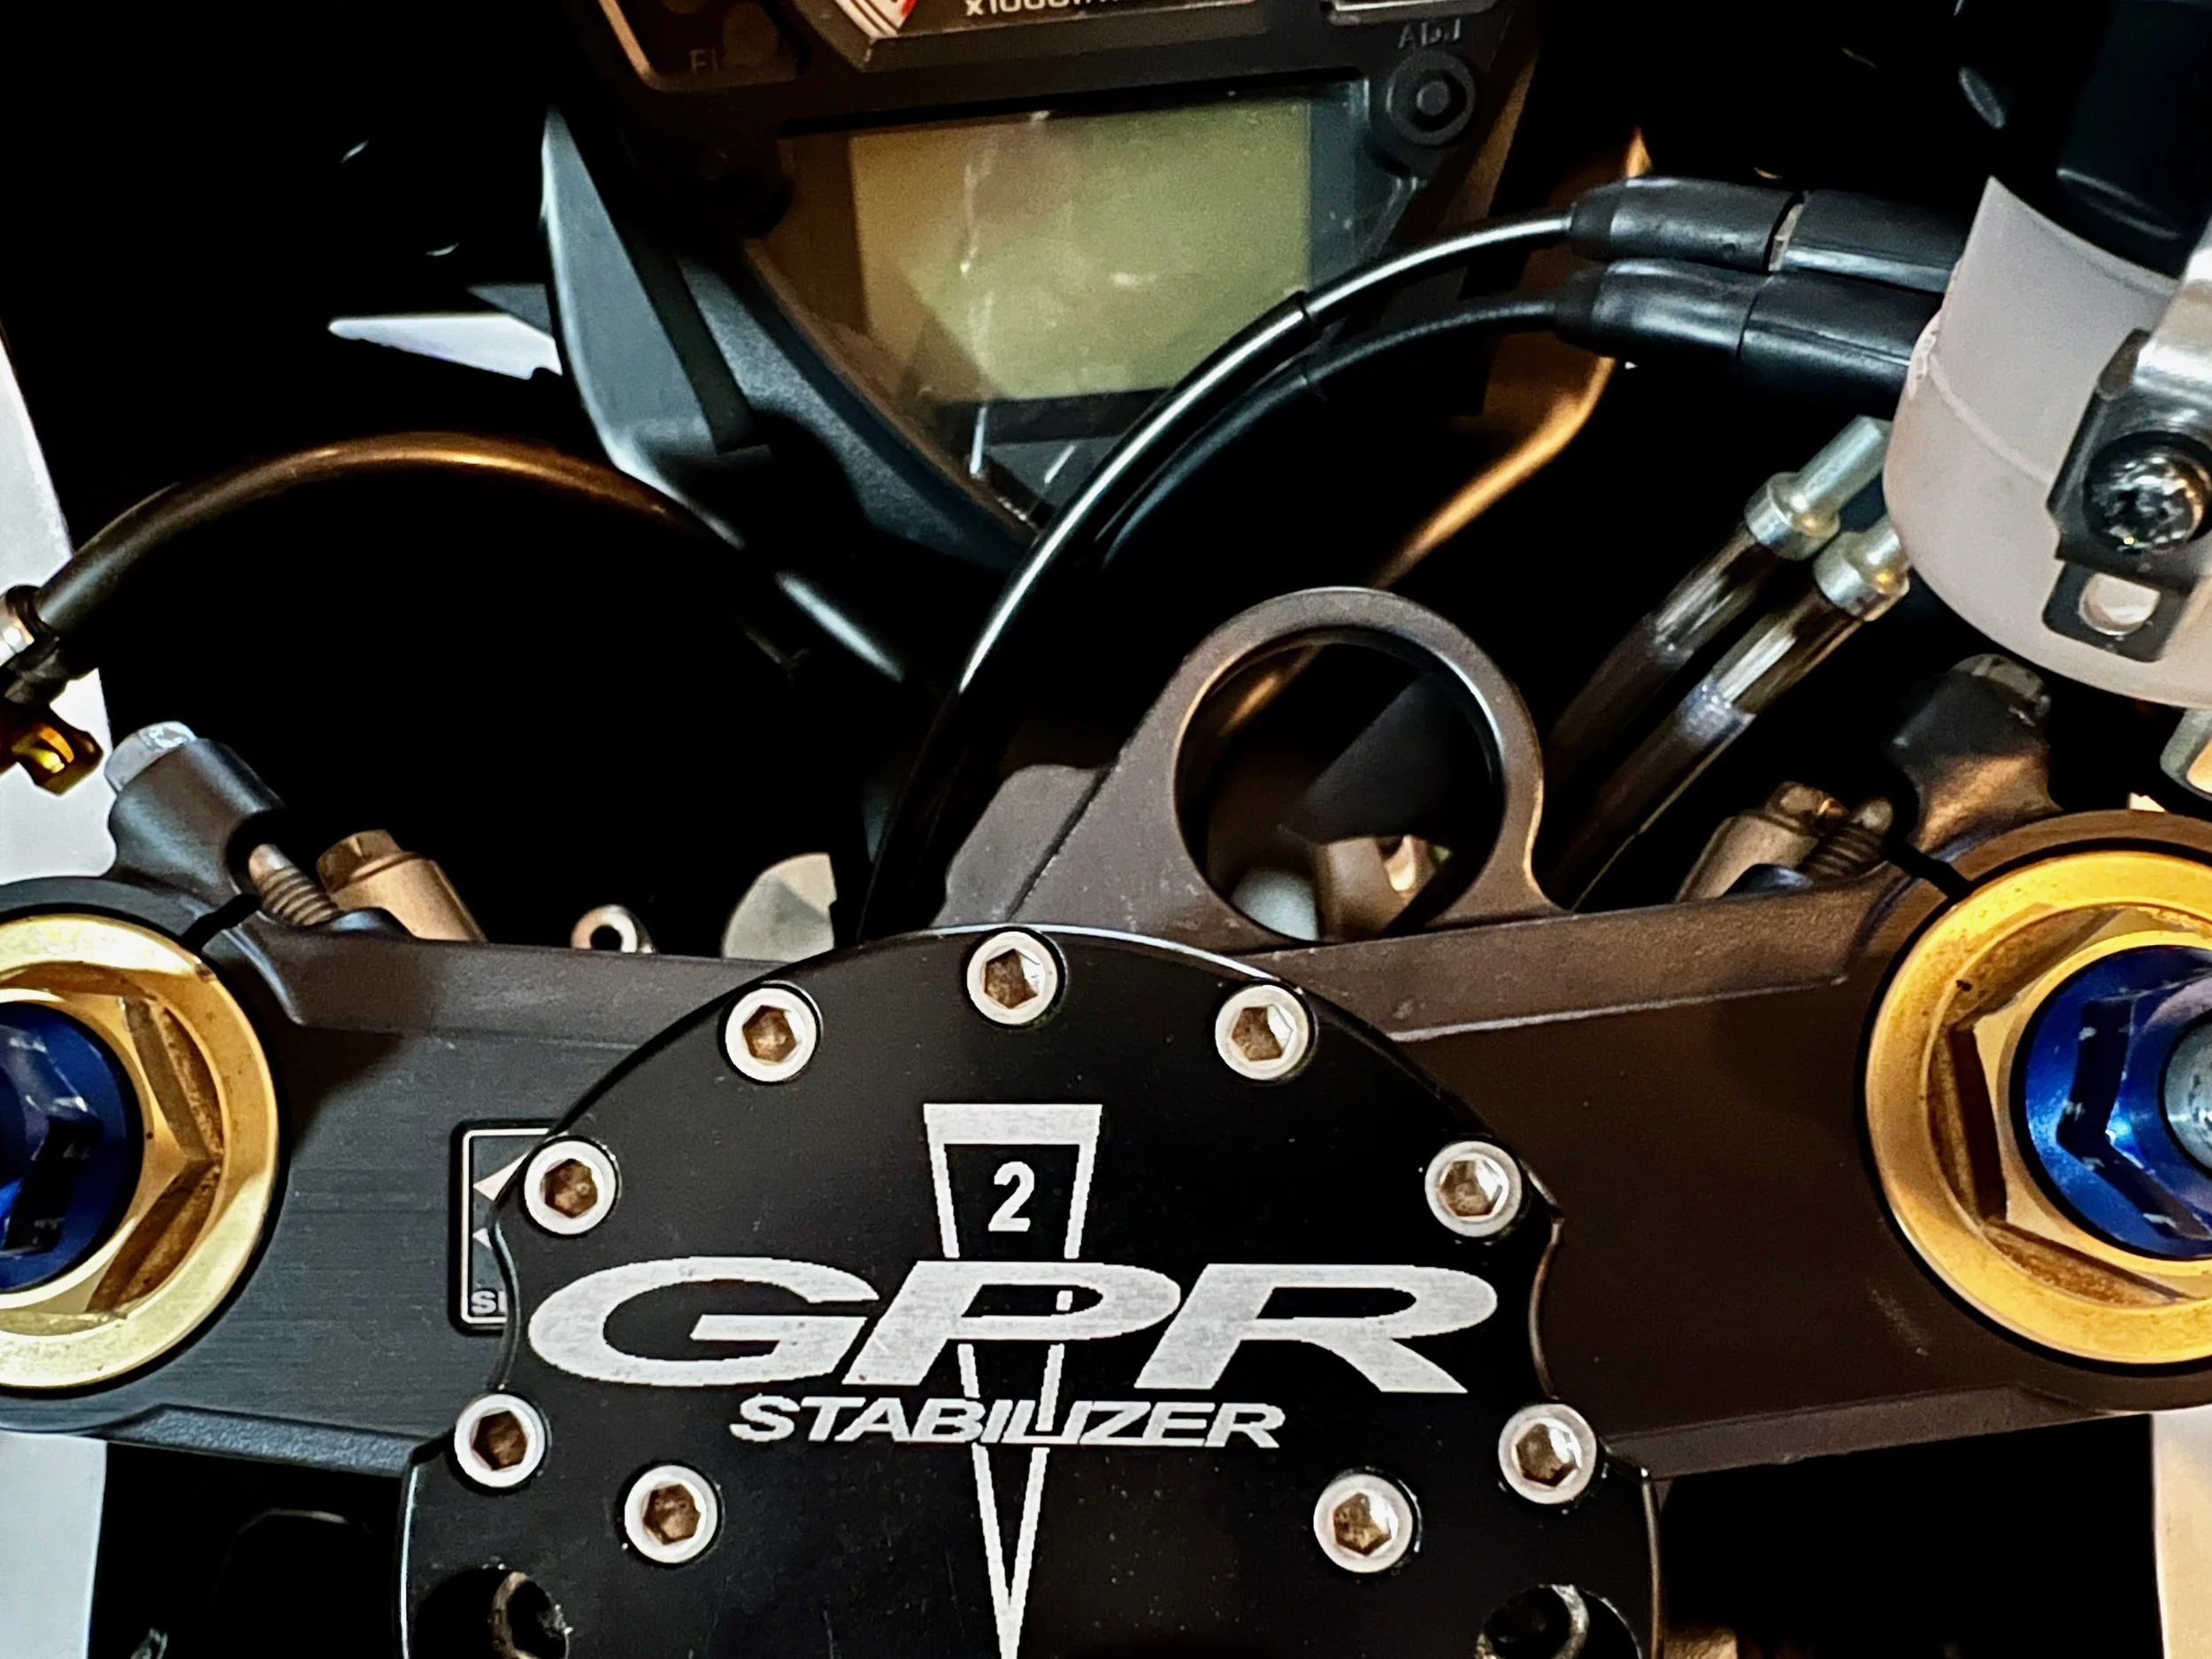
Tank slappers aren’t just phenomena that happen to others, they can happen to you as well. The first time it does, you’ll want to take measures to prevent it—the sooner the better. While some high end bikes come with steering dampers, most do not, and certainly not the budget friendly variety as is the case with the SV. Thunderhill’s Turn 9 is like a relaxed Corkscrew. You can take it at a pretty good clip, and when you crest the hill with the throttle open you’ll lighten the front end and that’s where the wobble can set it. No matter where you are this combo of acceleration and unweighting the front end can lead to an oscillation of the bars known as “head shake” that is more than a little unsettling. Unchecked, this can build into a full fledged tank slapper with your bars banging off the steering stops and you and your bike eventually going down. There are a couple of varieties, but I went with this unit from GPR on the recommendation from friends that raced SVs. Bolting it on and dialing in just enough damping to prevent this effect is all it takes so you’ll never have to worry about it again.
What’s was dad’s Axiom Again?
With my confidence increasing and my lap times decreasing, I was moving into the fast end of the intermediate field and knocking on the door of the fast group when misfortune struck. Back at my favorite track, Thunderhill on what is now called the East loop, I leaned the bike in at turn one, a fast roughly 80 degree turn skimming my knee at the apex going roughly 75mph. It was my first time getting a knee down at that turn and within moments it would also be my first time getting nearly every part of my body down. The front end tucked and I was down, sliding along on my back. I actually had the thought, “So this is what its like to crash. Damn, I am going to need to replace my helmet now.” I tucked in my arms not wanting them to catch and send me tumbling. This worked until I ran out of tarmac and entered the gravel which caused my view to rapidly cycle between earth and sky. Fortunately I had scrubbed off enough speed that the tumbling didn’t lead to injury. Glad to be unharmed, I walked away from the impact zone and waited for my bike to be trailered back to the paddock. Friends who were watching described the scene. The bike preceding me started laying out a thick cloud of blue smoke just before the turn. Apparently I had hit some oil right at the apex. My bike had slid along the tarmac uneventfully until it got to the gravel. The long frame sliders installed by the previous owner dug in and sent the bike several feet into the air, landing with a thud. Regardless of the circumstances, the upshot was a bike with completely damaged bodywork and forks that bent to the right at a 30 degree angle.
Never Let a Serious Crisis Go to Waste
There are a few options at this point; junk the remains and count your blessings, start over with a new bike, or fix what’s left. After a close evaluation which included removing gravel from every crevice of the bike, I chose door number three. The frame, engine, radiator, swing arm and rear wheel were all in good shape. Fortunately the tank was still in good condition with just a minor dent…on the top! Did I mention the bike went airborne? Since this was still my street bike, I ordered replacement bodywork for every piece. Whatever situation you find yourself in, someone else has probably already been there, so the after some sleuthing, I found the exact recipe needed to fix my bike and improve it all at once. The hot set up for the front end at the time (and I still think so) was to pull the front end off a 2005-6 GSX-R600 or 750. With this you replace the pre-load only adjustability of the stock SV RSU forks with a set of beefier USD shocks with adjustability for pre-load, compression, and rebound. What’s more, you get a huge upgrade in braking power, thanks to four piston Tokico calipers. They almost seamlessly plug and play, but as I mentioned before there are always tradeoffs. Rolling the dice on eBay, I secured a new front end from a parted out bike as well as a new front wheel. The one area of compromise is the Gixxer front end has no provision for the speedometer. Since this modification I have only had a vague idea of how fast I’m actually going on this bike. There are workarounds for this, but I haven't missed my speedo so much that I would bother. The other issue is the ergonomics, while perfect for the track, were definitely compromised for the street, placing far more weight on my hands. Not miserable, but not the most comfortable for long journeys either. It was a huge gain in performance at the expense of some of the SV’s charm.
Considering the capability of the new front end, leaving the stock shock on the bike didn’t make a lot of sense, so I reached into the Suzuki used parts bin once again. The ‘04 GSX-R1000 shock has nearly identical eye-to-eye measurements as the SV, so again eBay came to the rescue for that component. Now I had the ability to fine tune both ends of the bike.
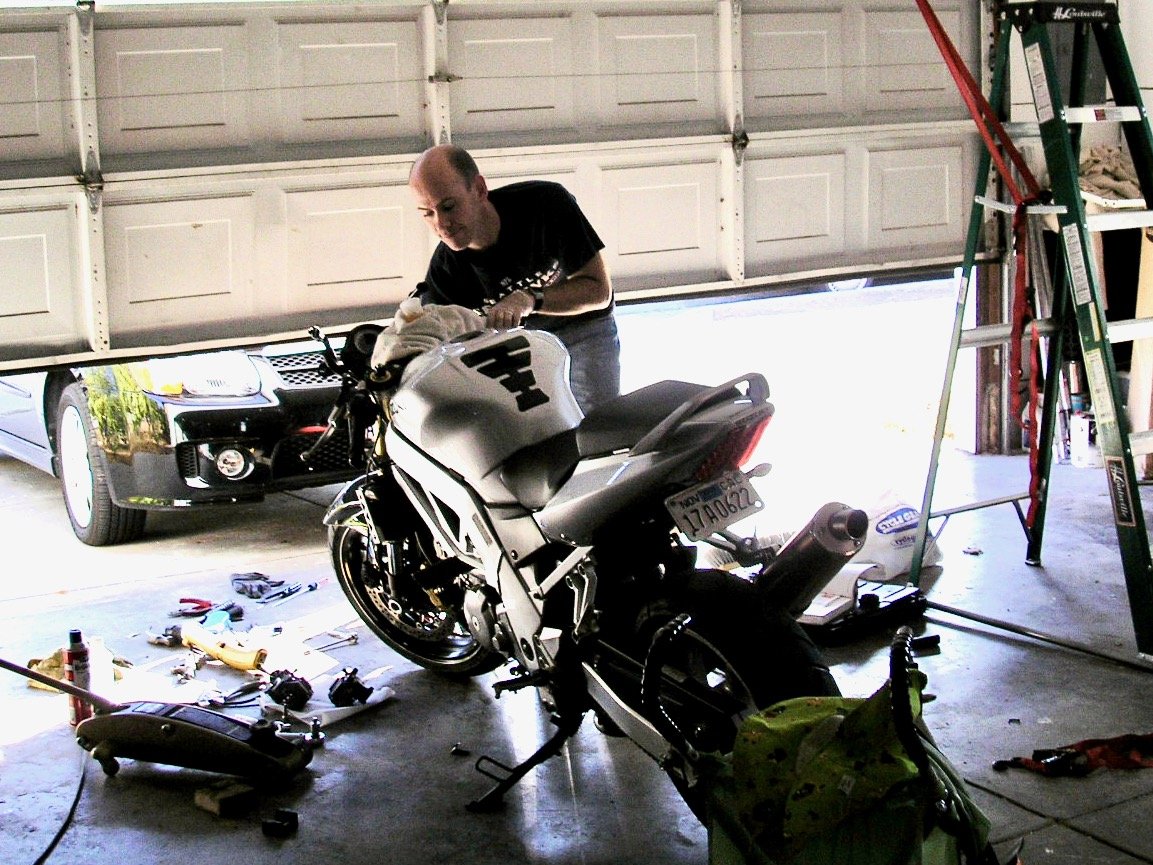
Bleeding the brakes after just having replaced the twisted SV front end with one from a 2005 GSX-R600
Sliding the right parts
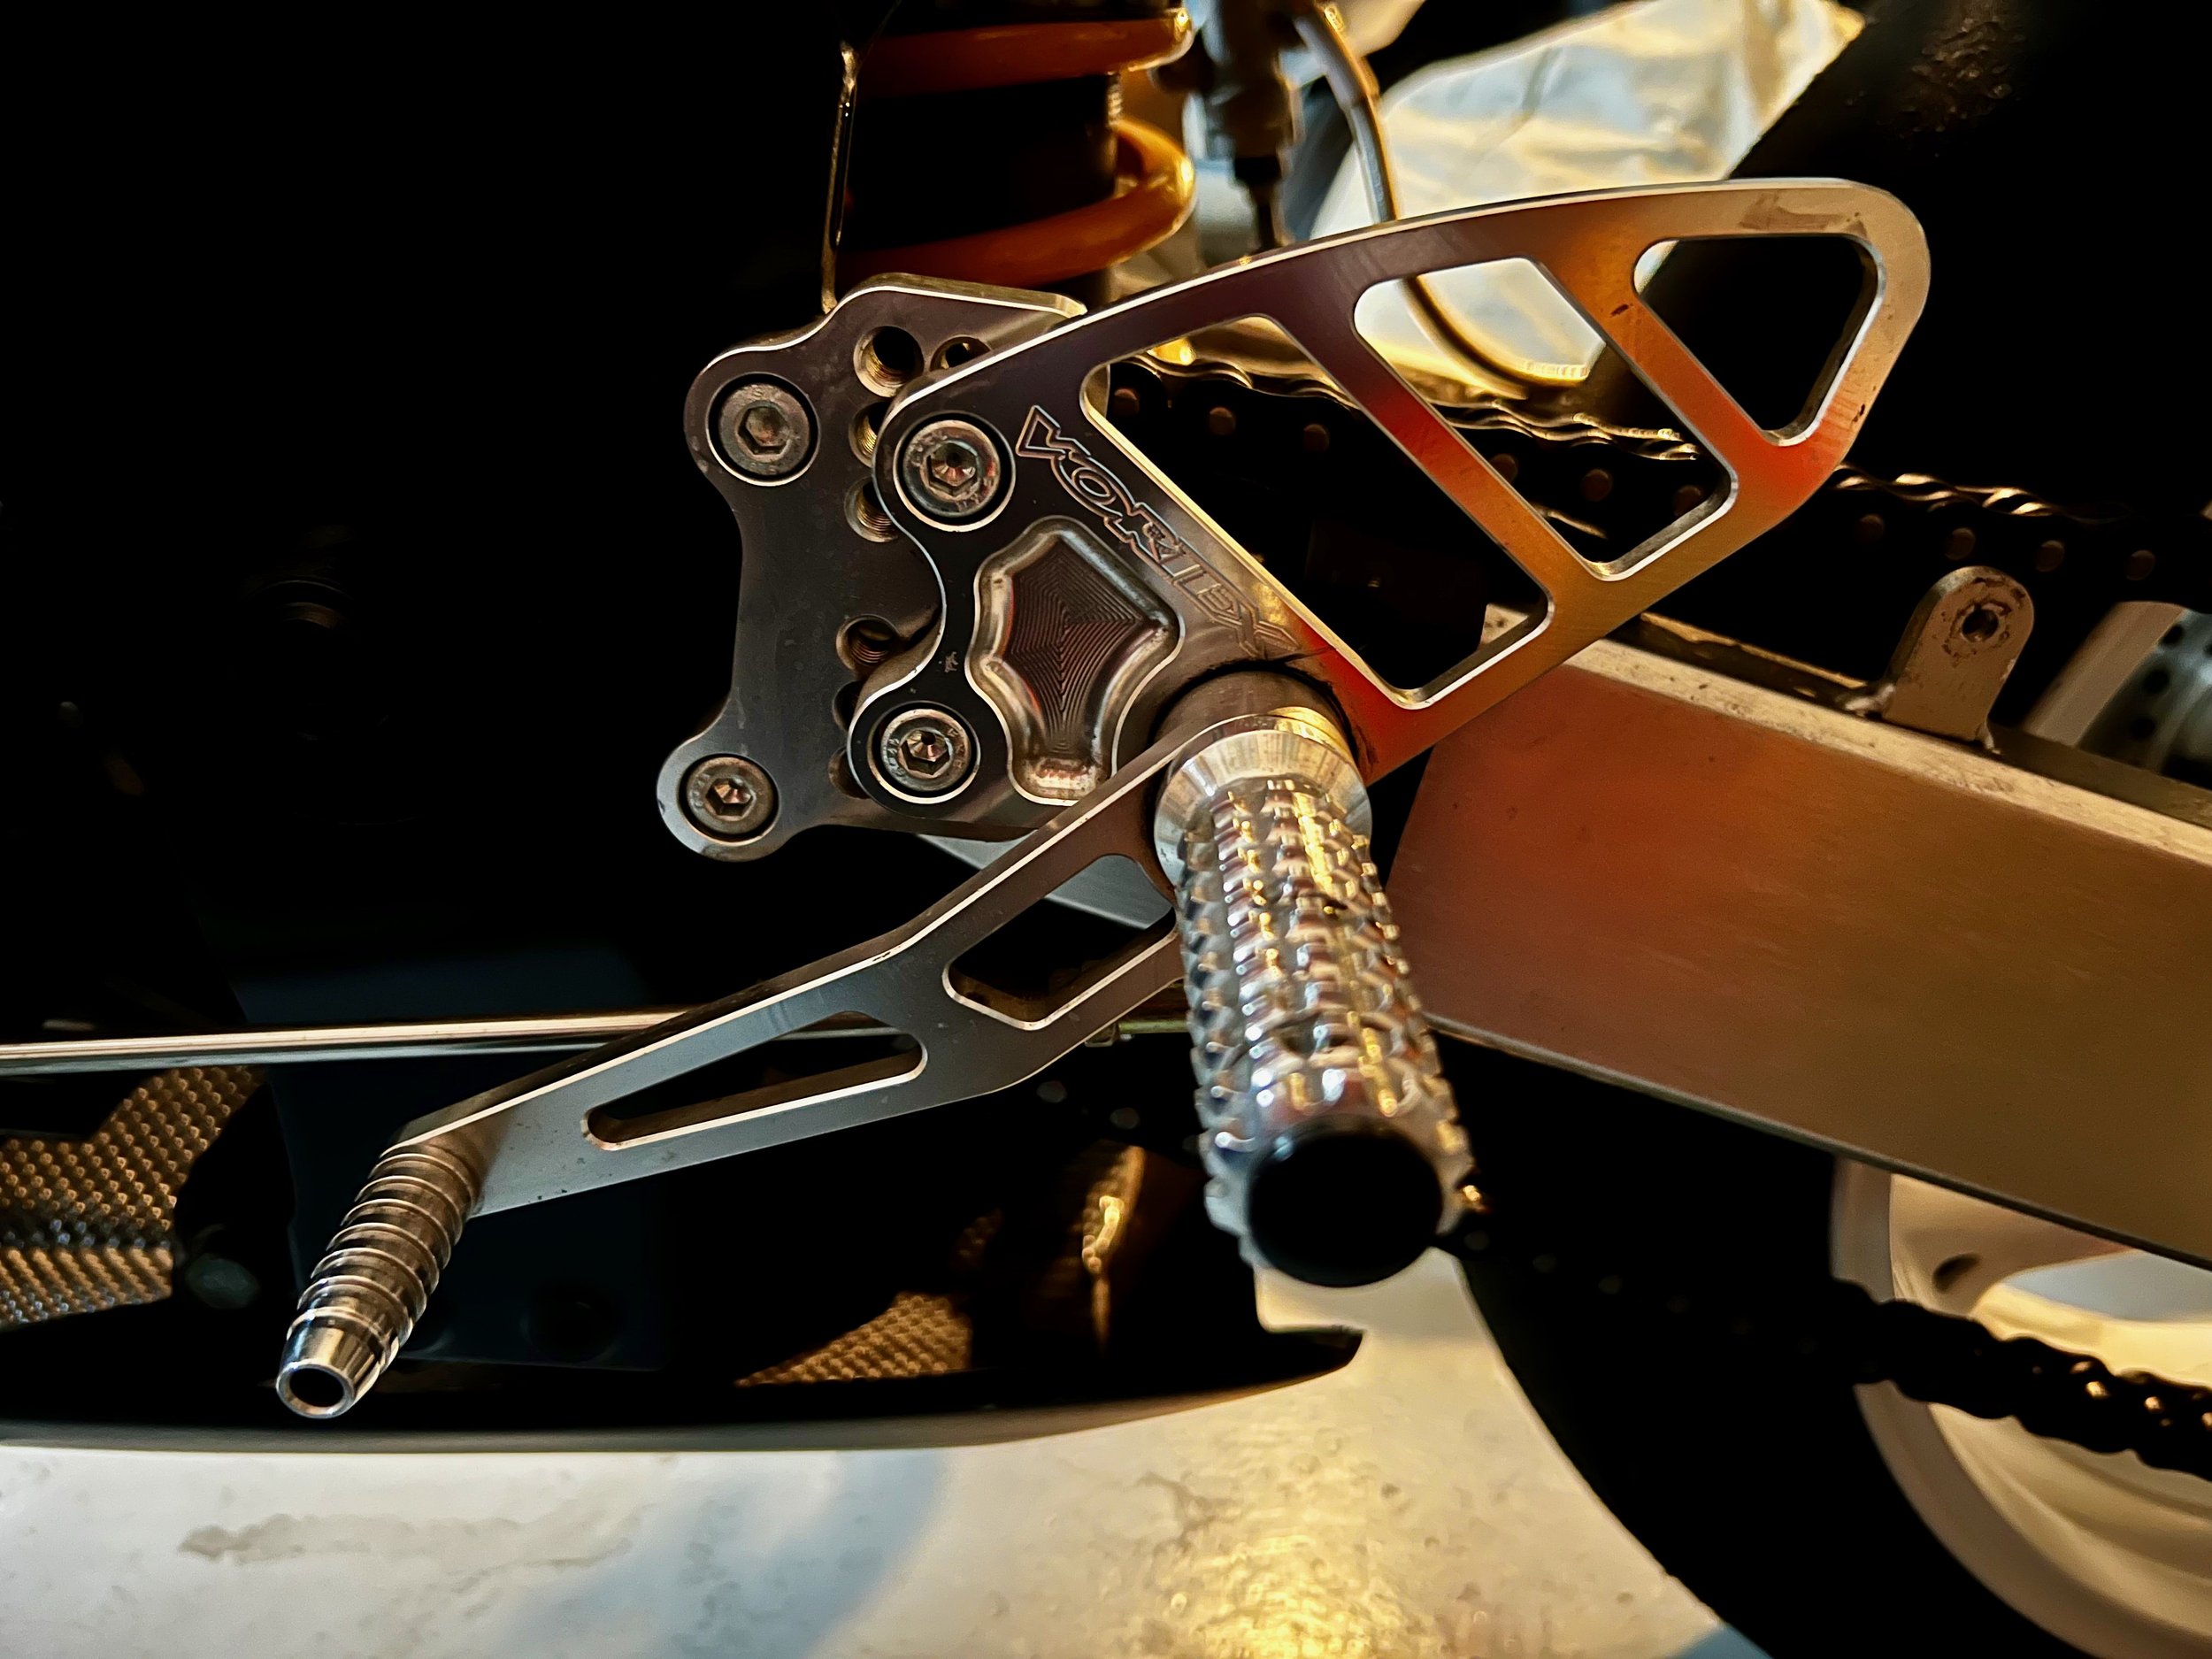
As I became increasingly comfortable leaning the bike into turns, particularly the long 180 degree left at Thunderhill, the toe of my boot began to scrape the asphalt. Queue the Vortex rear sets. Moving the pegs up and back alleviated that problem, the tradeoff was minor: a reduction in leg room. It was a small price to pay for the benefit of keeping the bike planted in corners, but it further constrained the riding position.
Adjustable rear sets are key to dialing in the ergonomics to fit the rider as well as keeping the pegs off the tarmac
Leaving and Re-Entering the Zone
I kept the bike like this for several years, but as life changes involving children and job changes took up increasing chunks of my time, I rode less often, both on the street and track. When I finally returned to the track, I realized a couple of things; riding on track was still the absolute best time I had ever had on a bike, and you can never make one bike do everything—or even two things! I had been stuck in this zone between a dedicated track bike and a fun street bike. That set the new plan in motion—get that brand new (2019) Triumph Speed Twin and dedicate the SV to full time track status. Obviously, the Triumph took the majority of the budget for this plan, but with good planning I could whip the SV into shape over the winter.
Spreadsheet Racing
Armed with an internet connection and a spreadsheet, I set out to plan this build as fully as possible before securing a single part. I created categories and made two options for each one; budget and ideal. Pouring over sites specific to my bike such as TWF Racing and LWT Racer as well as more general racing parts sites like Sport Bike Track Gear, Woodcraft, Spears Racing, and Revzilla, I was able to get a cost estimate and plan where to save and where to splurge and also estimate what expenses I could offset by selling existing parts.
Everything categorized and accounted for.
The Build
When you have the numbers in front of you, it gets easier to make decisions. For example, capturing the rear brake caliper bracket for making wheel changes easier. Do I spend $25 on a safety wire tool I will use over and over or $255 on a custom bracket and Brembo caliper? Not every decision was as straightforward, but you get the picture. Enough about planning, let’s get to it.
Bodywork and rear Subframe
Inspired by the work of MotoAmerica Twins Cup rider Sam Wiest at LWT Racer performed on his ‘17+ Suzuki GSX-R1000R bodied bike, I placed a high priority on the bodywork. This would mean I would need to alter the rear subframe. That would lead to a weight savings—even more if I opted to replace my steel unit with an aluminum one from ‘05+ SV. Accounting for the original SVS bodywork and its road legal parts such as headlights, mirrors, signals, etc. the new body resulted in a savings of over six pounds. The trimmed aluminum subframe saved an additional six-plus pounds over its ‘03 steel counterpart. I initially went for the common cheaper brand of bodywork, but it was easy to see why it was less expensive than other brands. I spotted numerous defects in the parts including exposed fiberglass mat and some instances of gross asymmetry. I concluded I was better off returning it than fixing all the defects. When the Armour Bodies parts showed up, it was clear how much better they were, right when i unpacked them. They were ready to mount and paint straight away. If you care about the look of your project, this is an area I highly recommend you don’t skimp on. Armour Bodies had the best blend of price and quality in my opinion. I can’t imagine needing anything better.
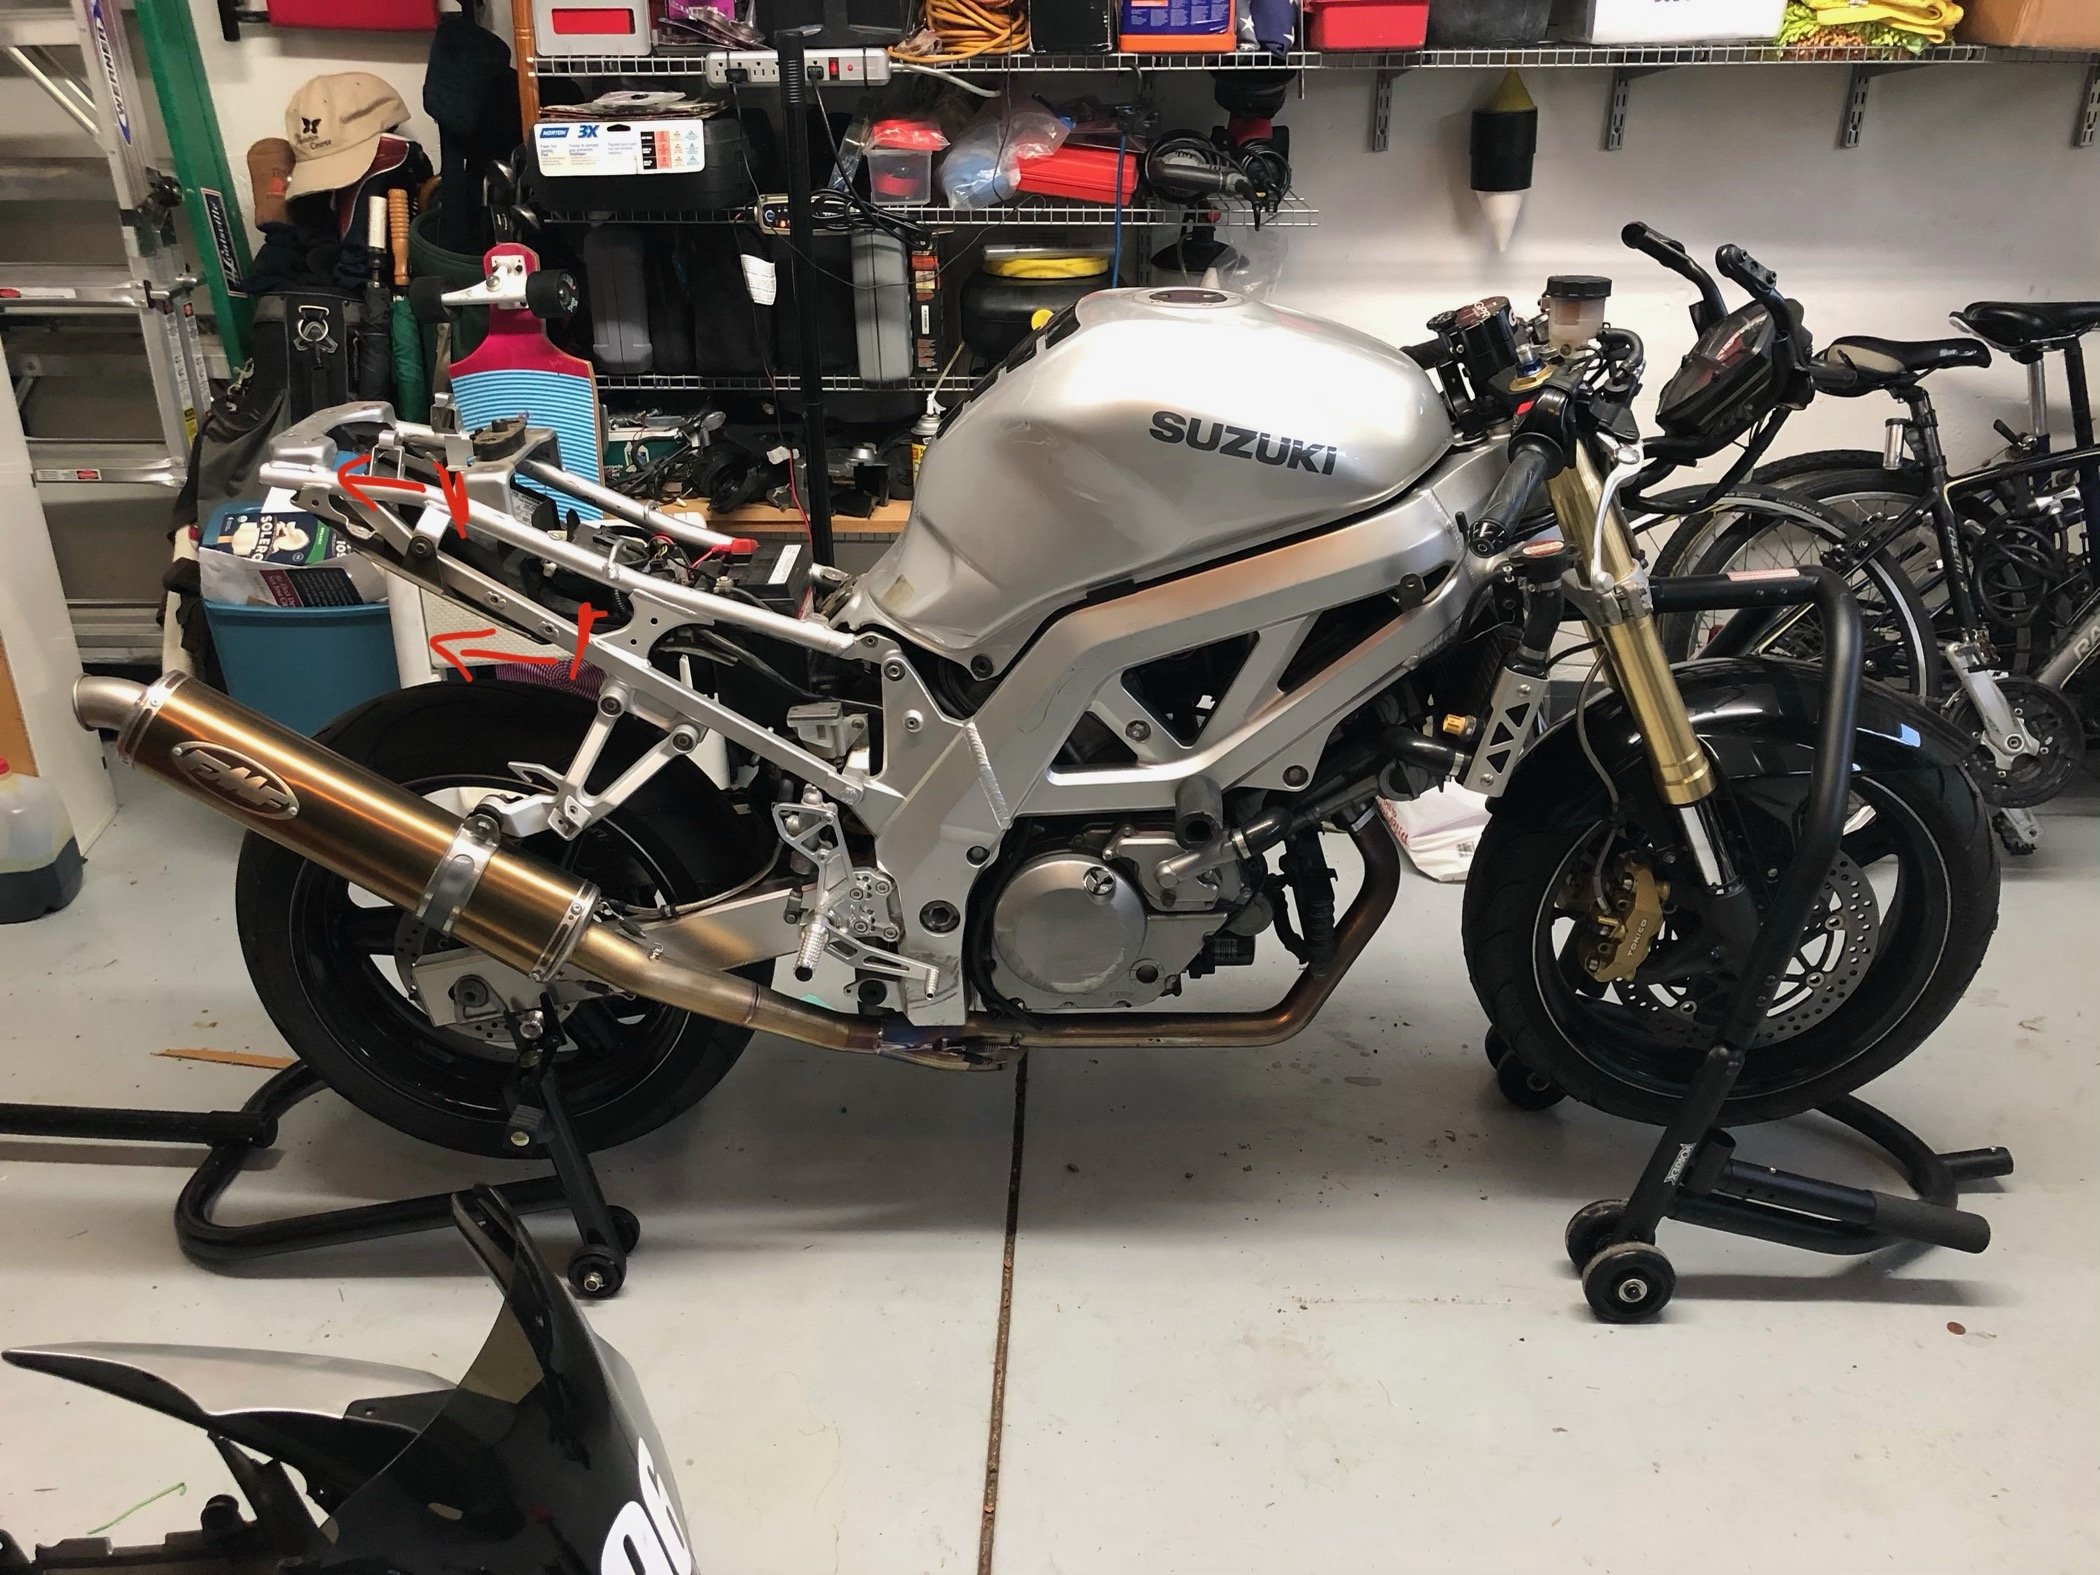
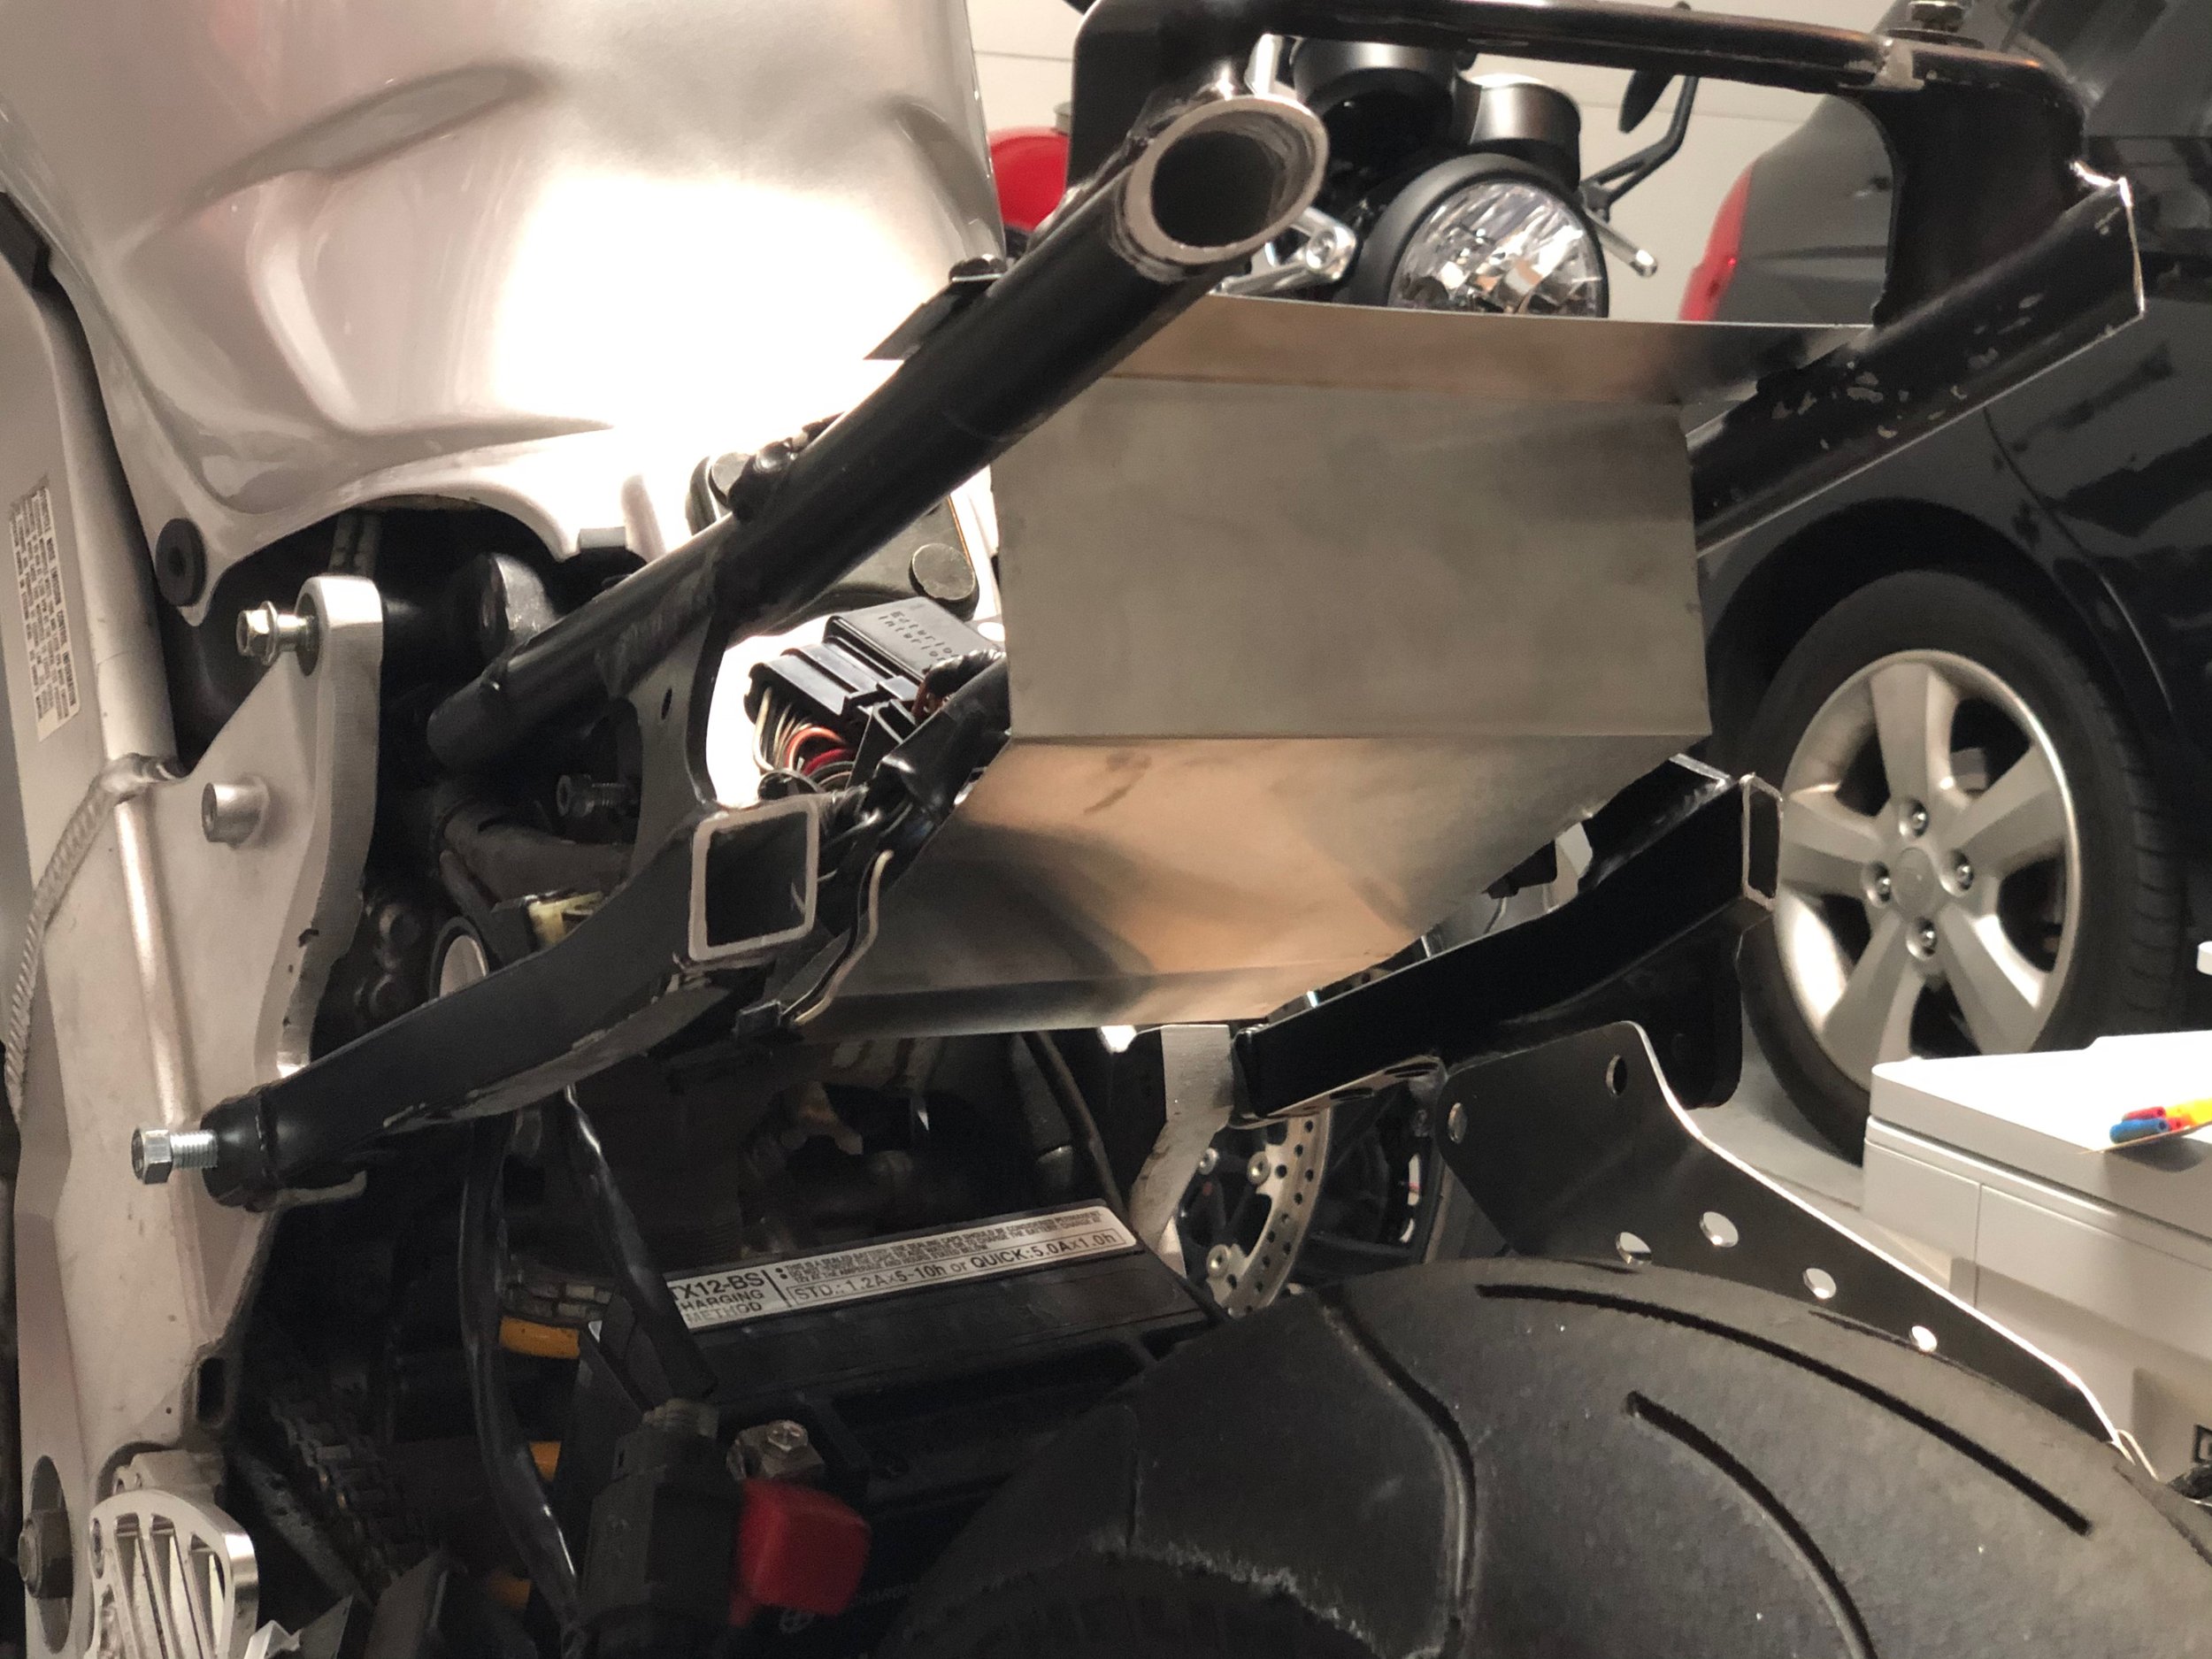
I began my fitment with the tail first. This was definitely the most labor intensive part of the process. Going from the different geometry of the ‘03 to the ‘05 subframe meant that my battery tray no longer fit the space I had available, particularly as the shock reservoir is concerned. I had to fabricate a tray to hold all the electronics in the reduced space available. Through a process of many measurements, I drew up a plan to make the tray from a single sheet of aluminum. While extremely light, the tray has not proven particularly durable. I am on my second version now and continue to experience cracks near my mounting points. I will likely move to steel for the third iteration. If that proves successful I will provide the plans for it here. To fit the new tail section, With a cutoff wheel, I trimmed the lower bracing just aft of the piece welded between the top and bottom tubes. Not liking the truncated cuts I had seen on others, I gave it a slash cut. The upper tubing can be eliminated aft of the top cross brace. I also slash cut it, not that it will be seen by anyone else. Lastly, I cut off the left side passenger peg mount to clean up the looks and remove weight. The right side mount stayed so I could fabricate a muffler mount.
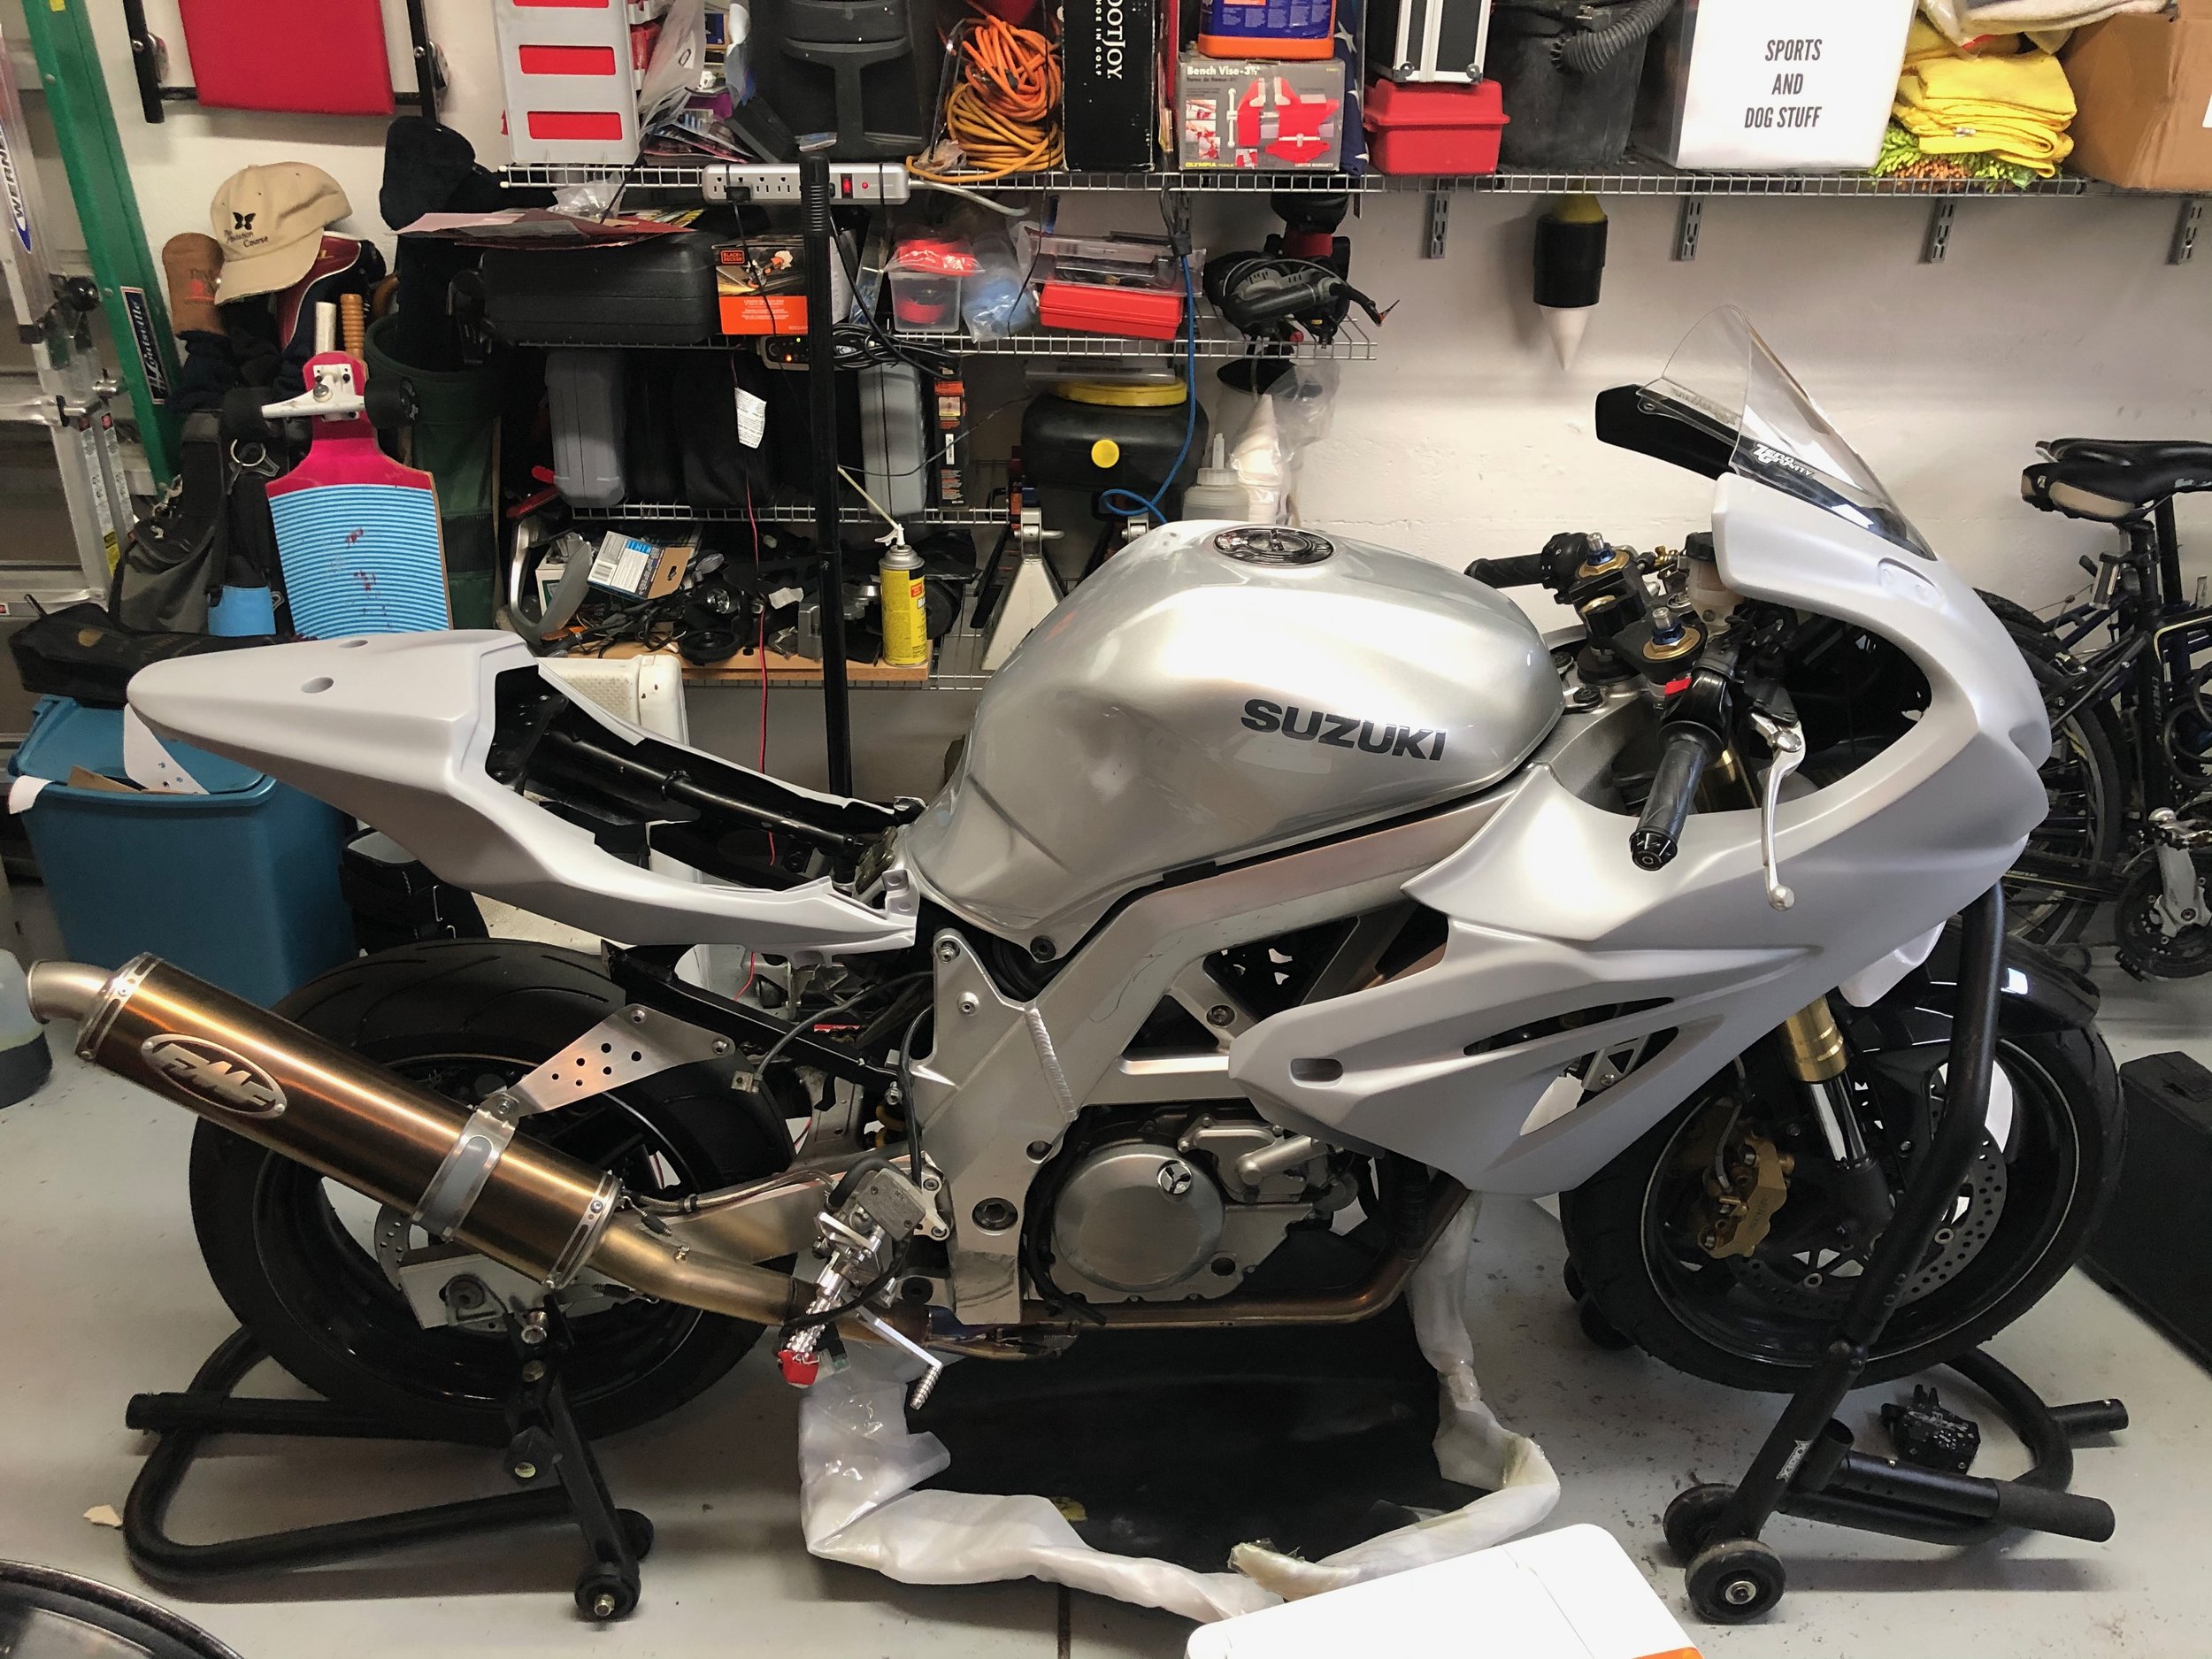
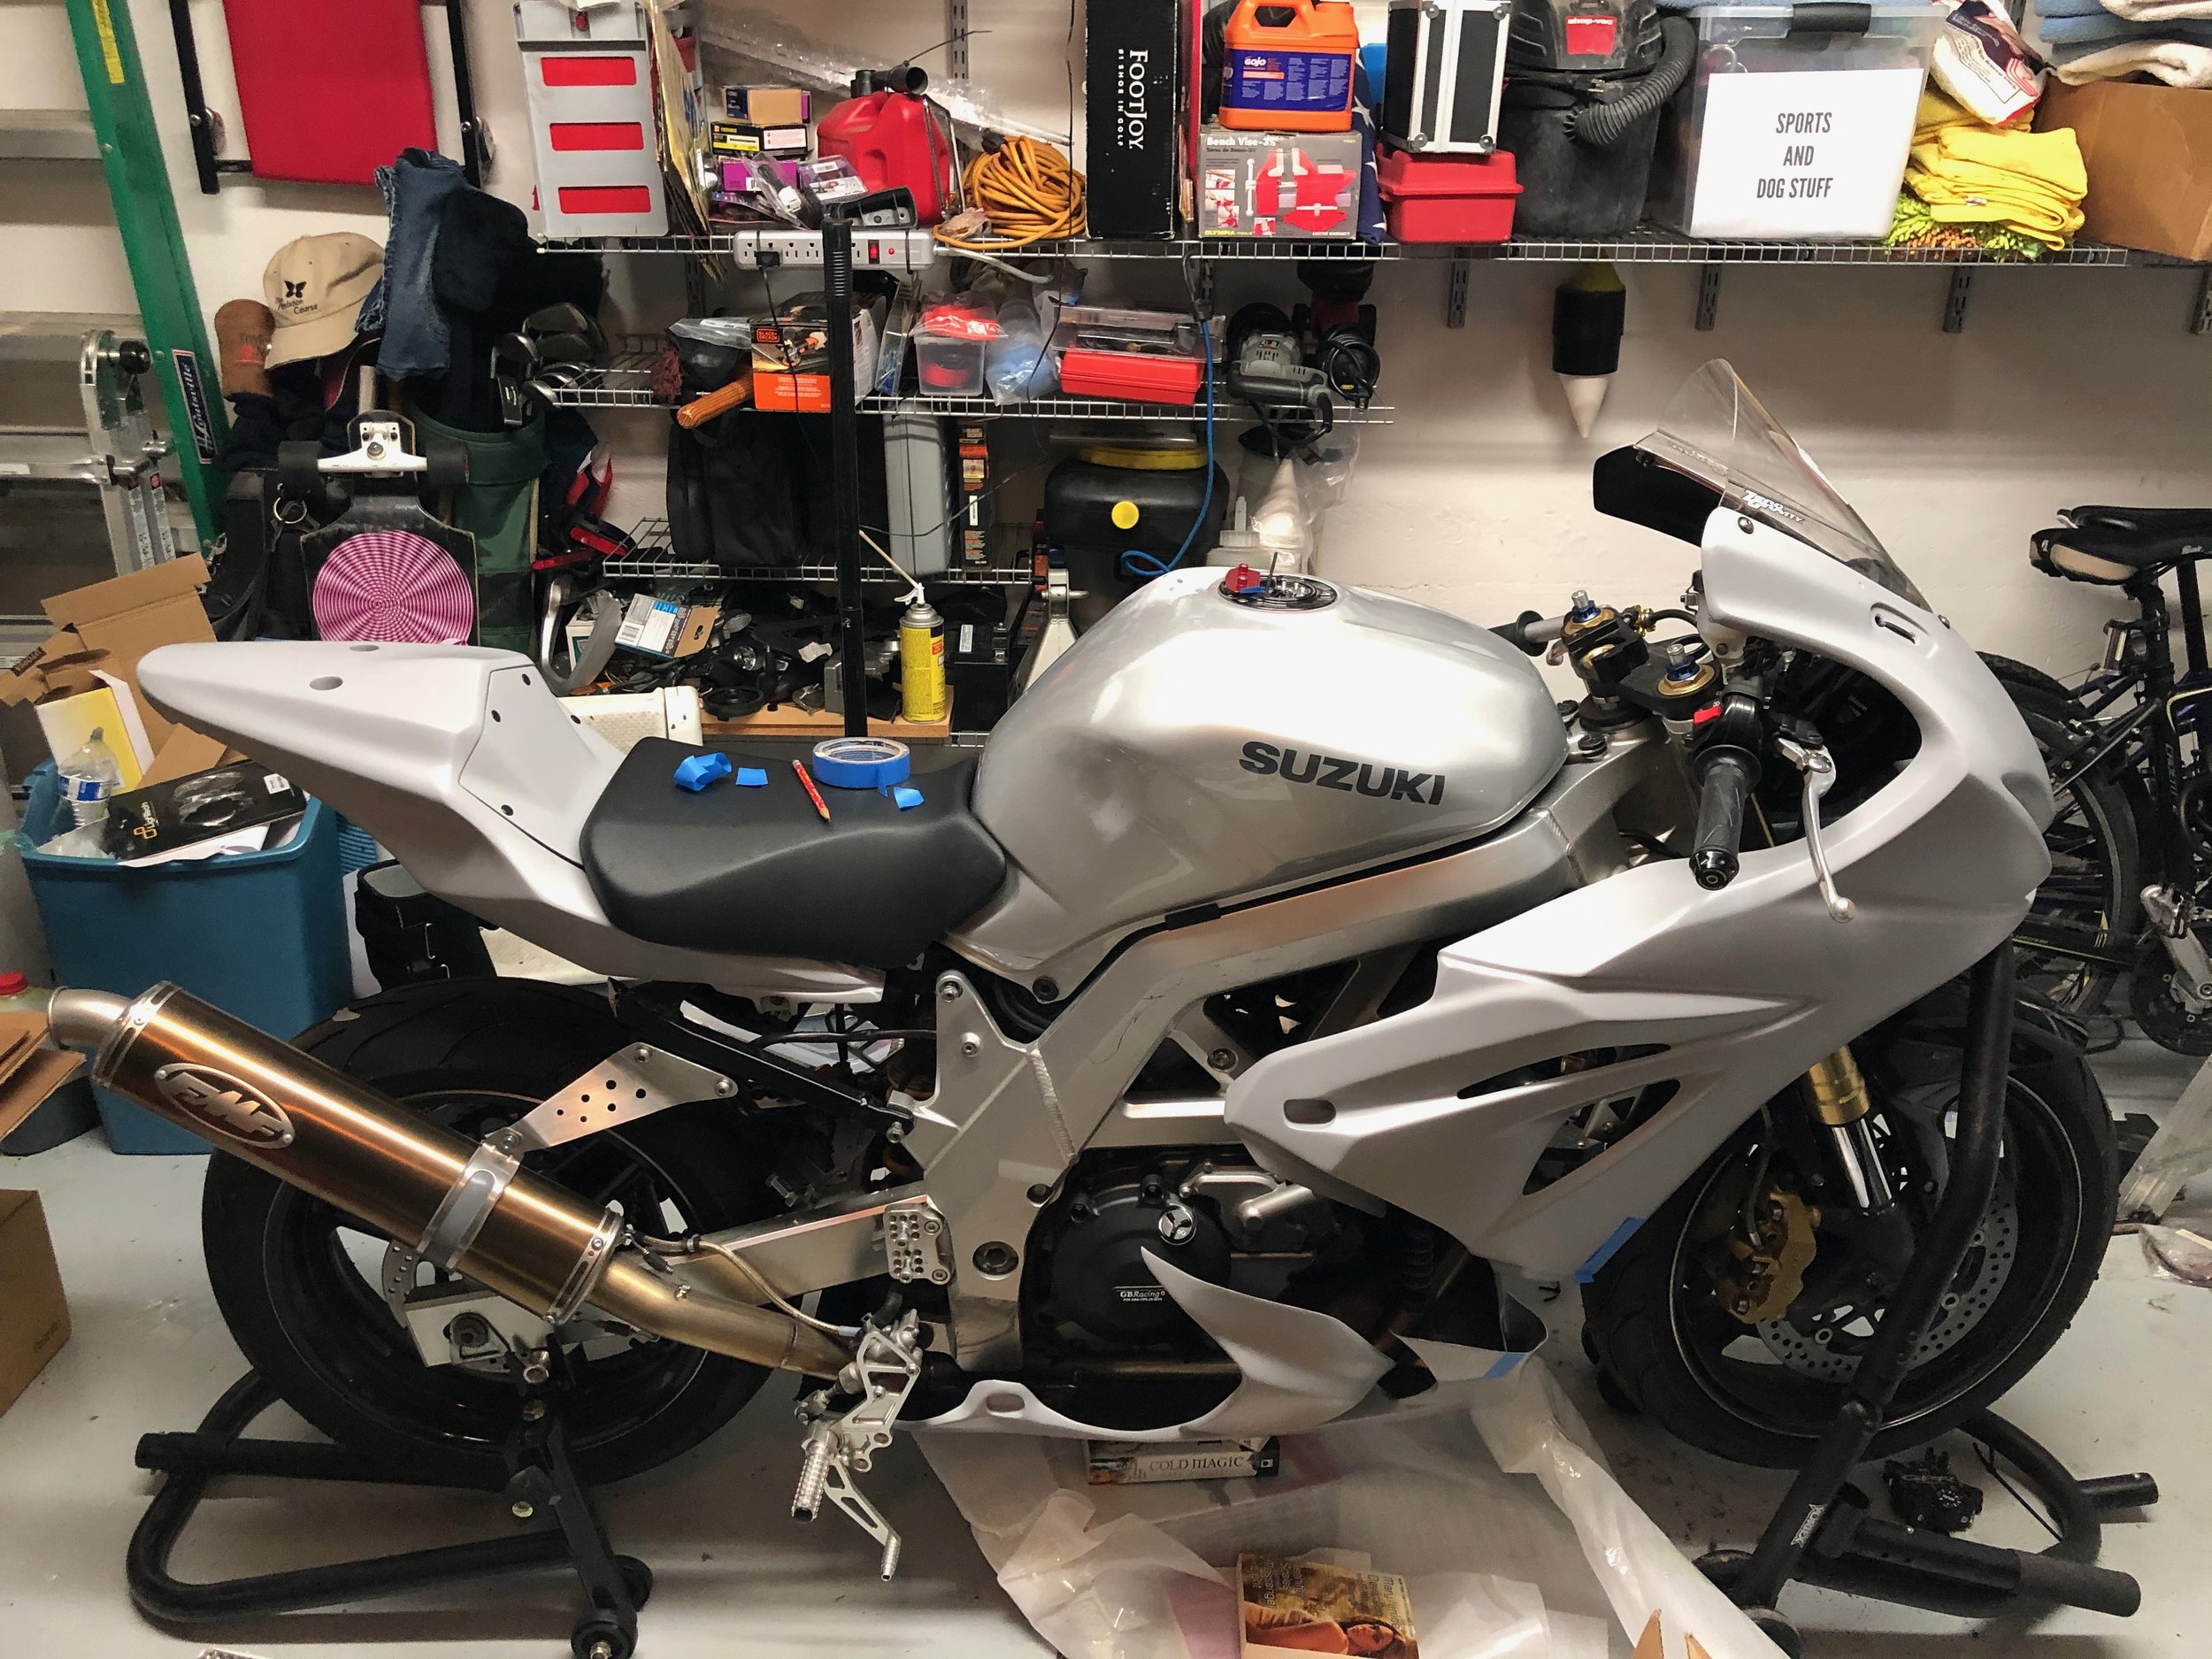
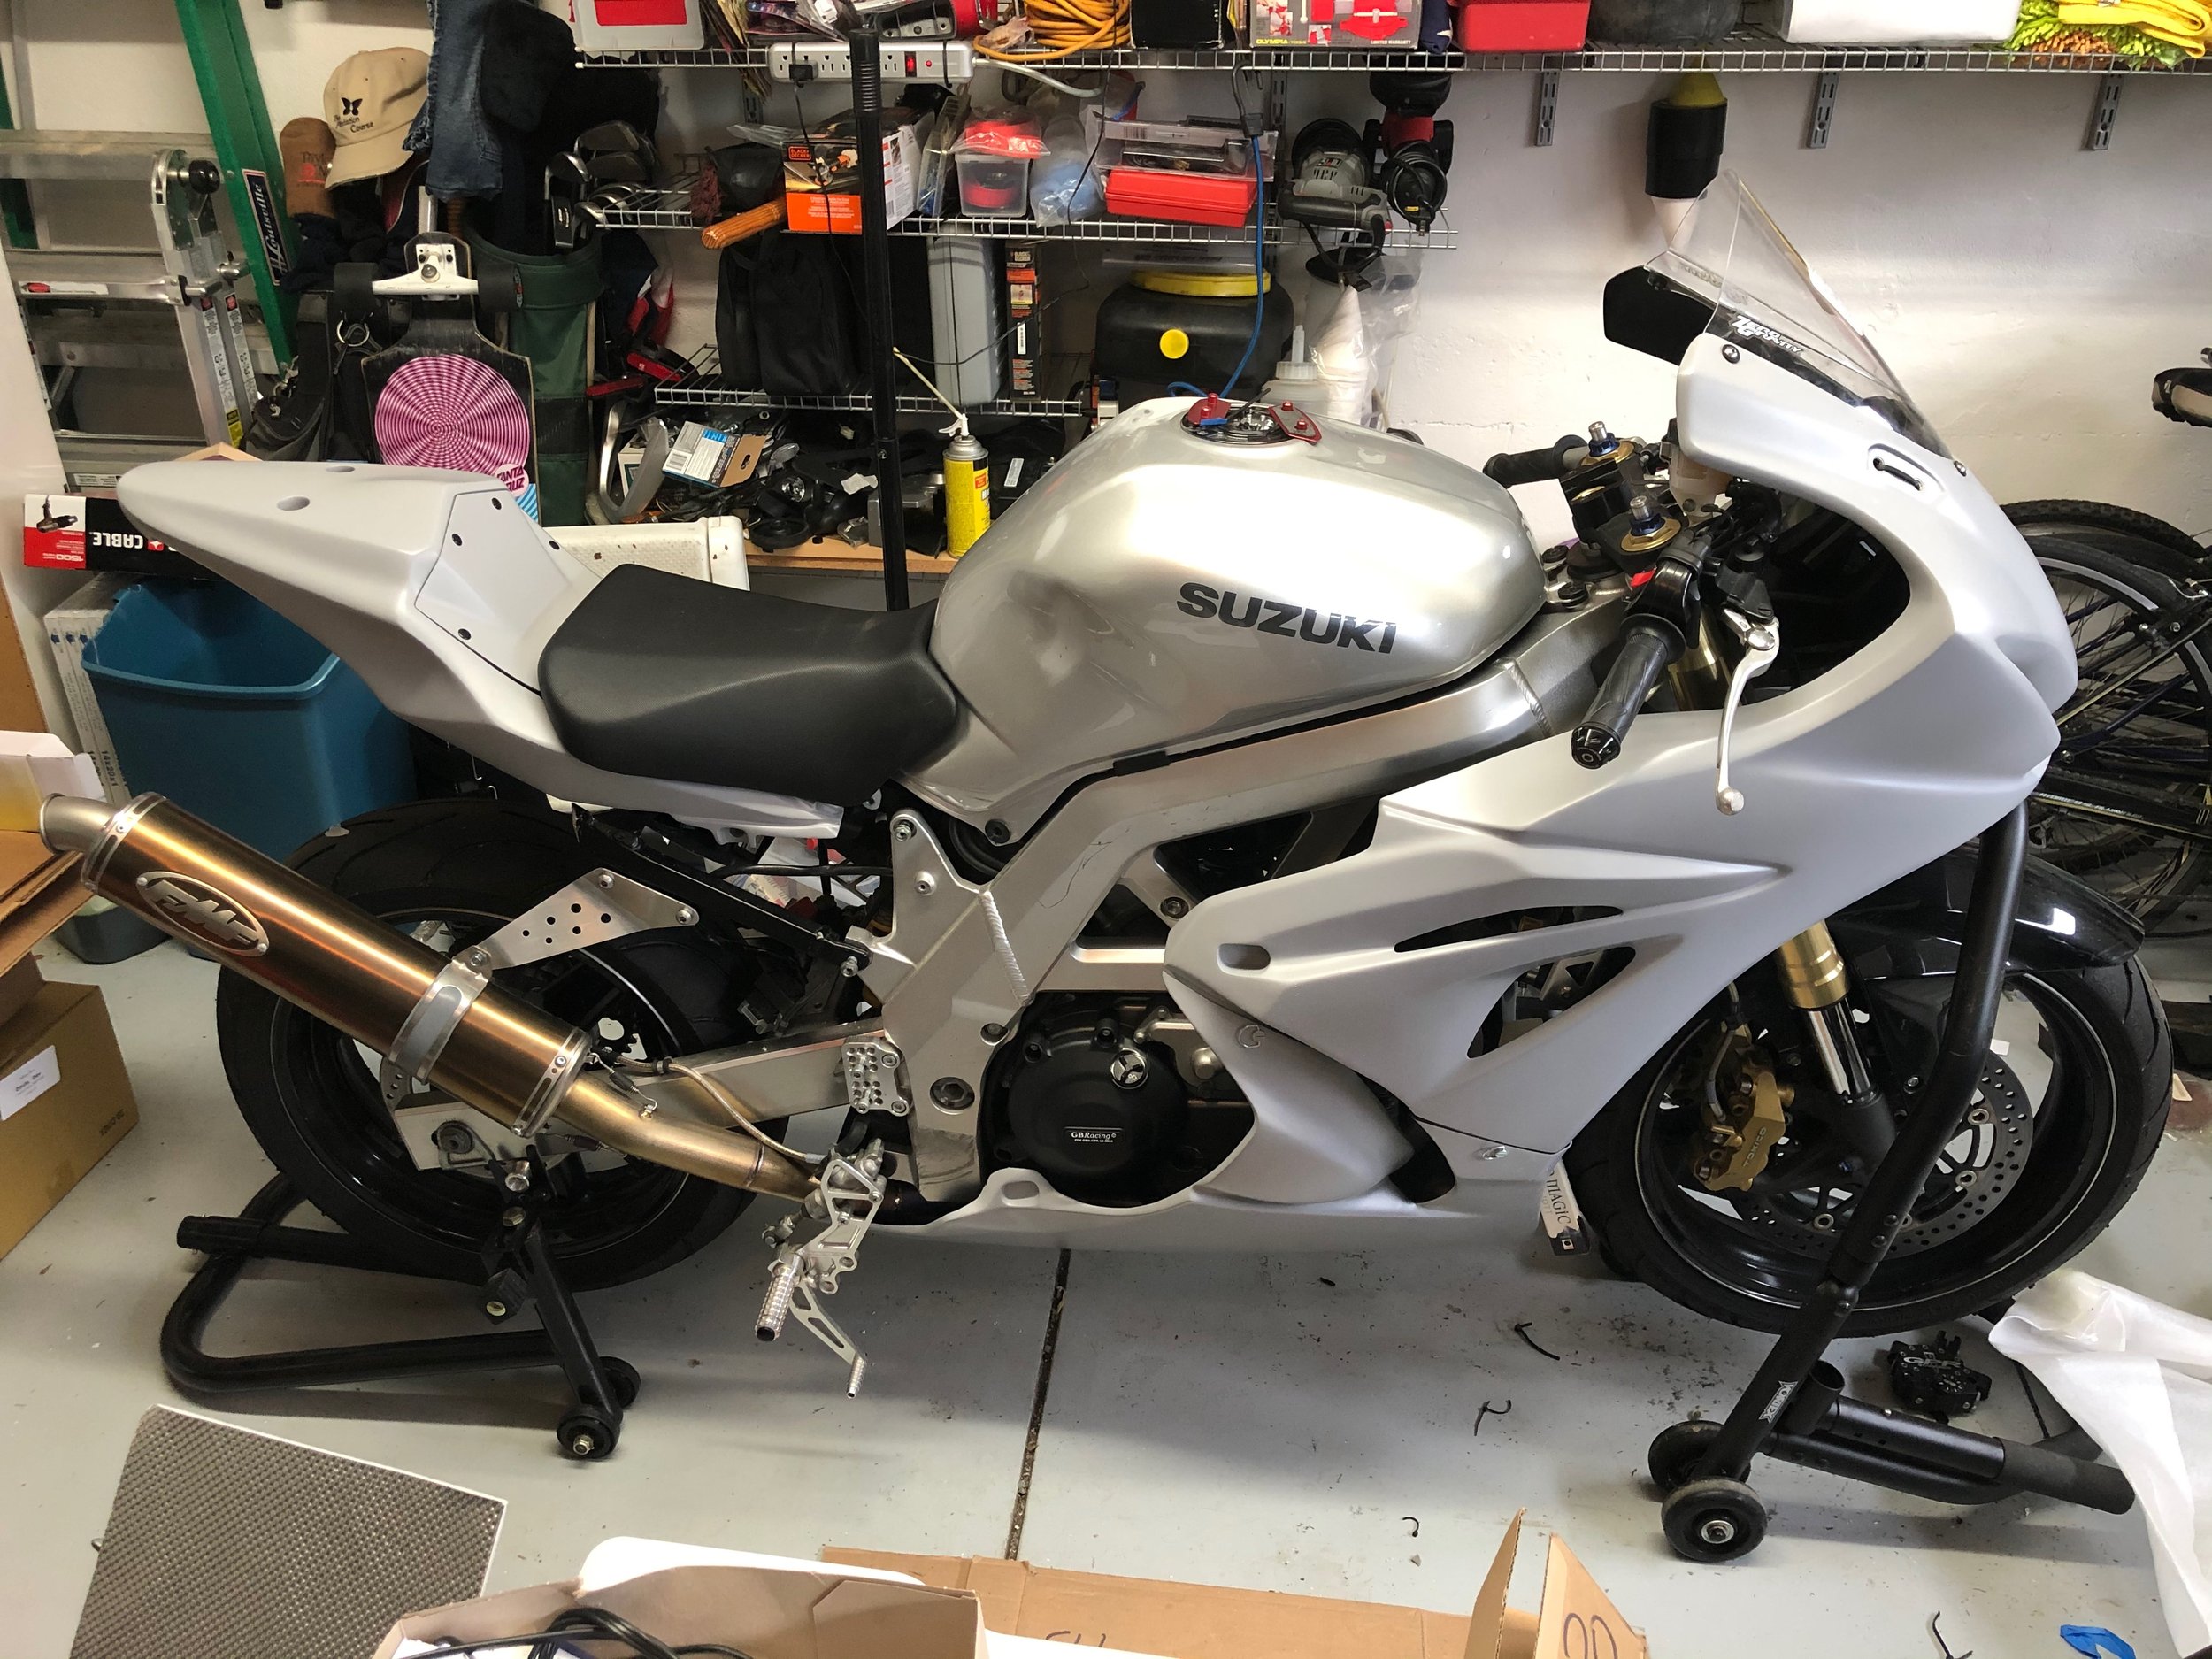
The fairings were relatively easy by comparison, but weren’t without their own need for adjustment. I began with a ‘17+ GSX-R1000R replacement fairing stay sourced from eBay. Fortunately, this perfectly positions everything else involved. The four mounting holes used to attach it to the frame will need to be slotted about 4mm as their axes are a bit closer together than the SV’s. Their mounting surfaces are also about 8mm farther apart than those of the SV so you will need to fill the gaps. I had some plastic washers around that did the trick. The SV hardware will also not be up to the task as they are too short. Find some bolts roughly 2cm longer than the SV’s as well as accompanying nuts to secure the new fairing stay. The SV gauges fit the Gixxer stay in a general sense. The locating post on the bottom fits to the hole on the bottom of the stay in the exact position required. The two posts at the top of the gauge housing do not fit anywhere. This is a simple fix. I strap of aluminum with holes sized and spaced accordingly will do the trick. Re-use the nuts from the gauge housing and you are set. Next up, the plug for the gauges interferes with he top of the fairing stay. Notch the top of the stay accordingly. I chose to drill two holes and cut towards them. You never want a sharp inside corner—those can lead to problems down the road.
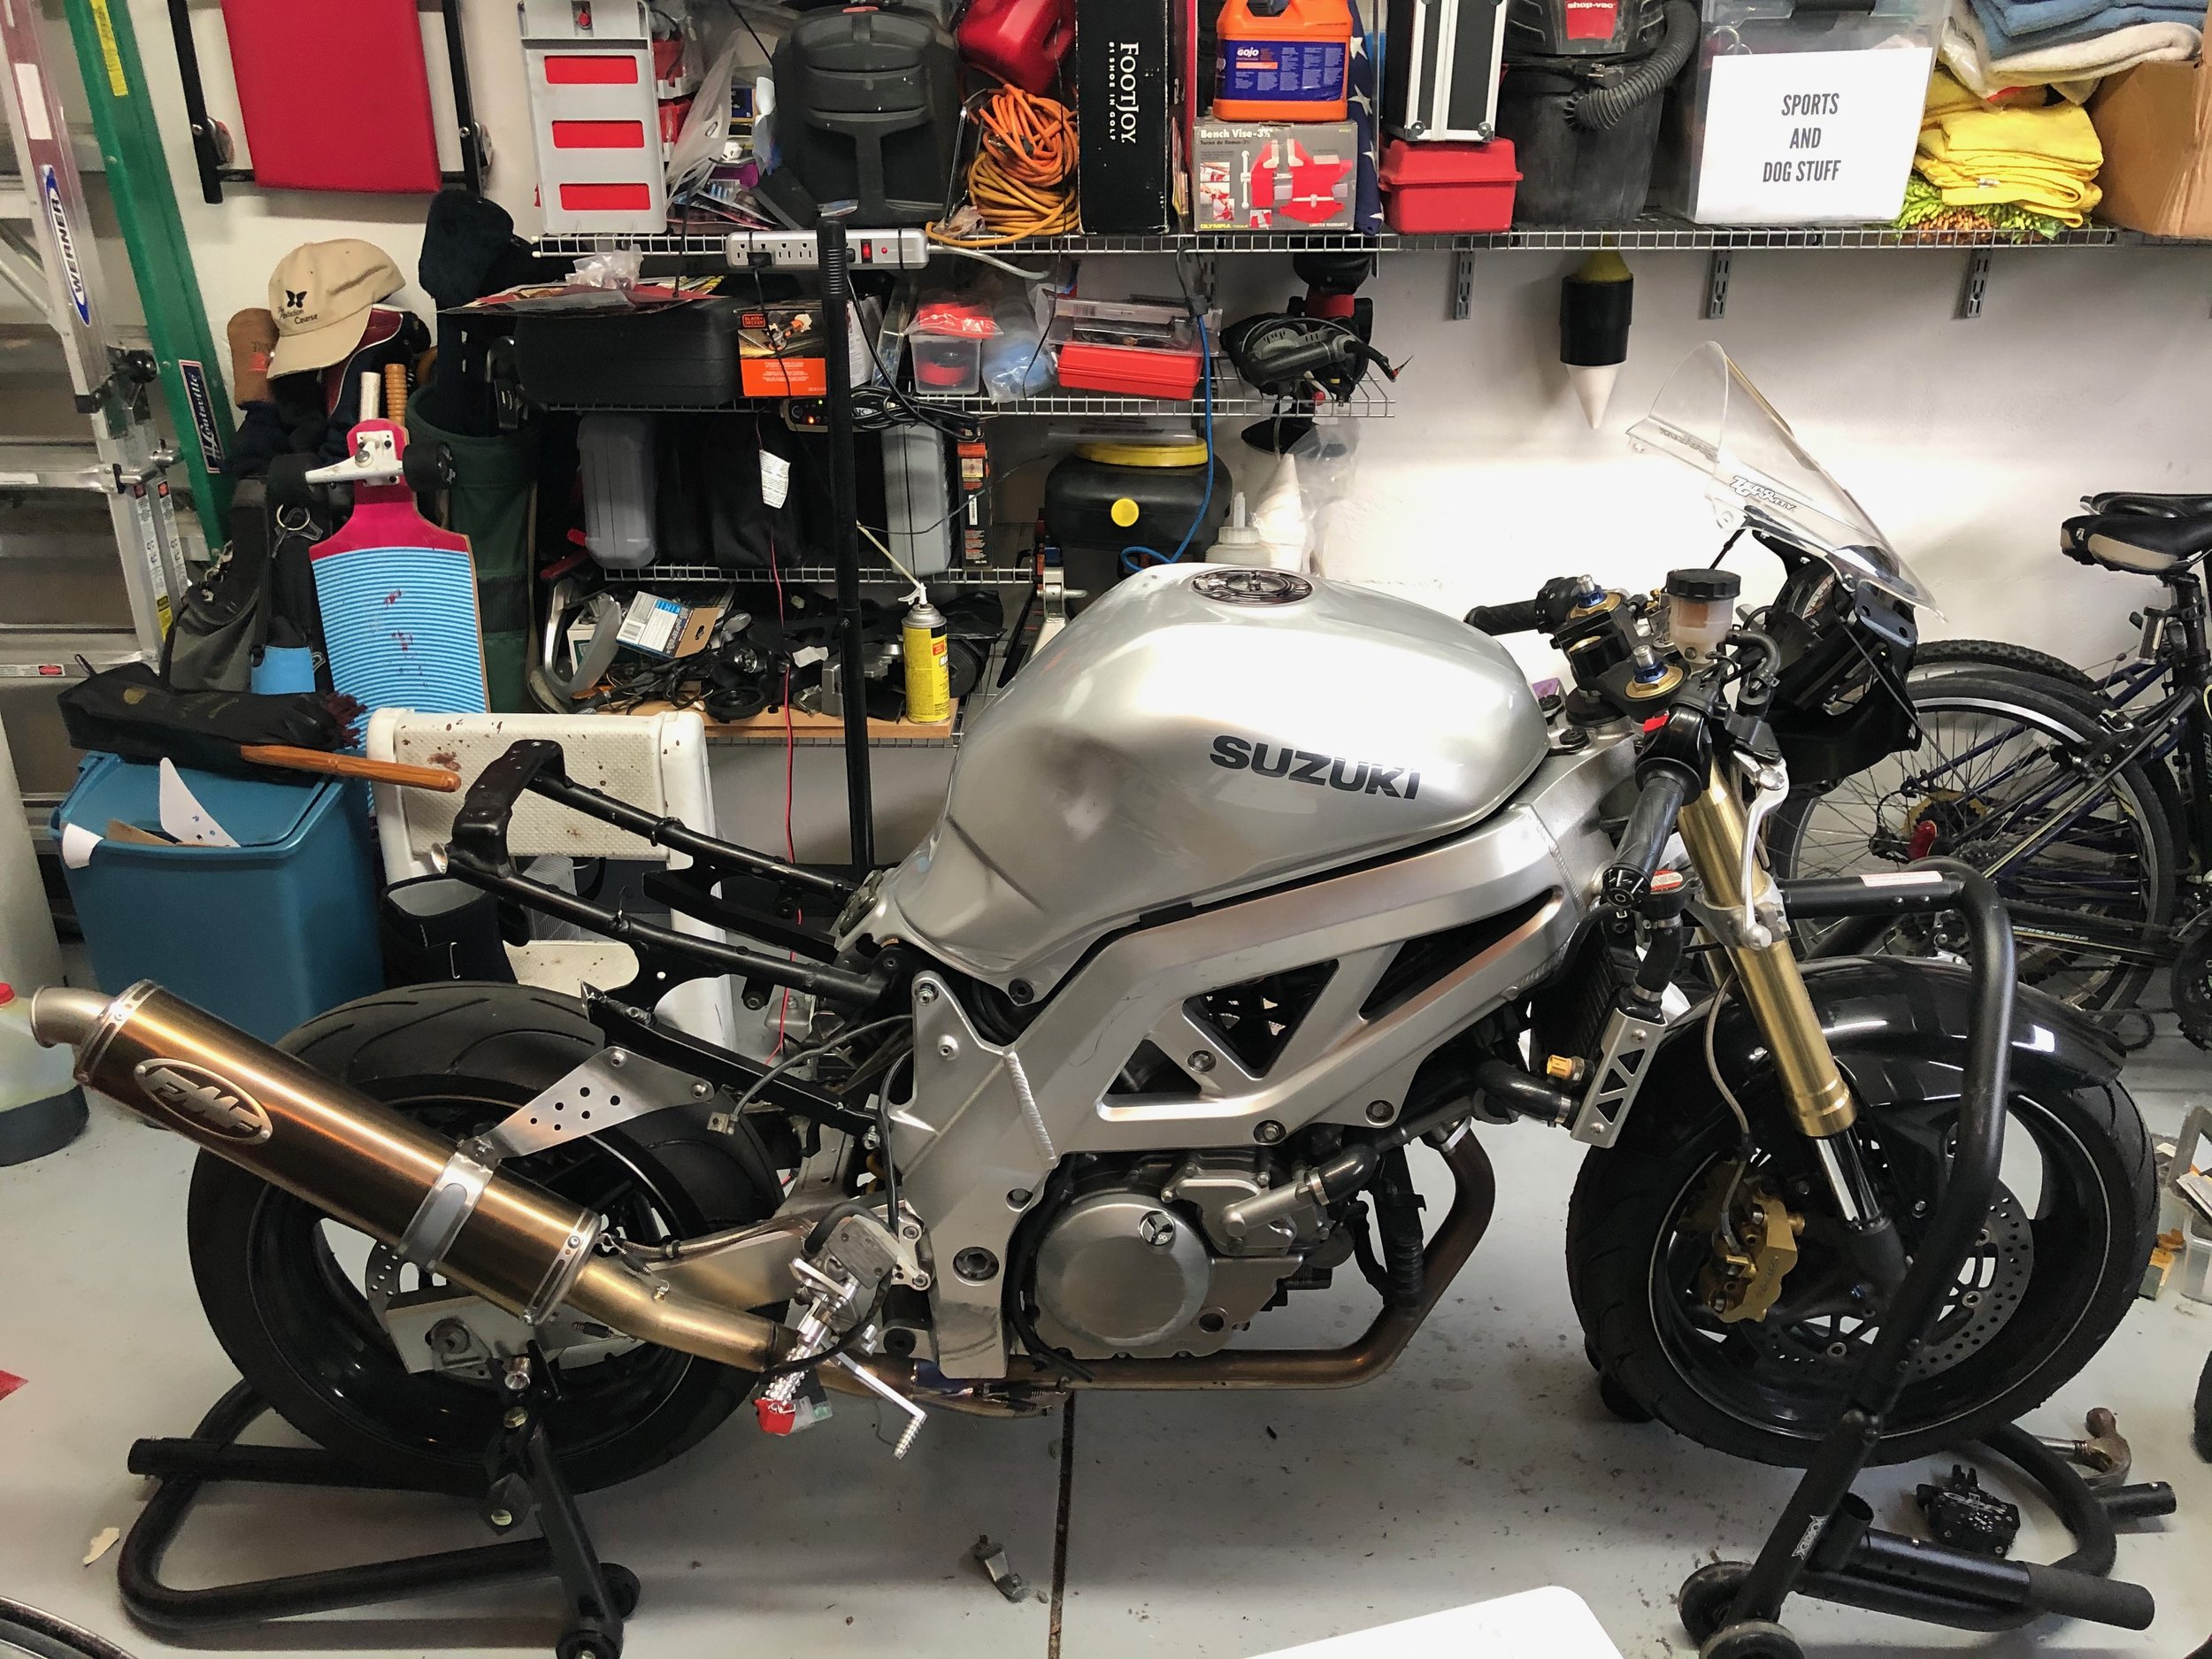
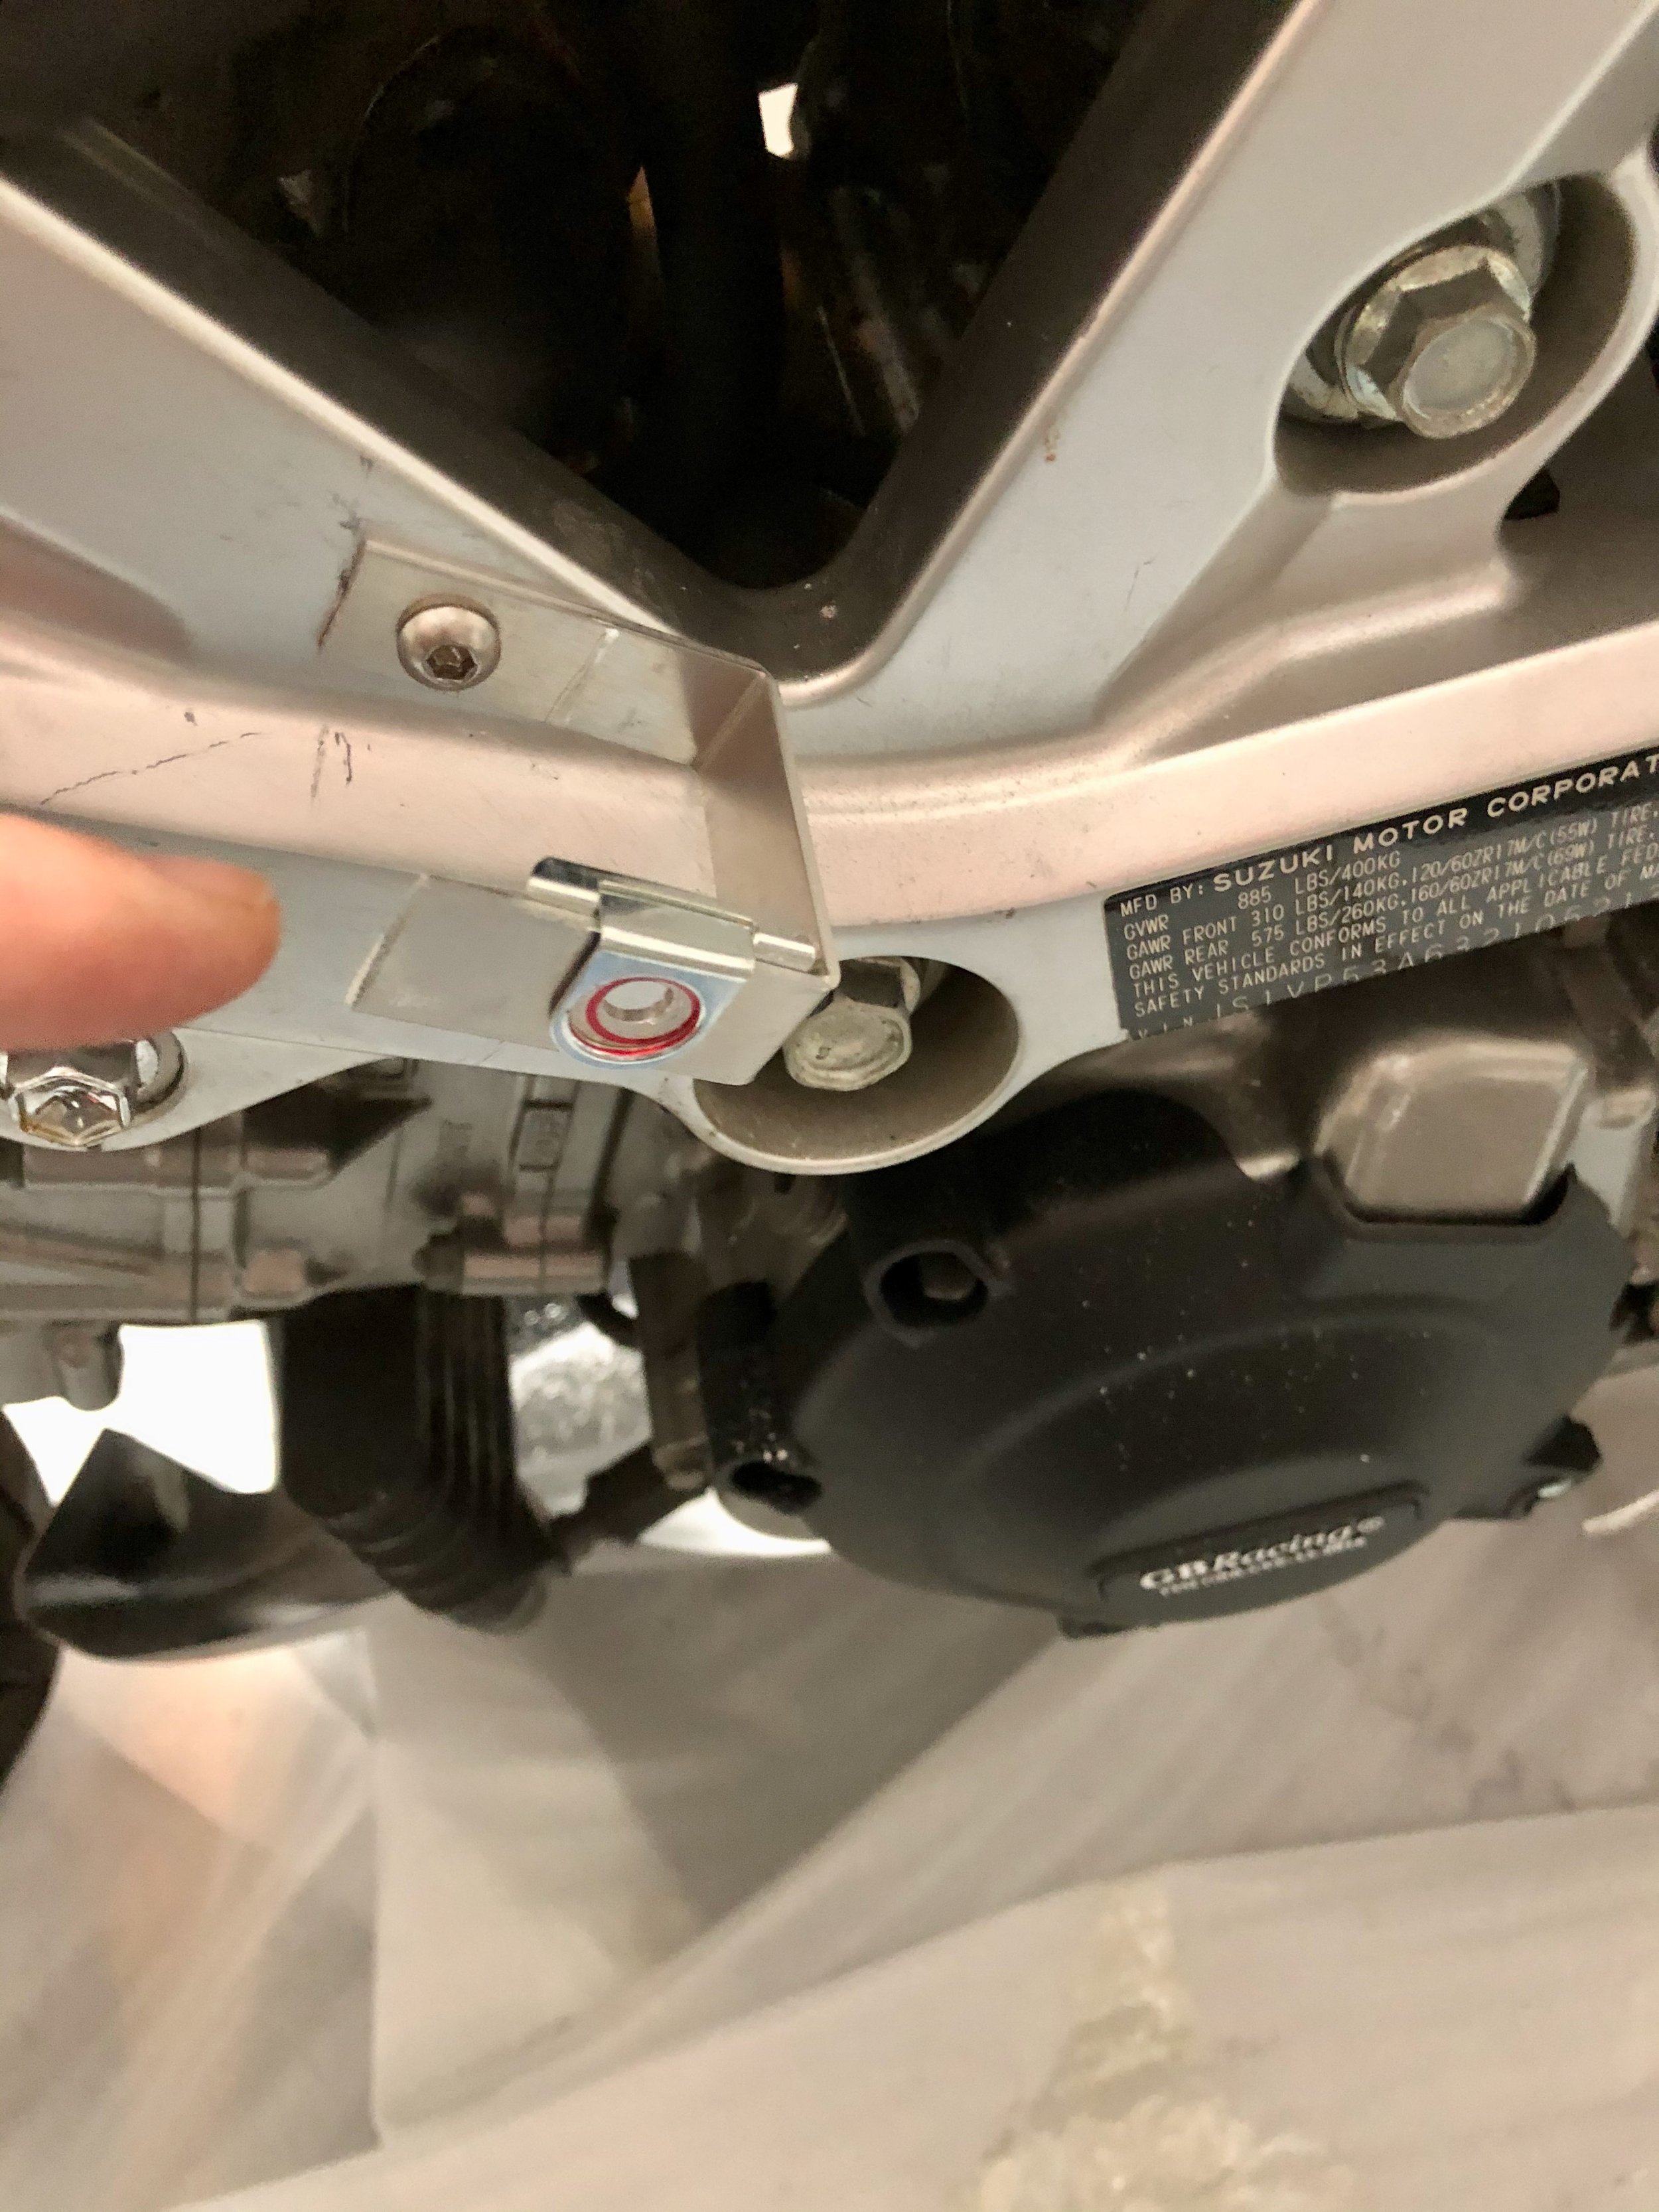
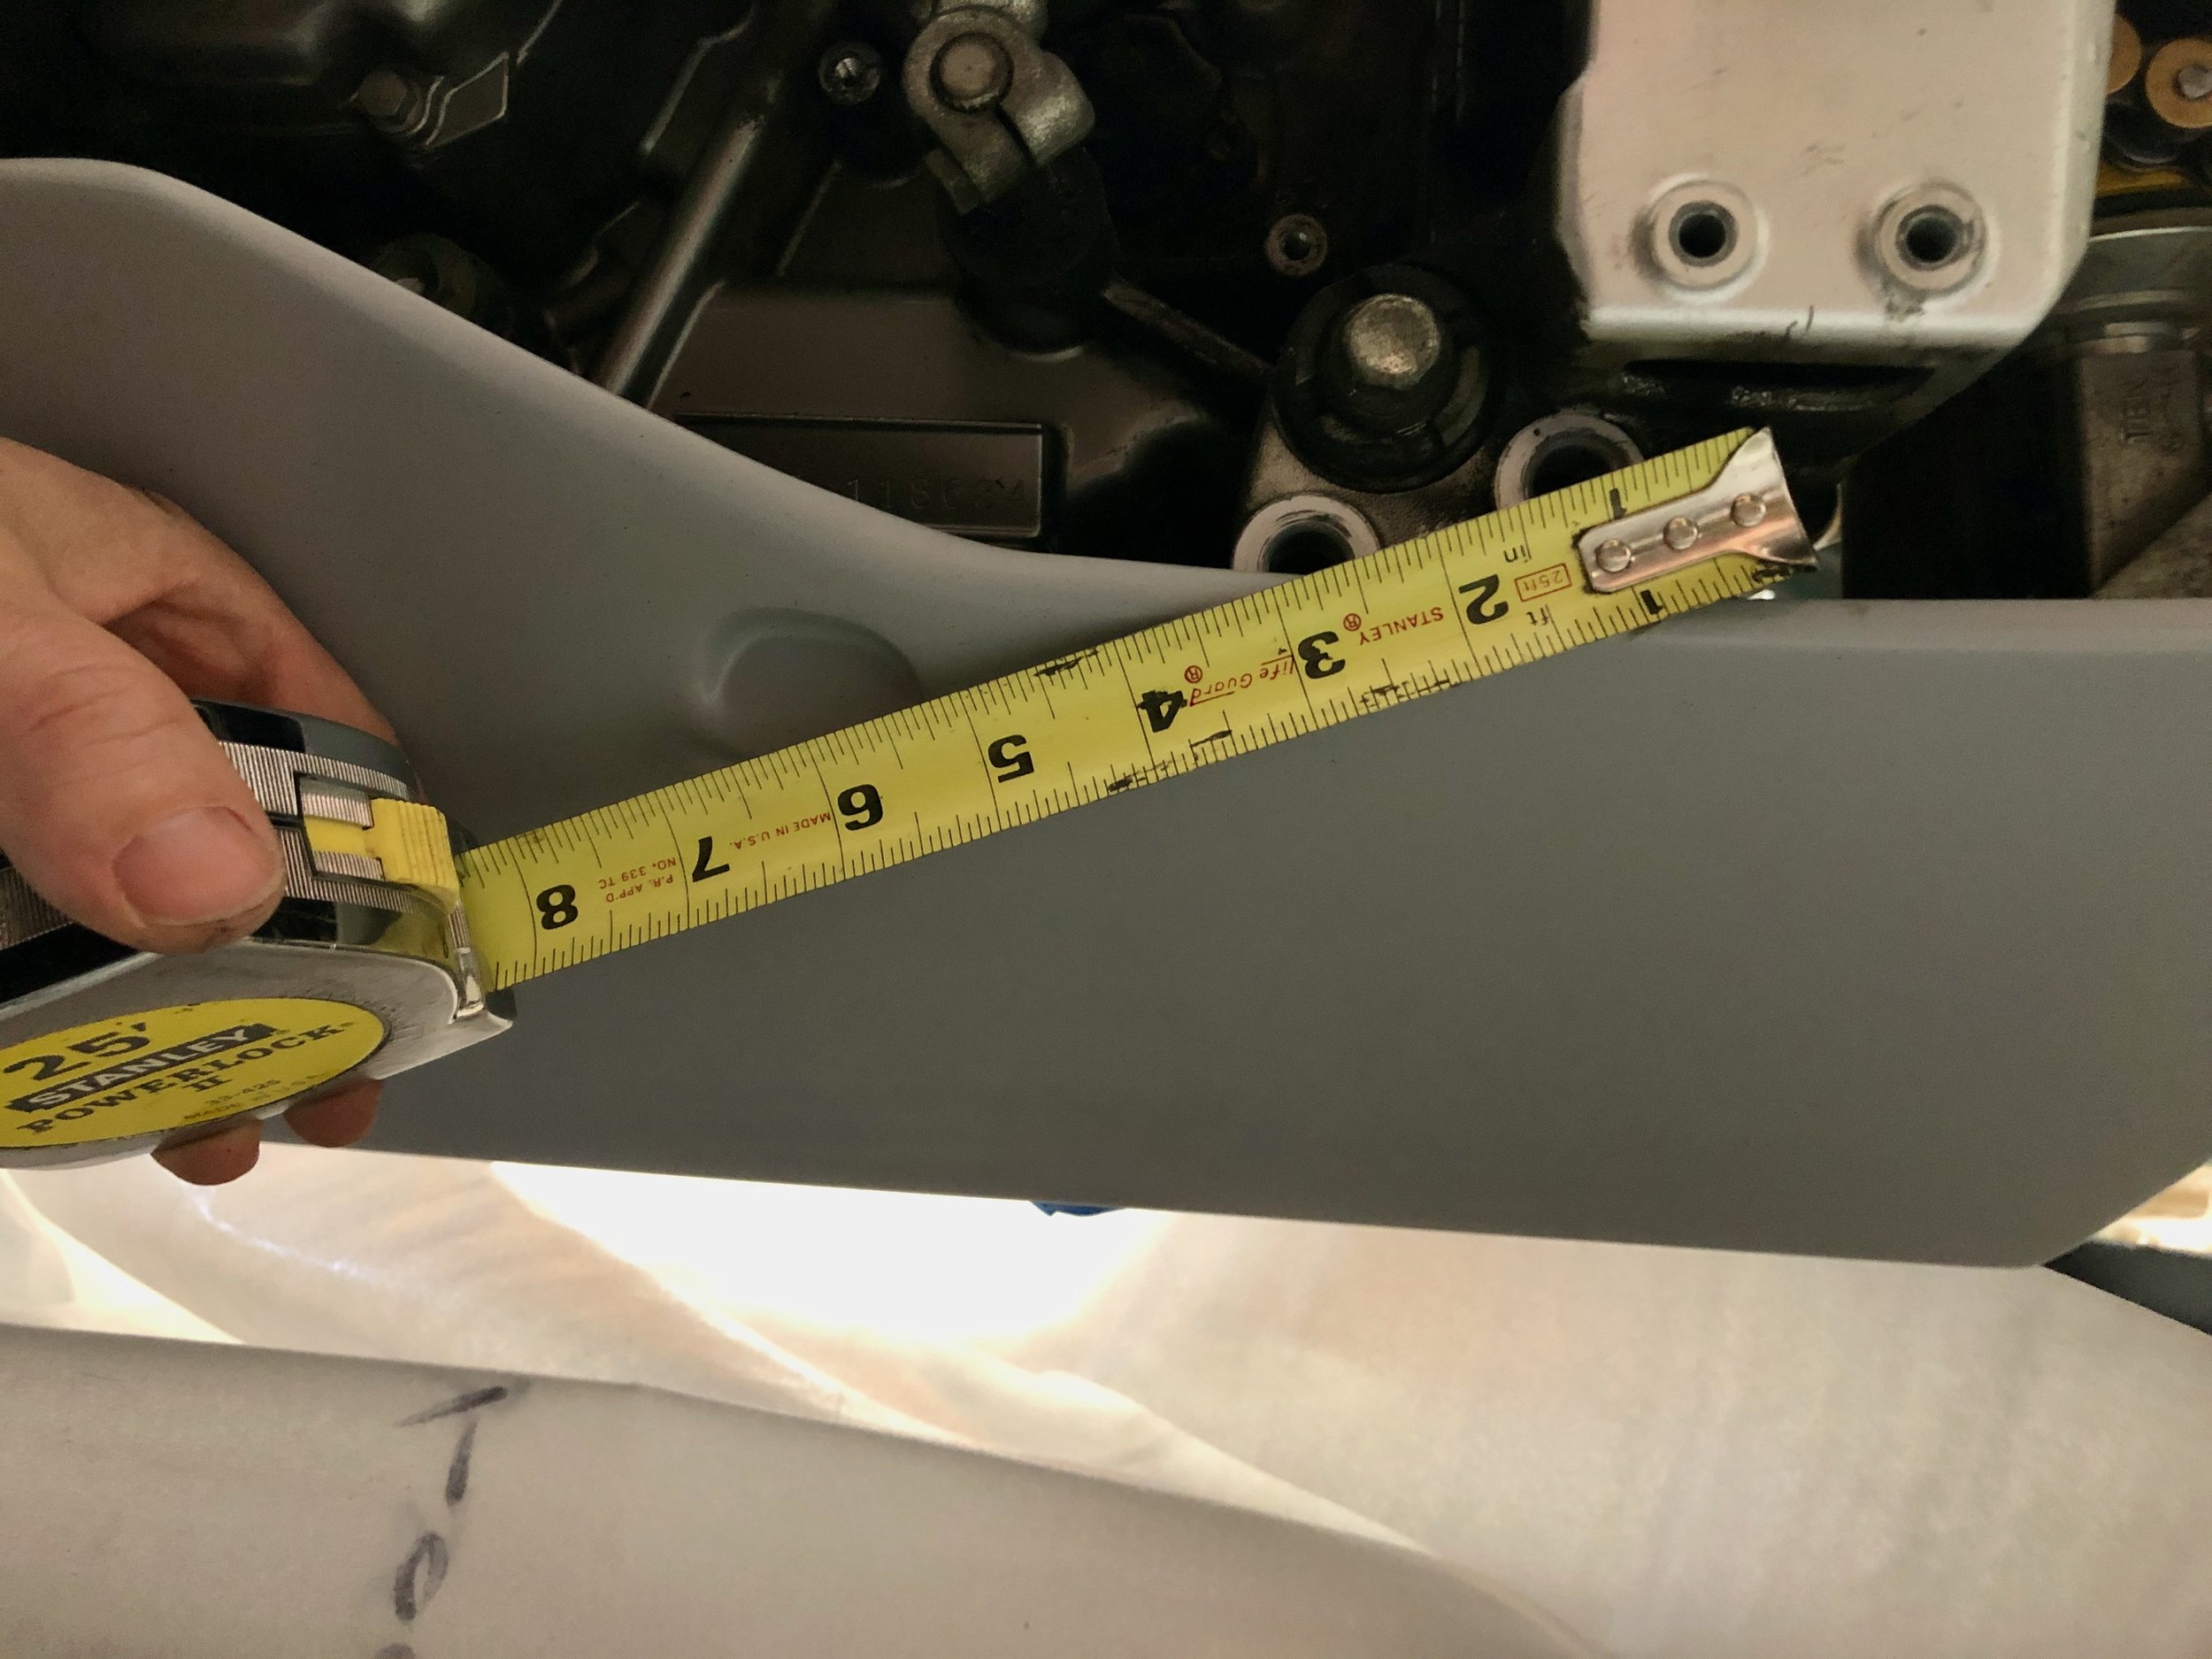
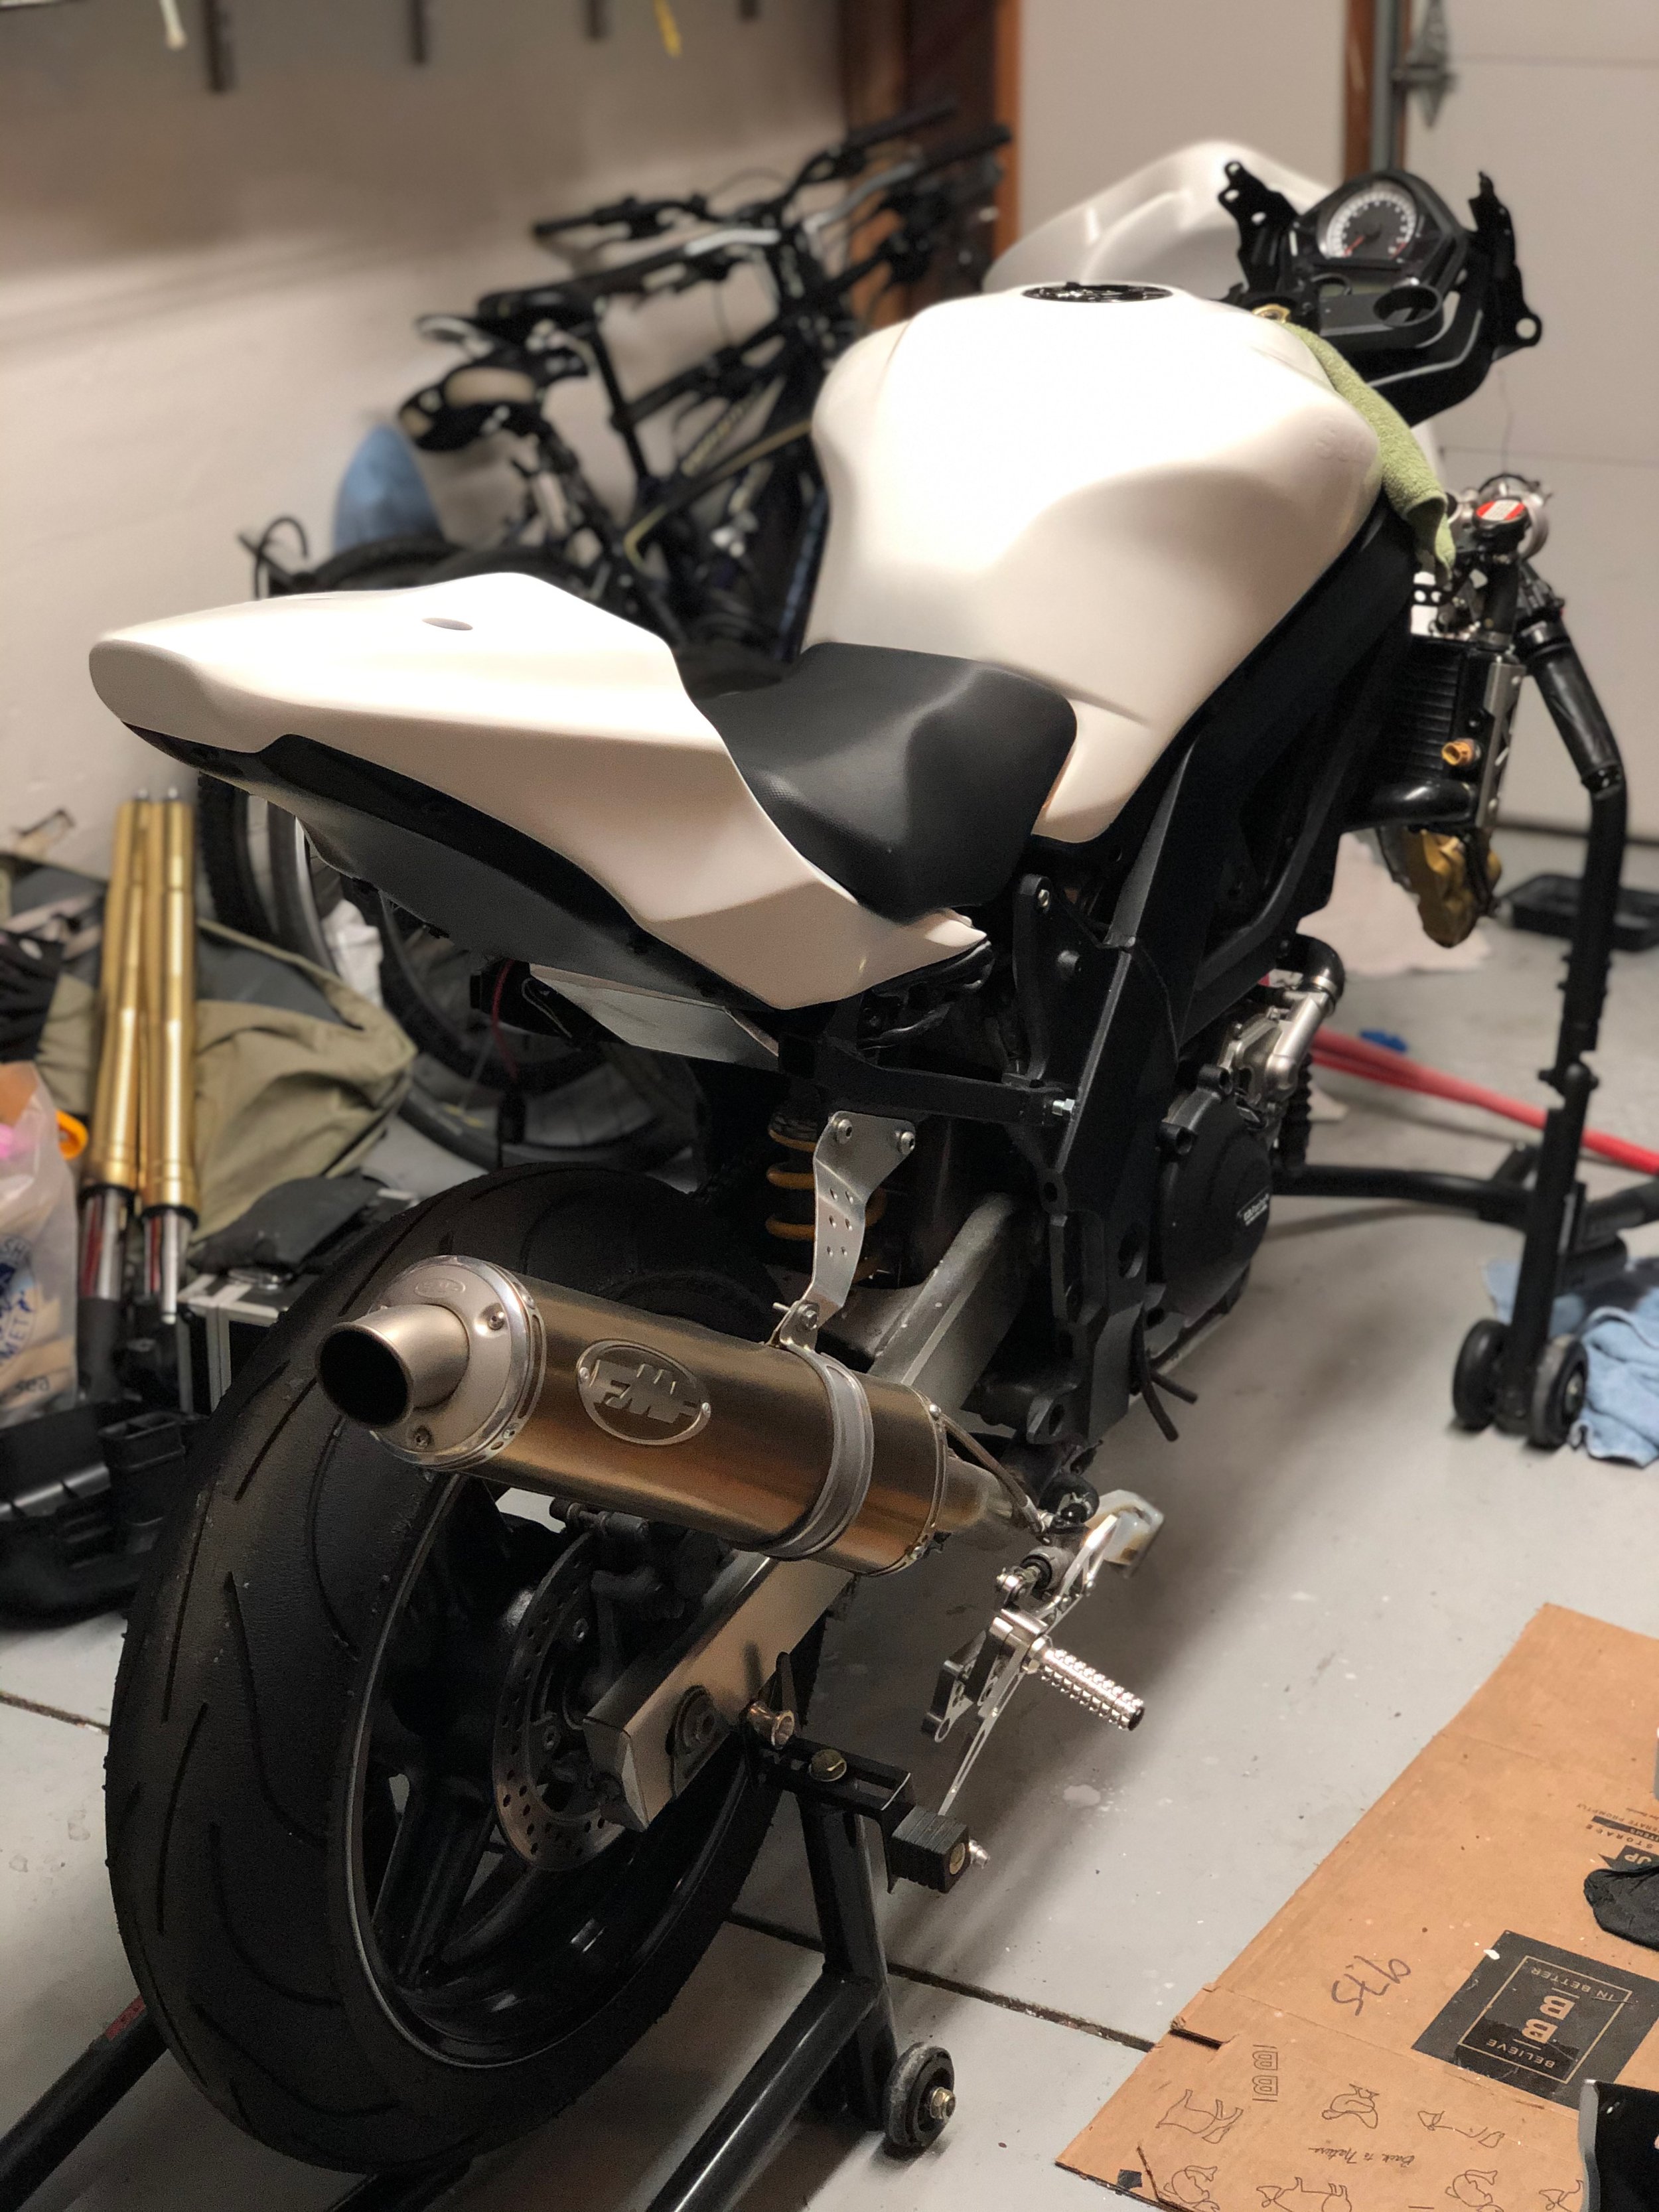
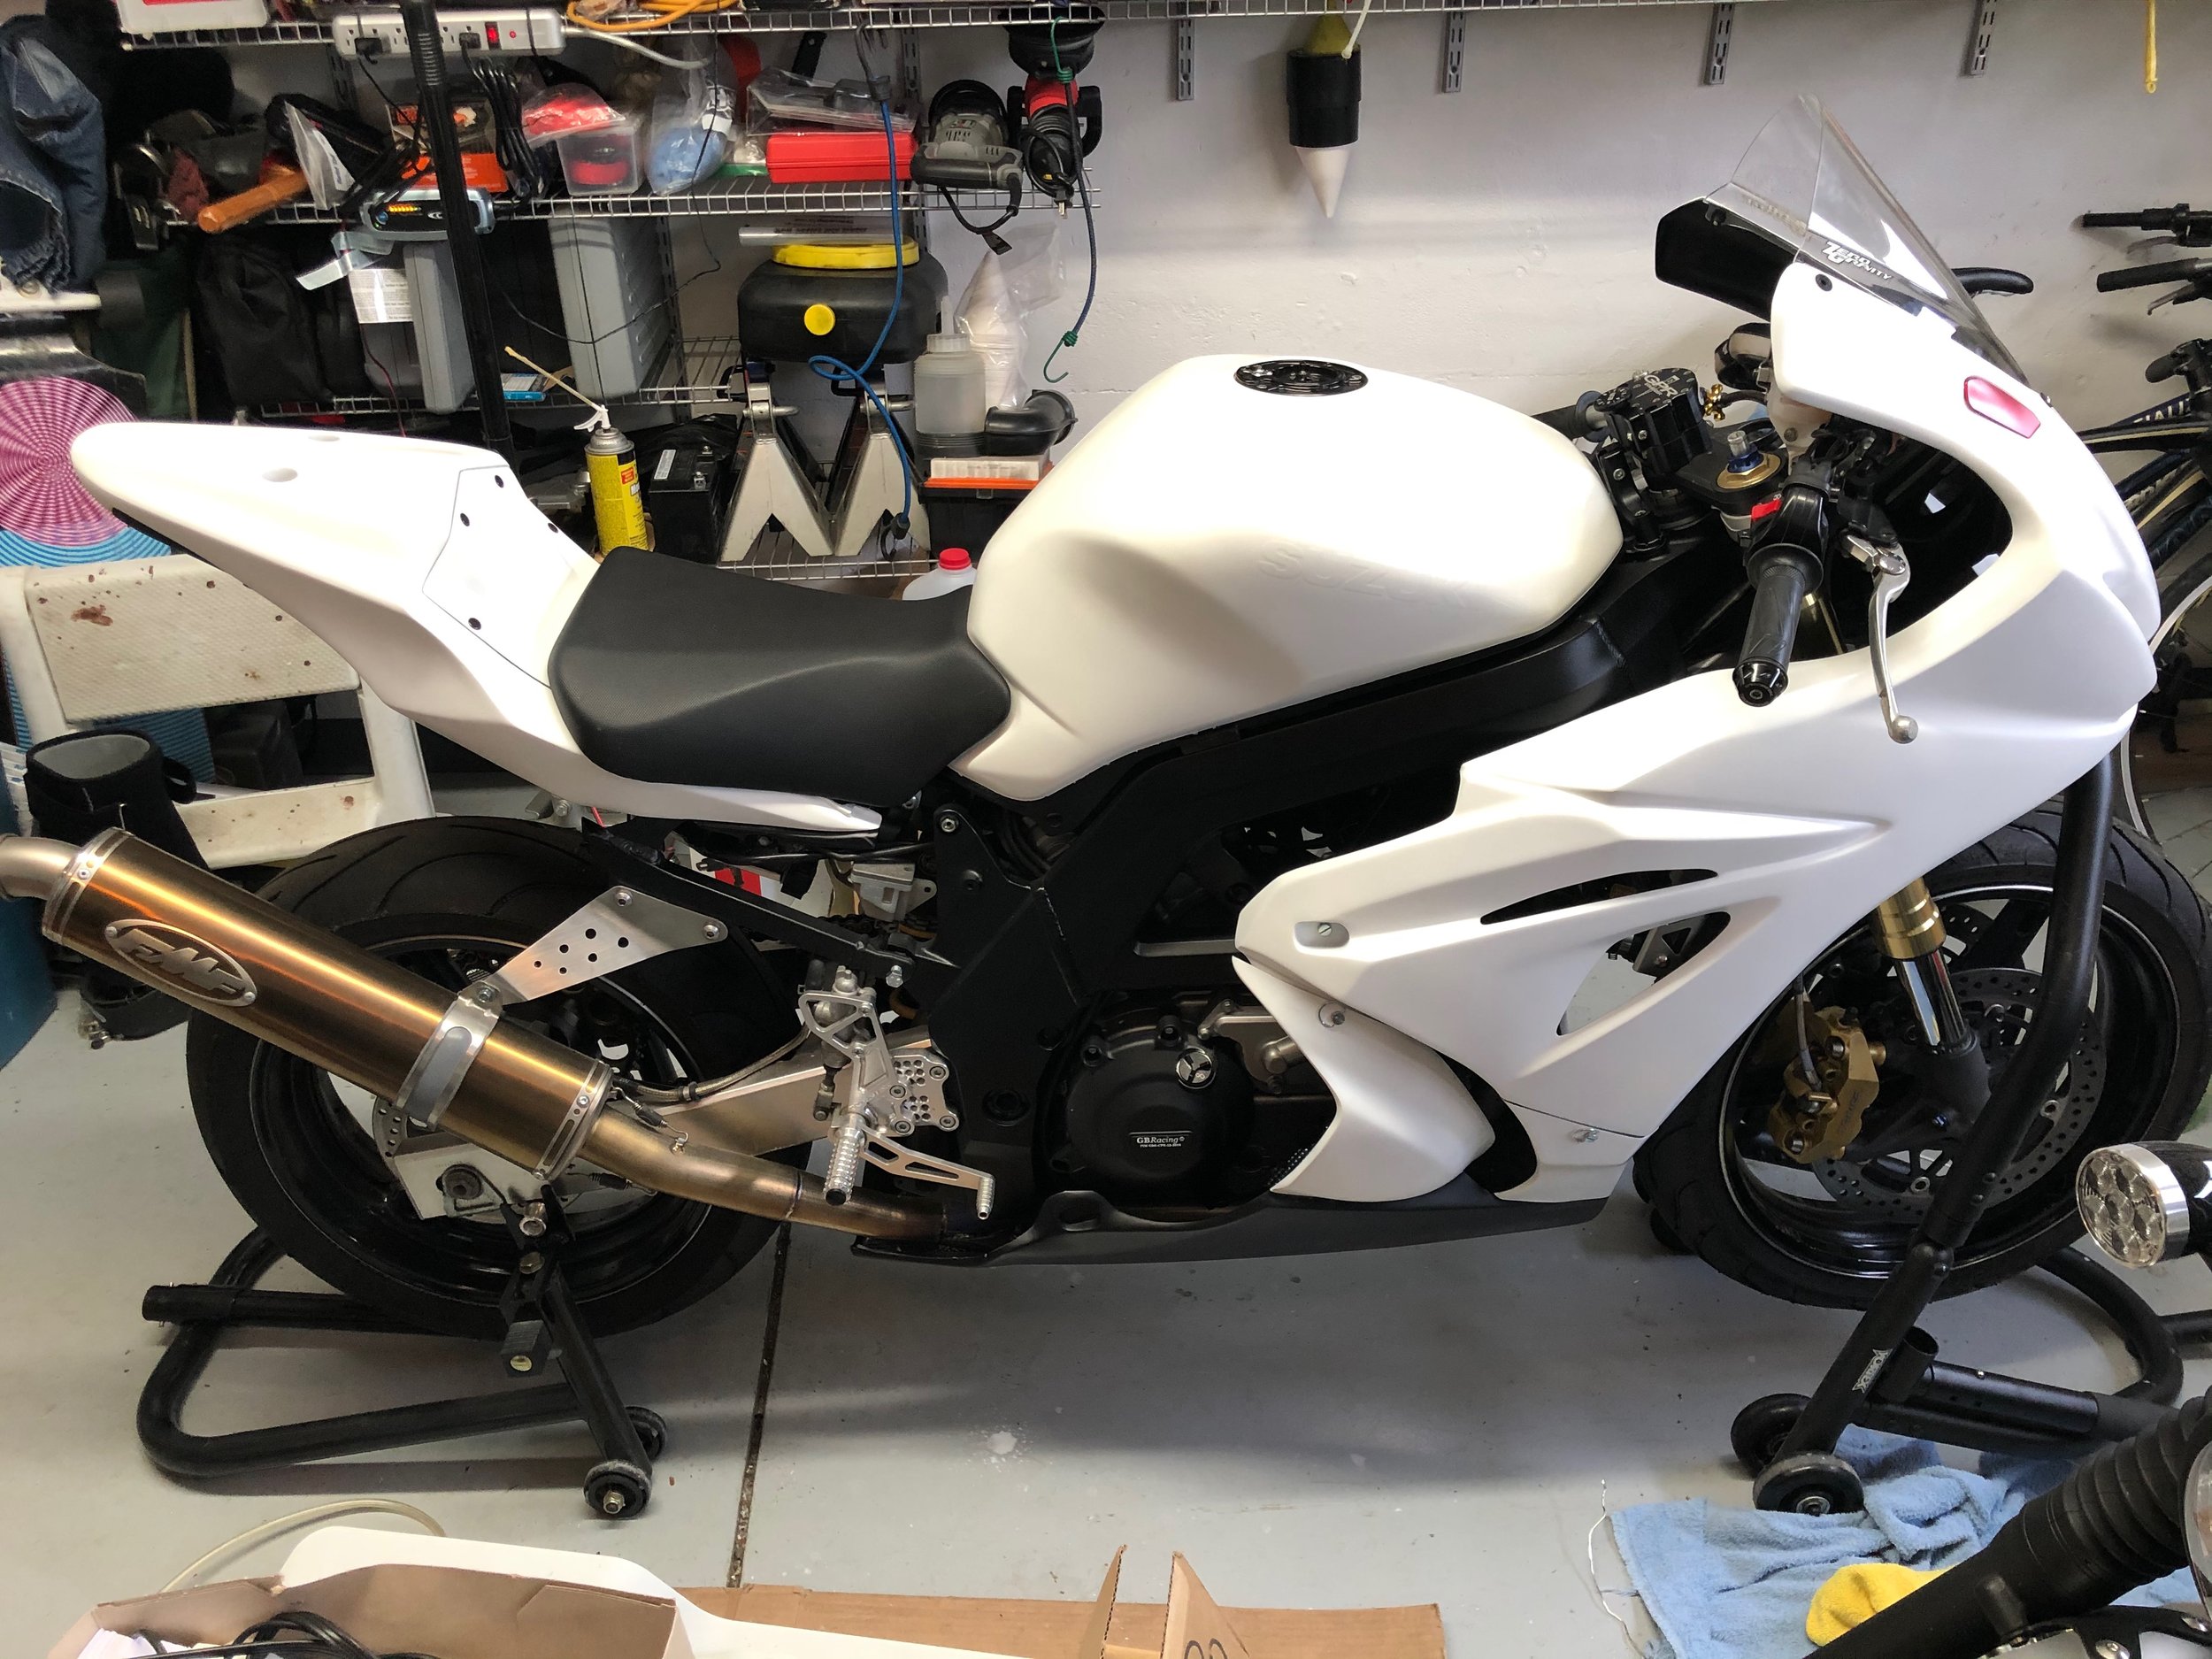
Now comes the funnest part, the most transformational part. Patience was a virtue through this process. You never want to drill more or larger holes than necessary because you rushed. To start the fitment, I drilled out the recesses in the mirror mounting area, but only the top two. From there I double checked that the lower two holes were molded in the correct areas, which they were, and drilled them. As a quick and dirty method, I used cable ties to attach the fairing to the stay. Next, I set up the belly pan, filling the space between it and the floor with books until it lined up with the upper fairing. Note in the pictures above there are small winglets that would align with similar features on the Gixxer tank cover. These interfere with the fitment and must be cut off. I used fine line masking tape to create a natural looking curve and followed it with a Dremel cutoff wheel to remove the winglets. This left me with about 1cm of clearance on each side of the frame. When I had the belly pan in place and could see that there was no interference, I drilled the mounting holes in it for attachment to the upper fairing. At this point I could see exactly how it would line up with the upper fairing and marked holes on it through the holes I had just drilled in the belly pan. Attaching them with Dzus fasteners had it looking almost finished, though in reality there was plenty left to do. At this point I focused on attaching the fairing to the frame. With the bodywork mocked up I could measure the distance between the upper fairing’s mating surface and that of the frame. Armed with that information I bent a couple of strips of aluminum accordingly, making sure to have enough room to locate the clip on the Dzus fastener. I removed the bodywork, drilled and tapped a hole in the frame and mounted my new brackets to it. It is important to locate that hole properly. While the bend of the brackets offers some flexibility, you want to avoid drilling into the ribbing on the back side of the frame which would complicate things a bit. I drilled a hole in the recessed mounting area on each side of the fairing where provided and traced that hole onto my brackets for the Dzus fasteners. The recesses on the fairing are fairly deep and narrow, so for this area I simply removed the D-ring from the fastener and use a standard screwdriver. The last step was to fasten the back edge of the belly pan to the bike. For this I chose to use the side stand mounting holes, since I had eliminated it already. As an aside, you can’t just unbolt and unplug the side stand and expect the bike to function, but it’s pretty easy to do nonetheless. I picked up a side stand elimination plug from Woodcraft. I used the side stand mounting hardware and built a bracket to reach the mounting recess molded into the belly pan. I have found this single attachment point to the bike sufficient for supporting it, though a second one on the right side wouldn’t hurt.
For more on this, be sure to see my bodywork video and write up.
Painting the Blank Canvas
This is an area where you can sink a lot of money into your project. Professional paint jobs can get expensive in a hurry. Again, I’m not looking to make anything too precious, but I do have standards. My very basic design made much of the work easy. Using vinyl graphics later on gave me a lot more freedom in my design choices, so the base didn’t require anything too elaborate, plus changing graphics later is pretty easy with vinyl.
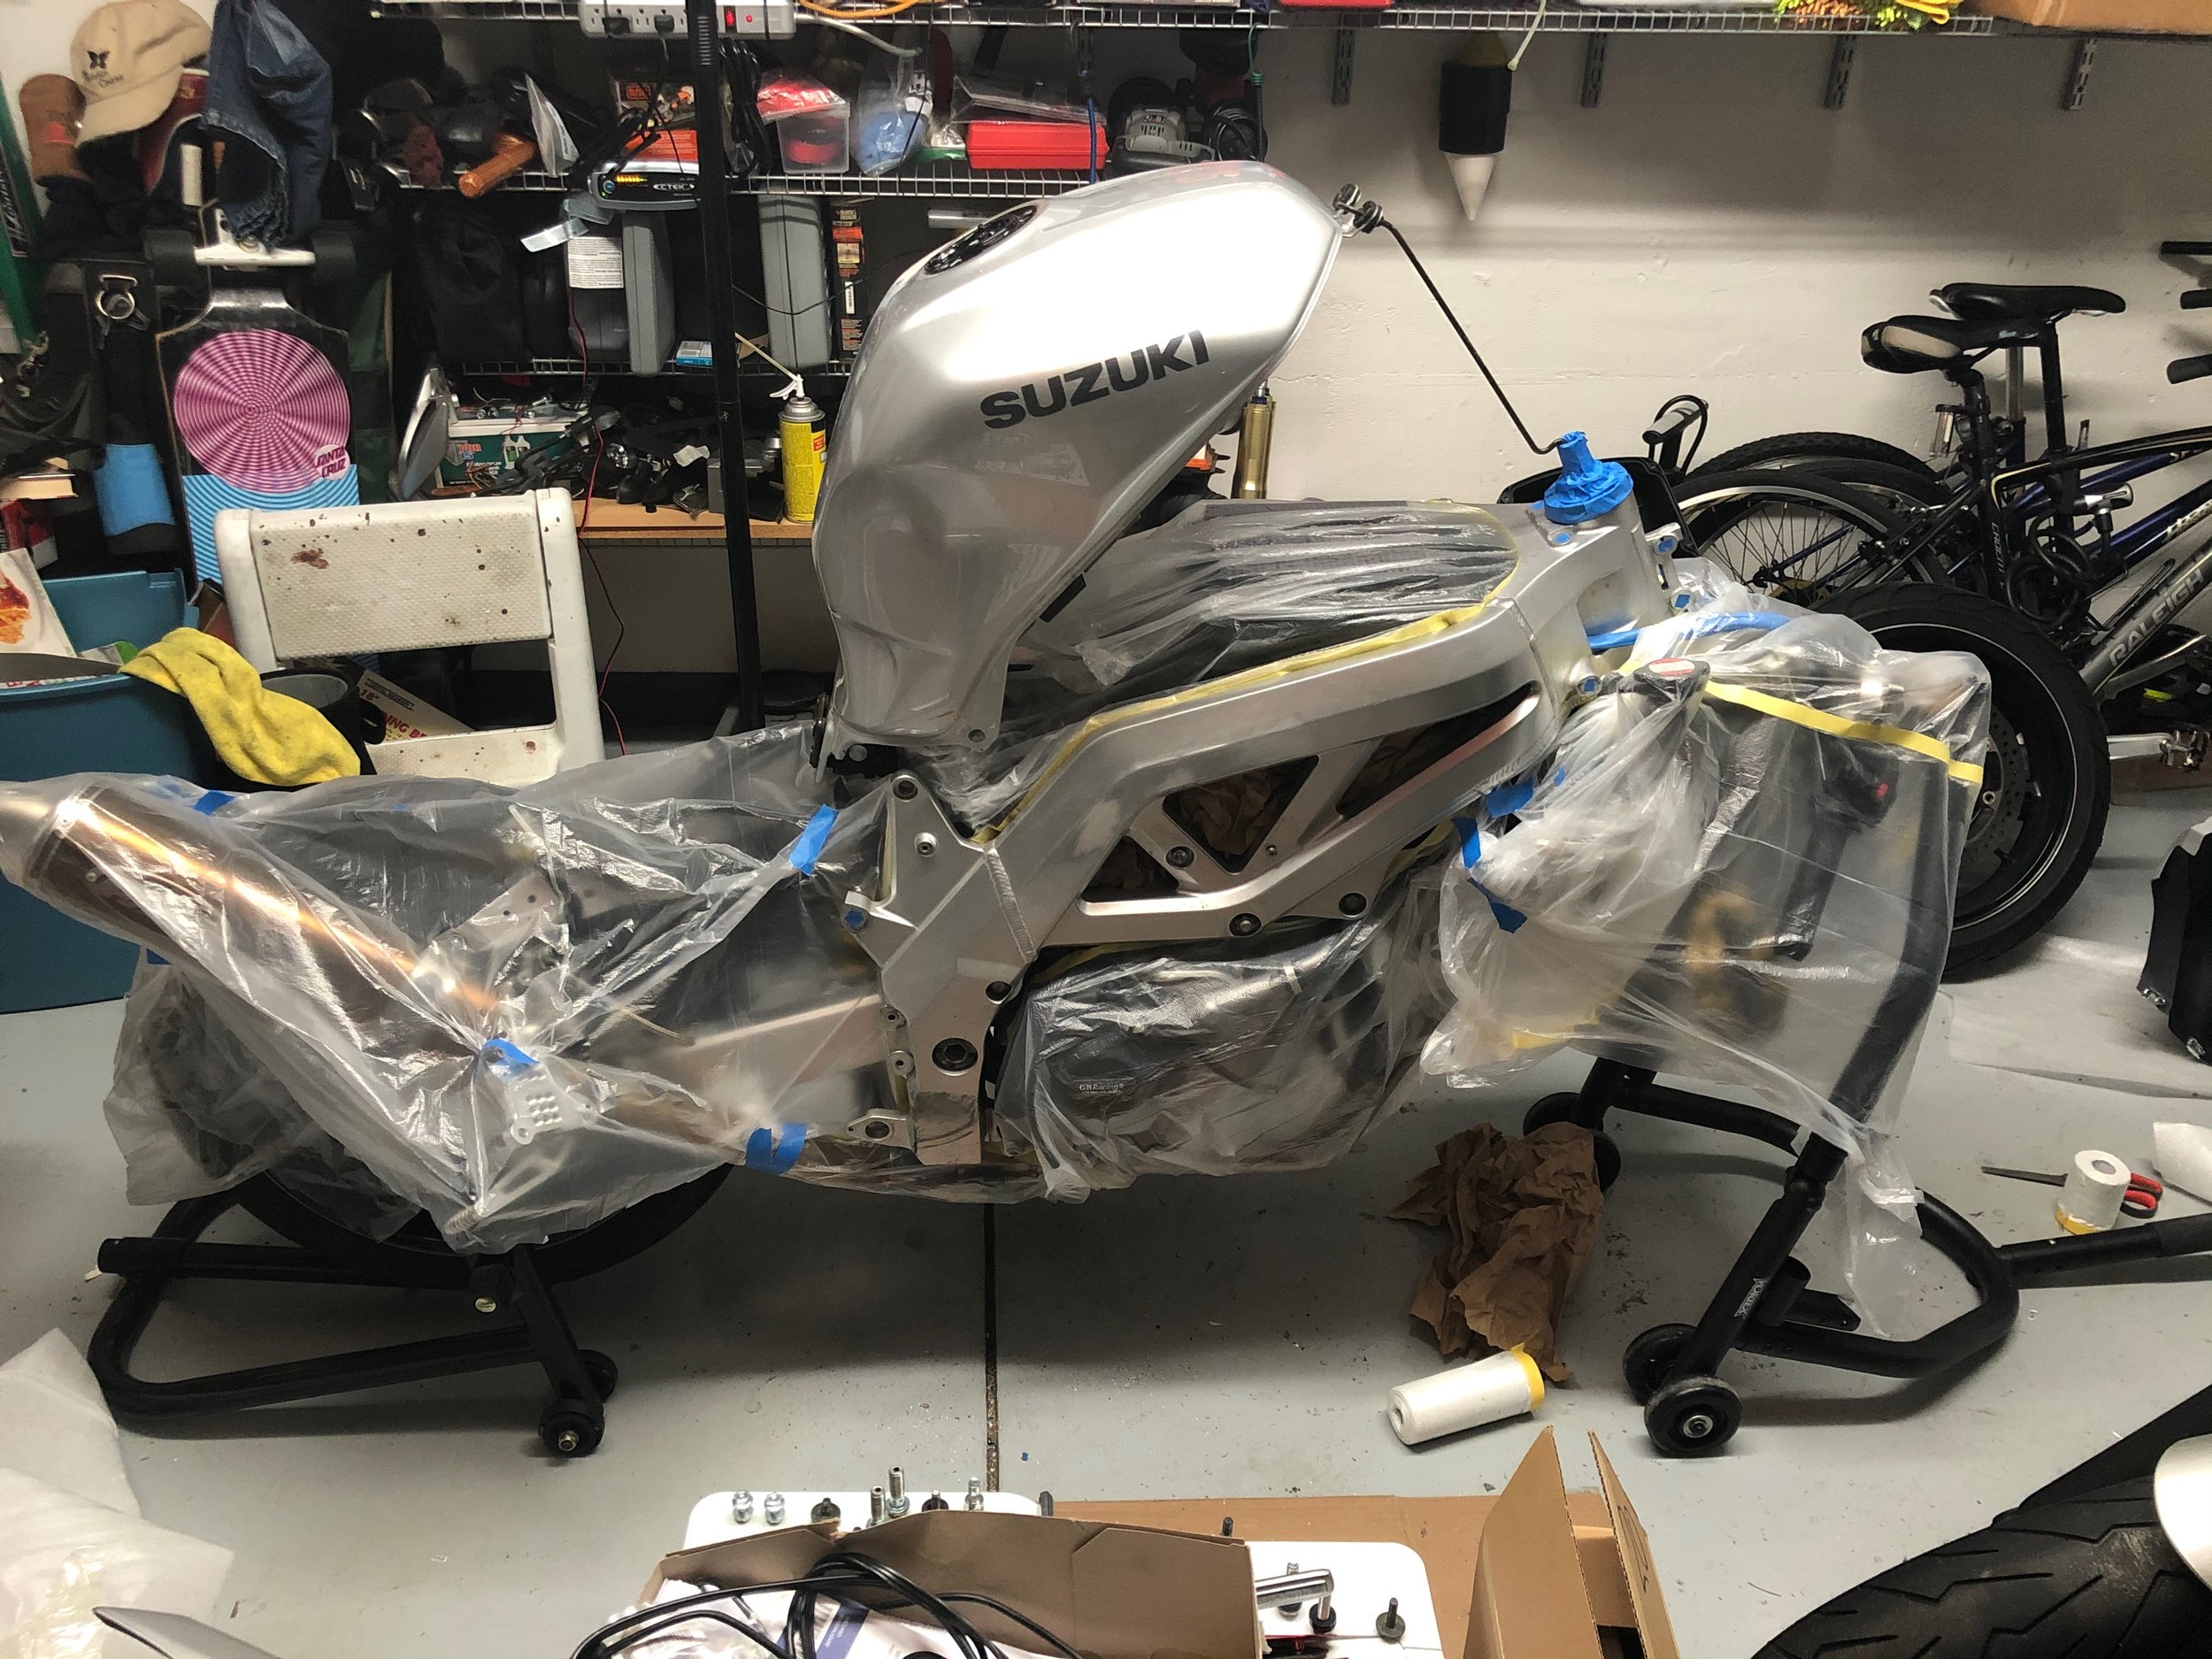
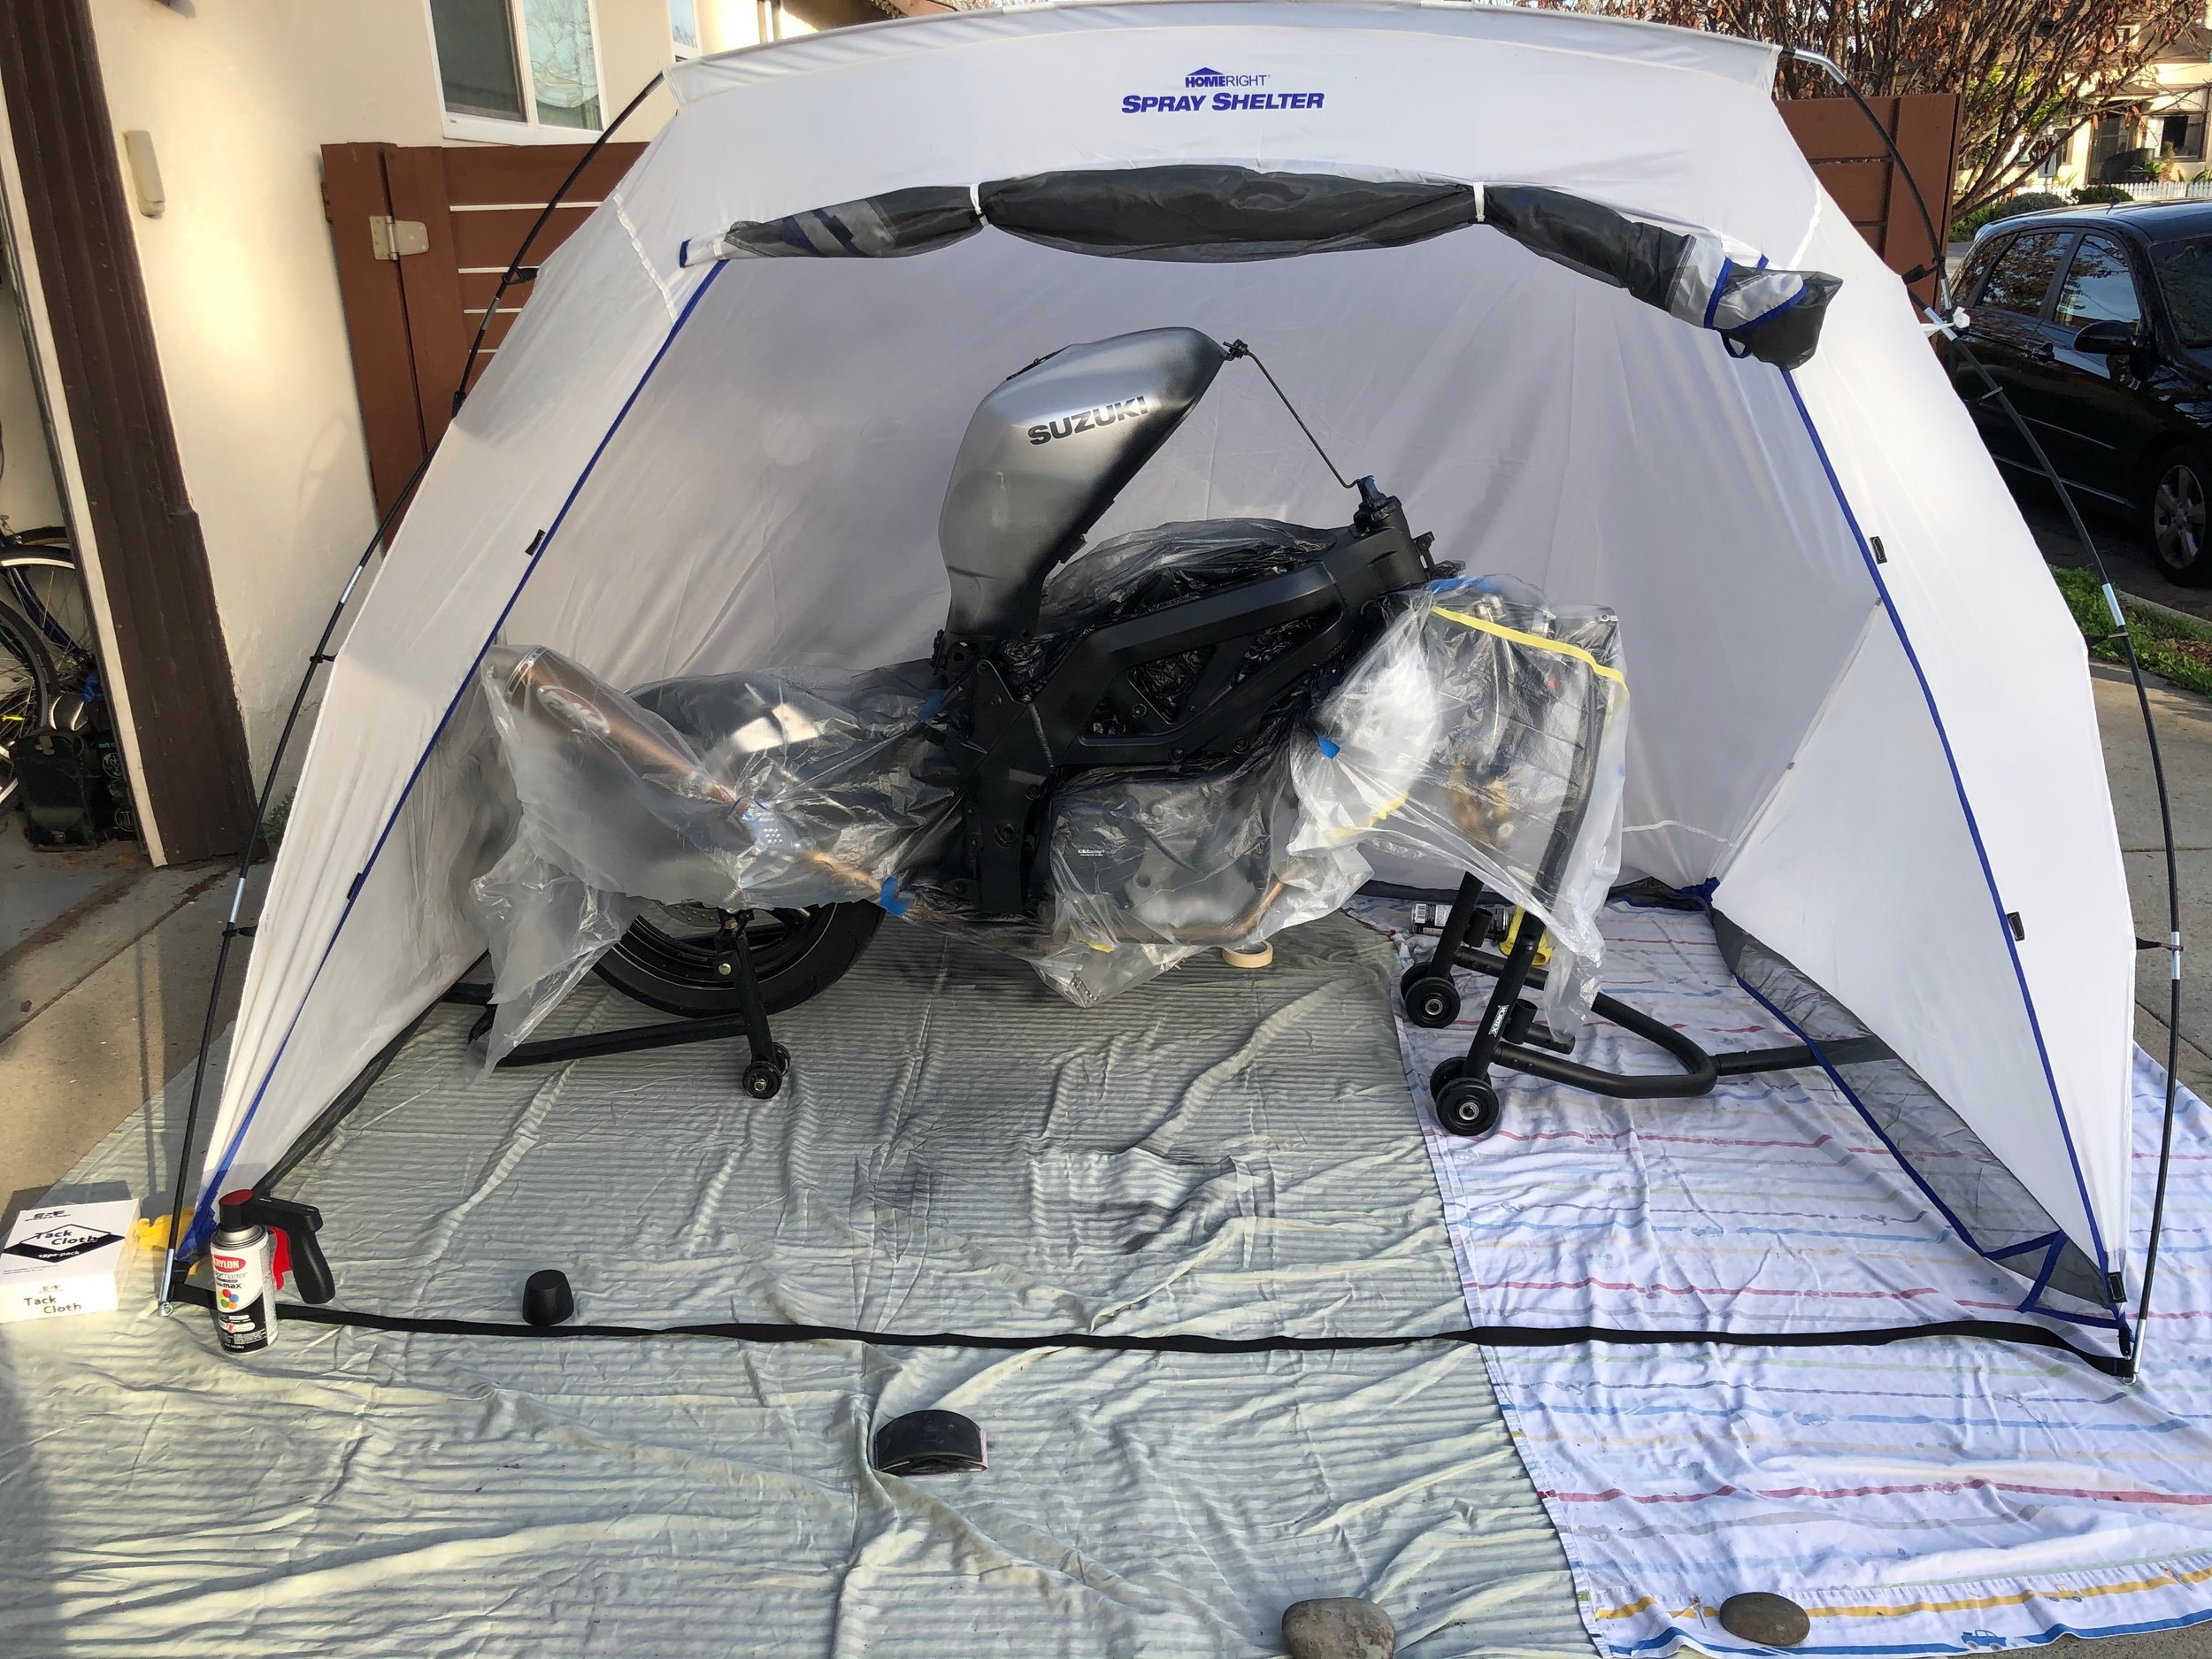
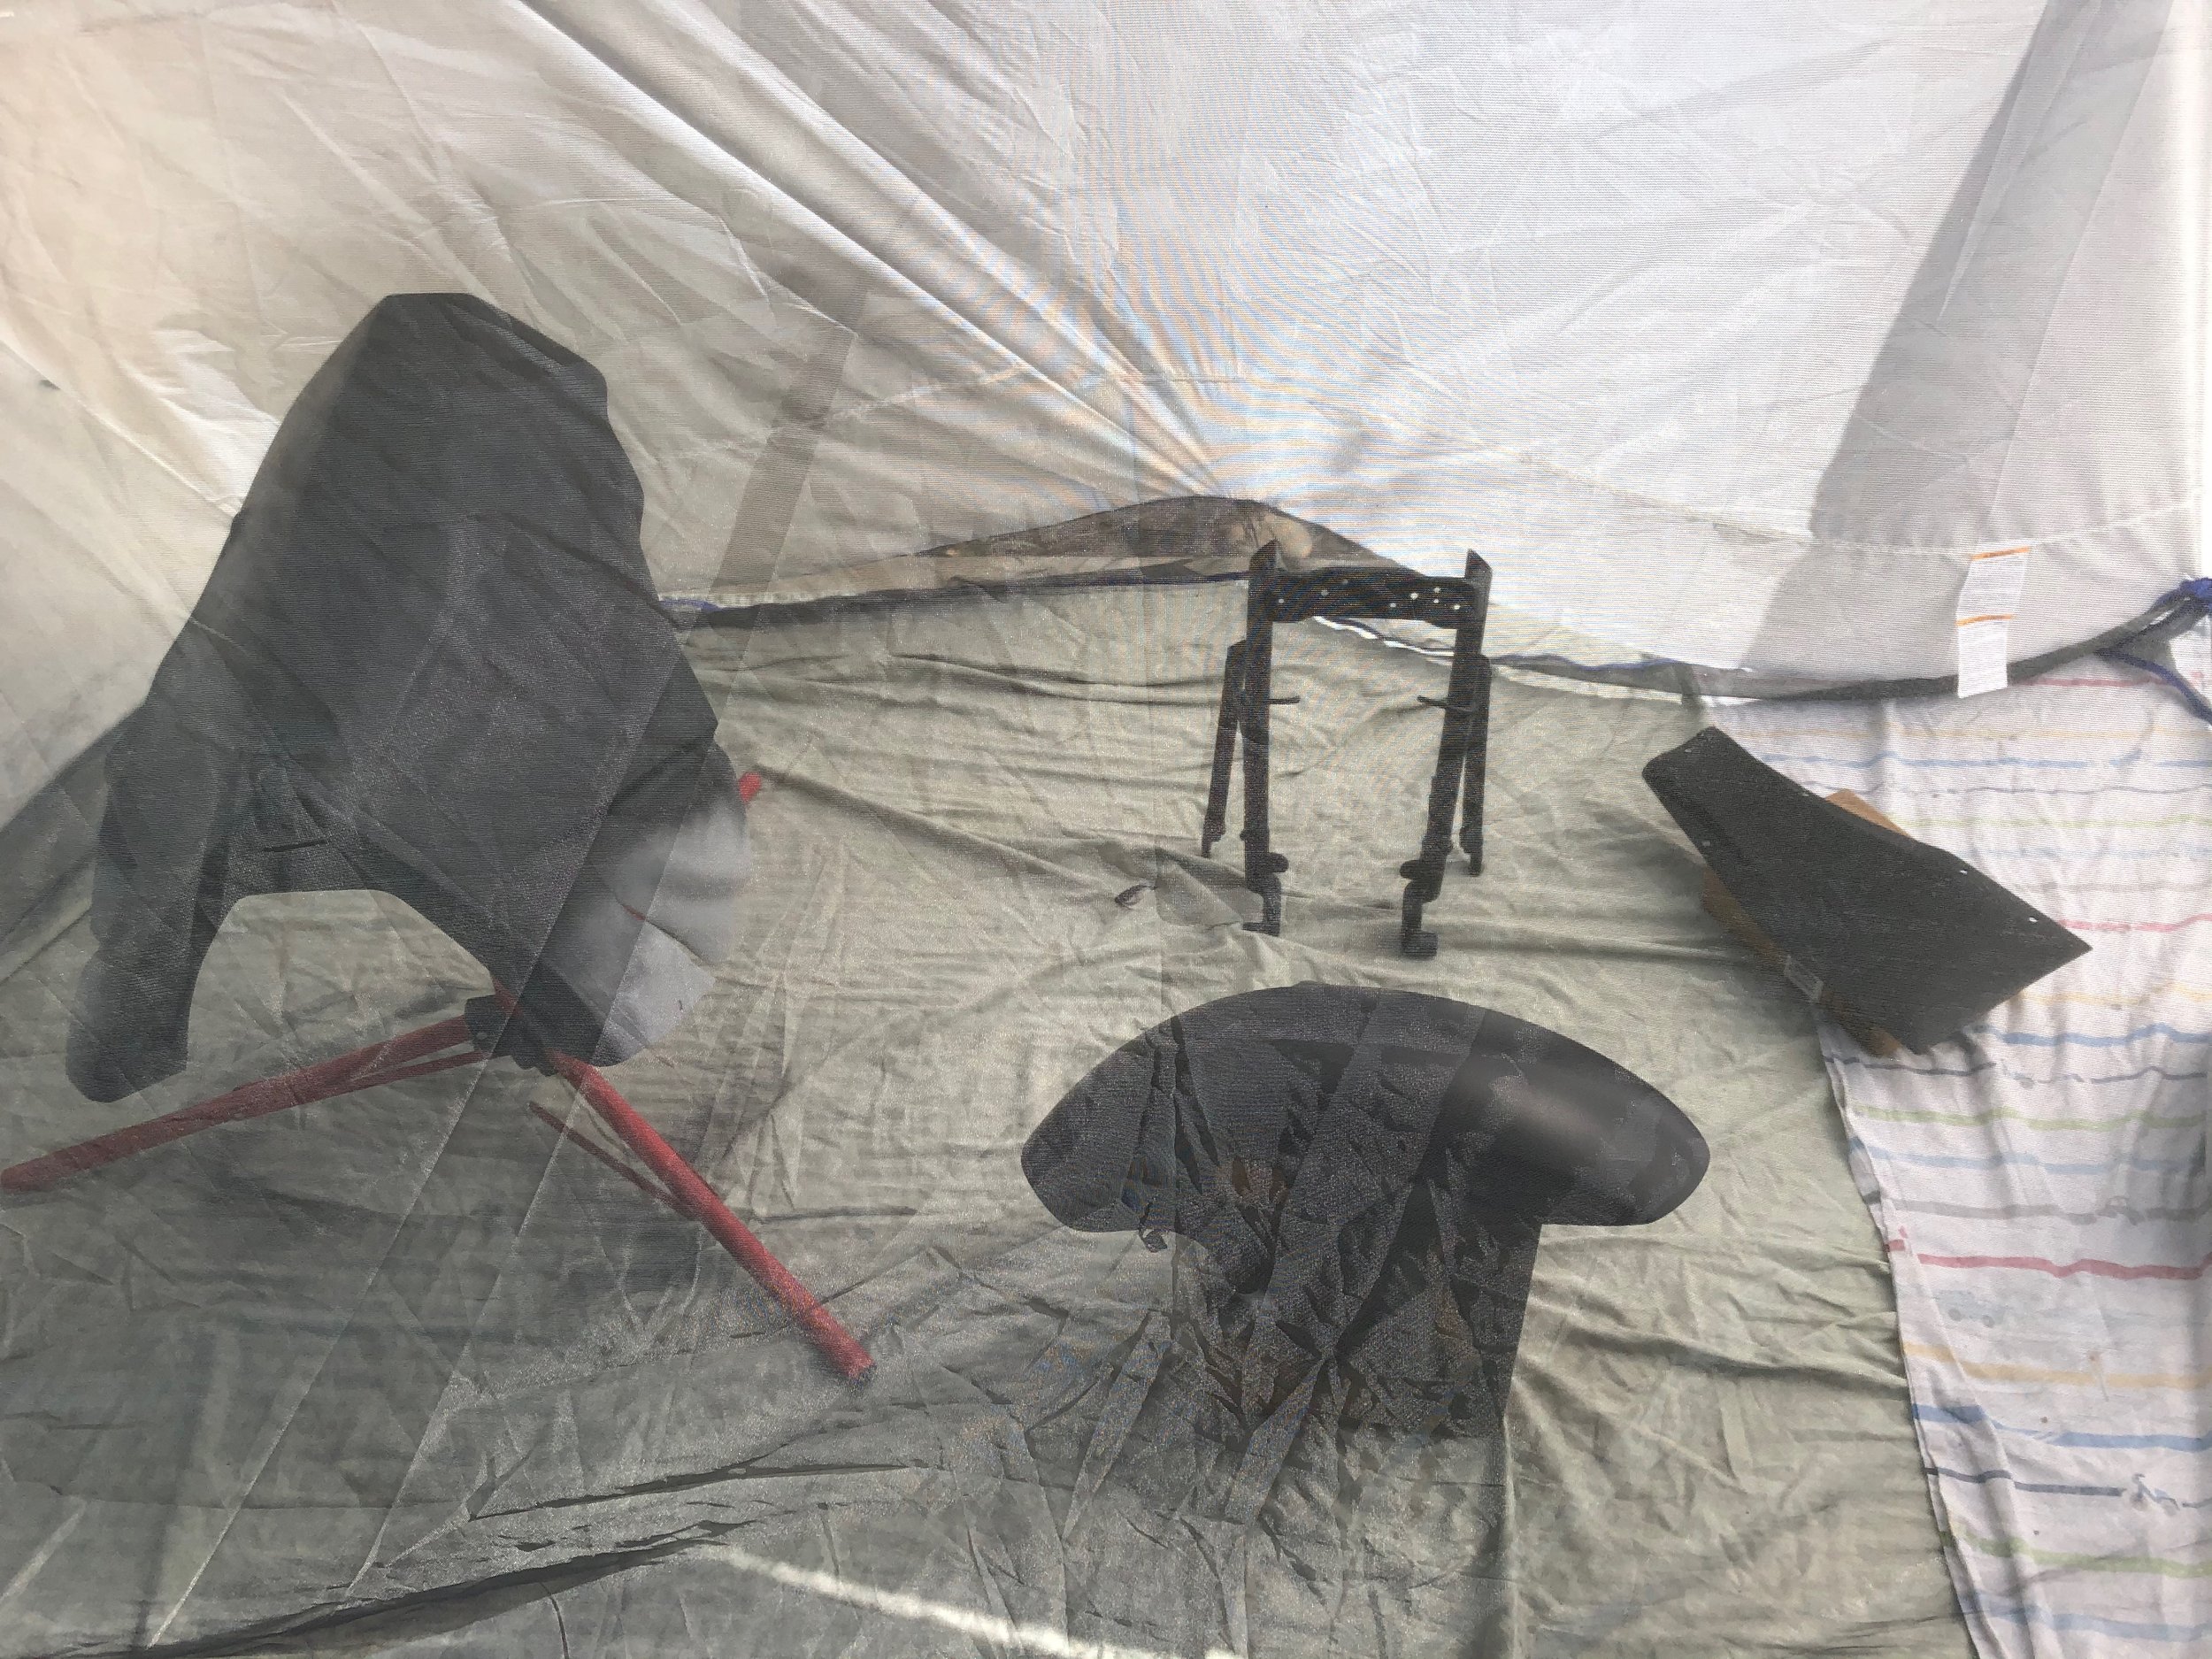
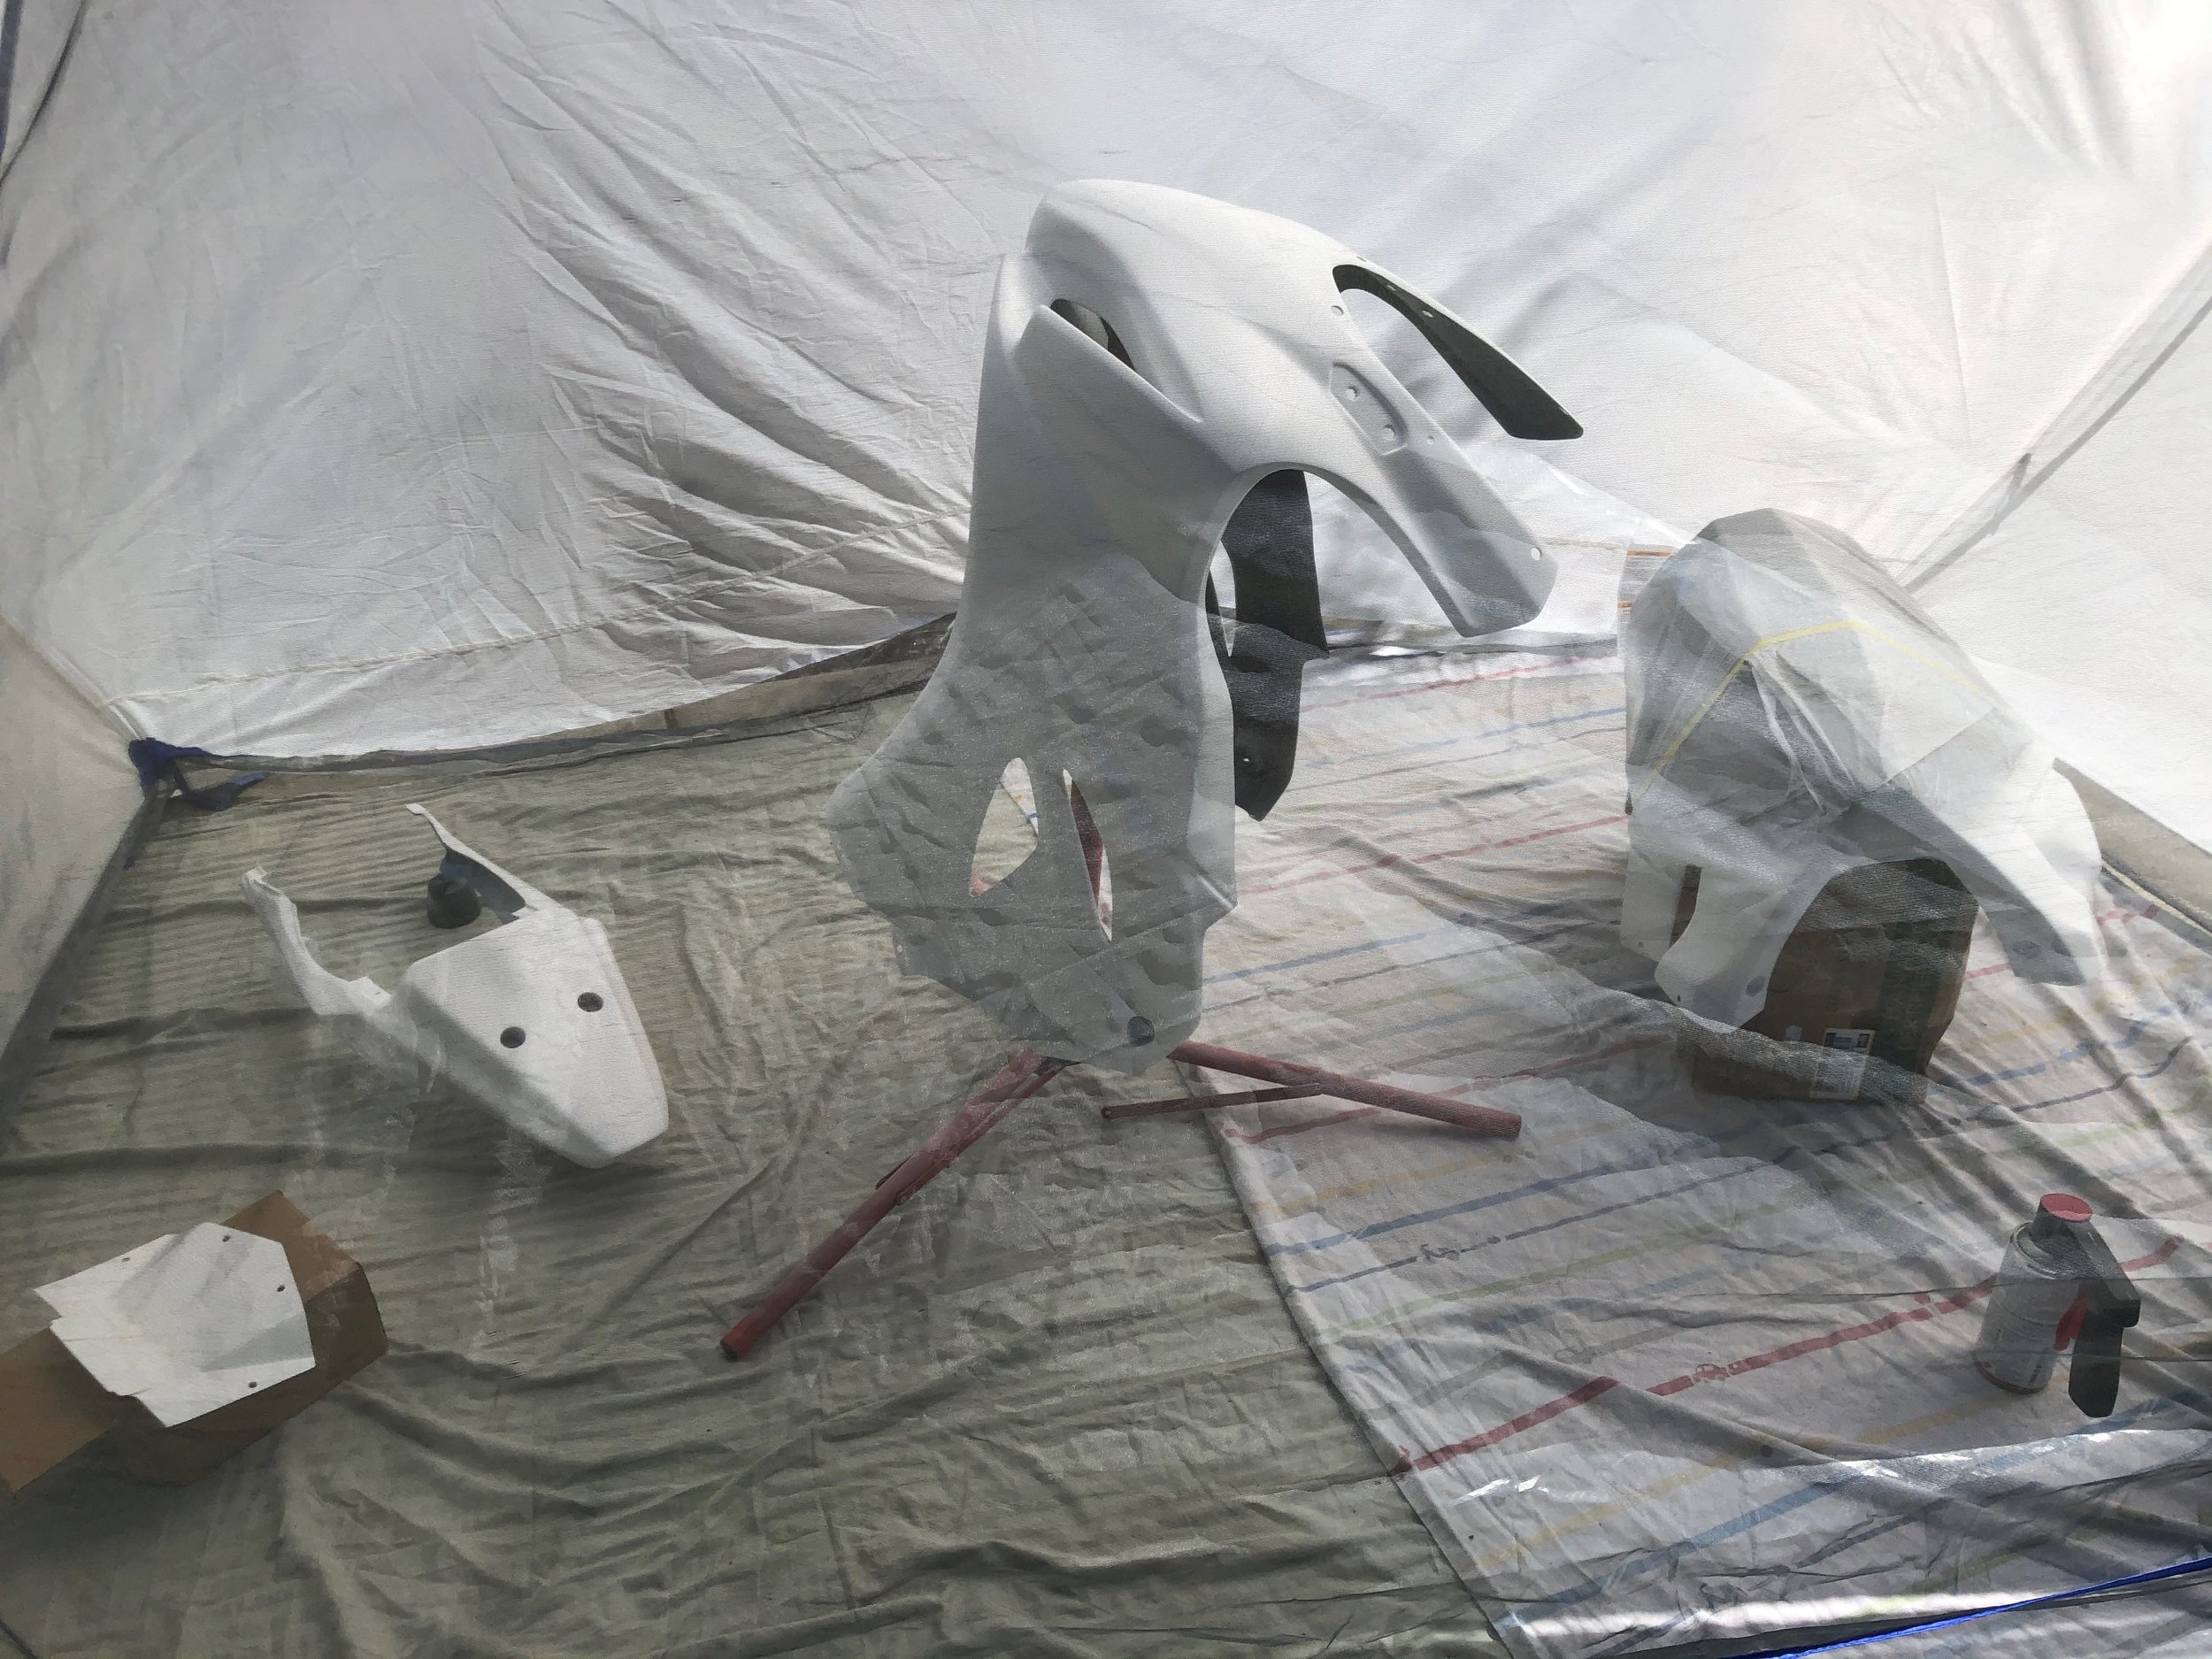
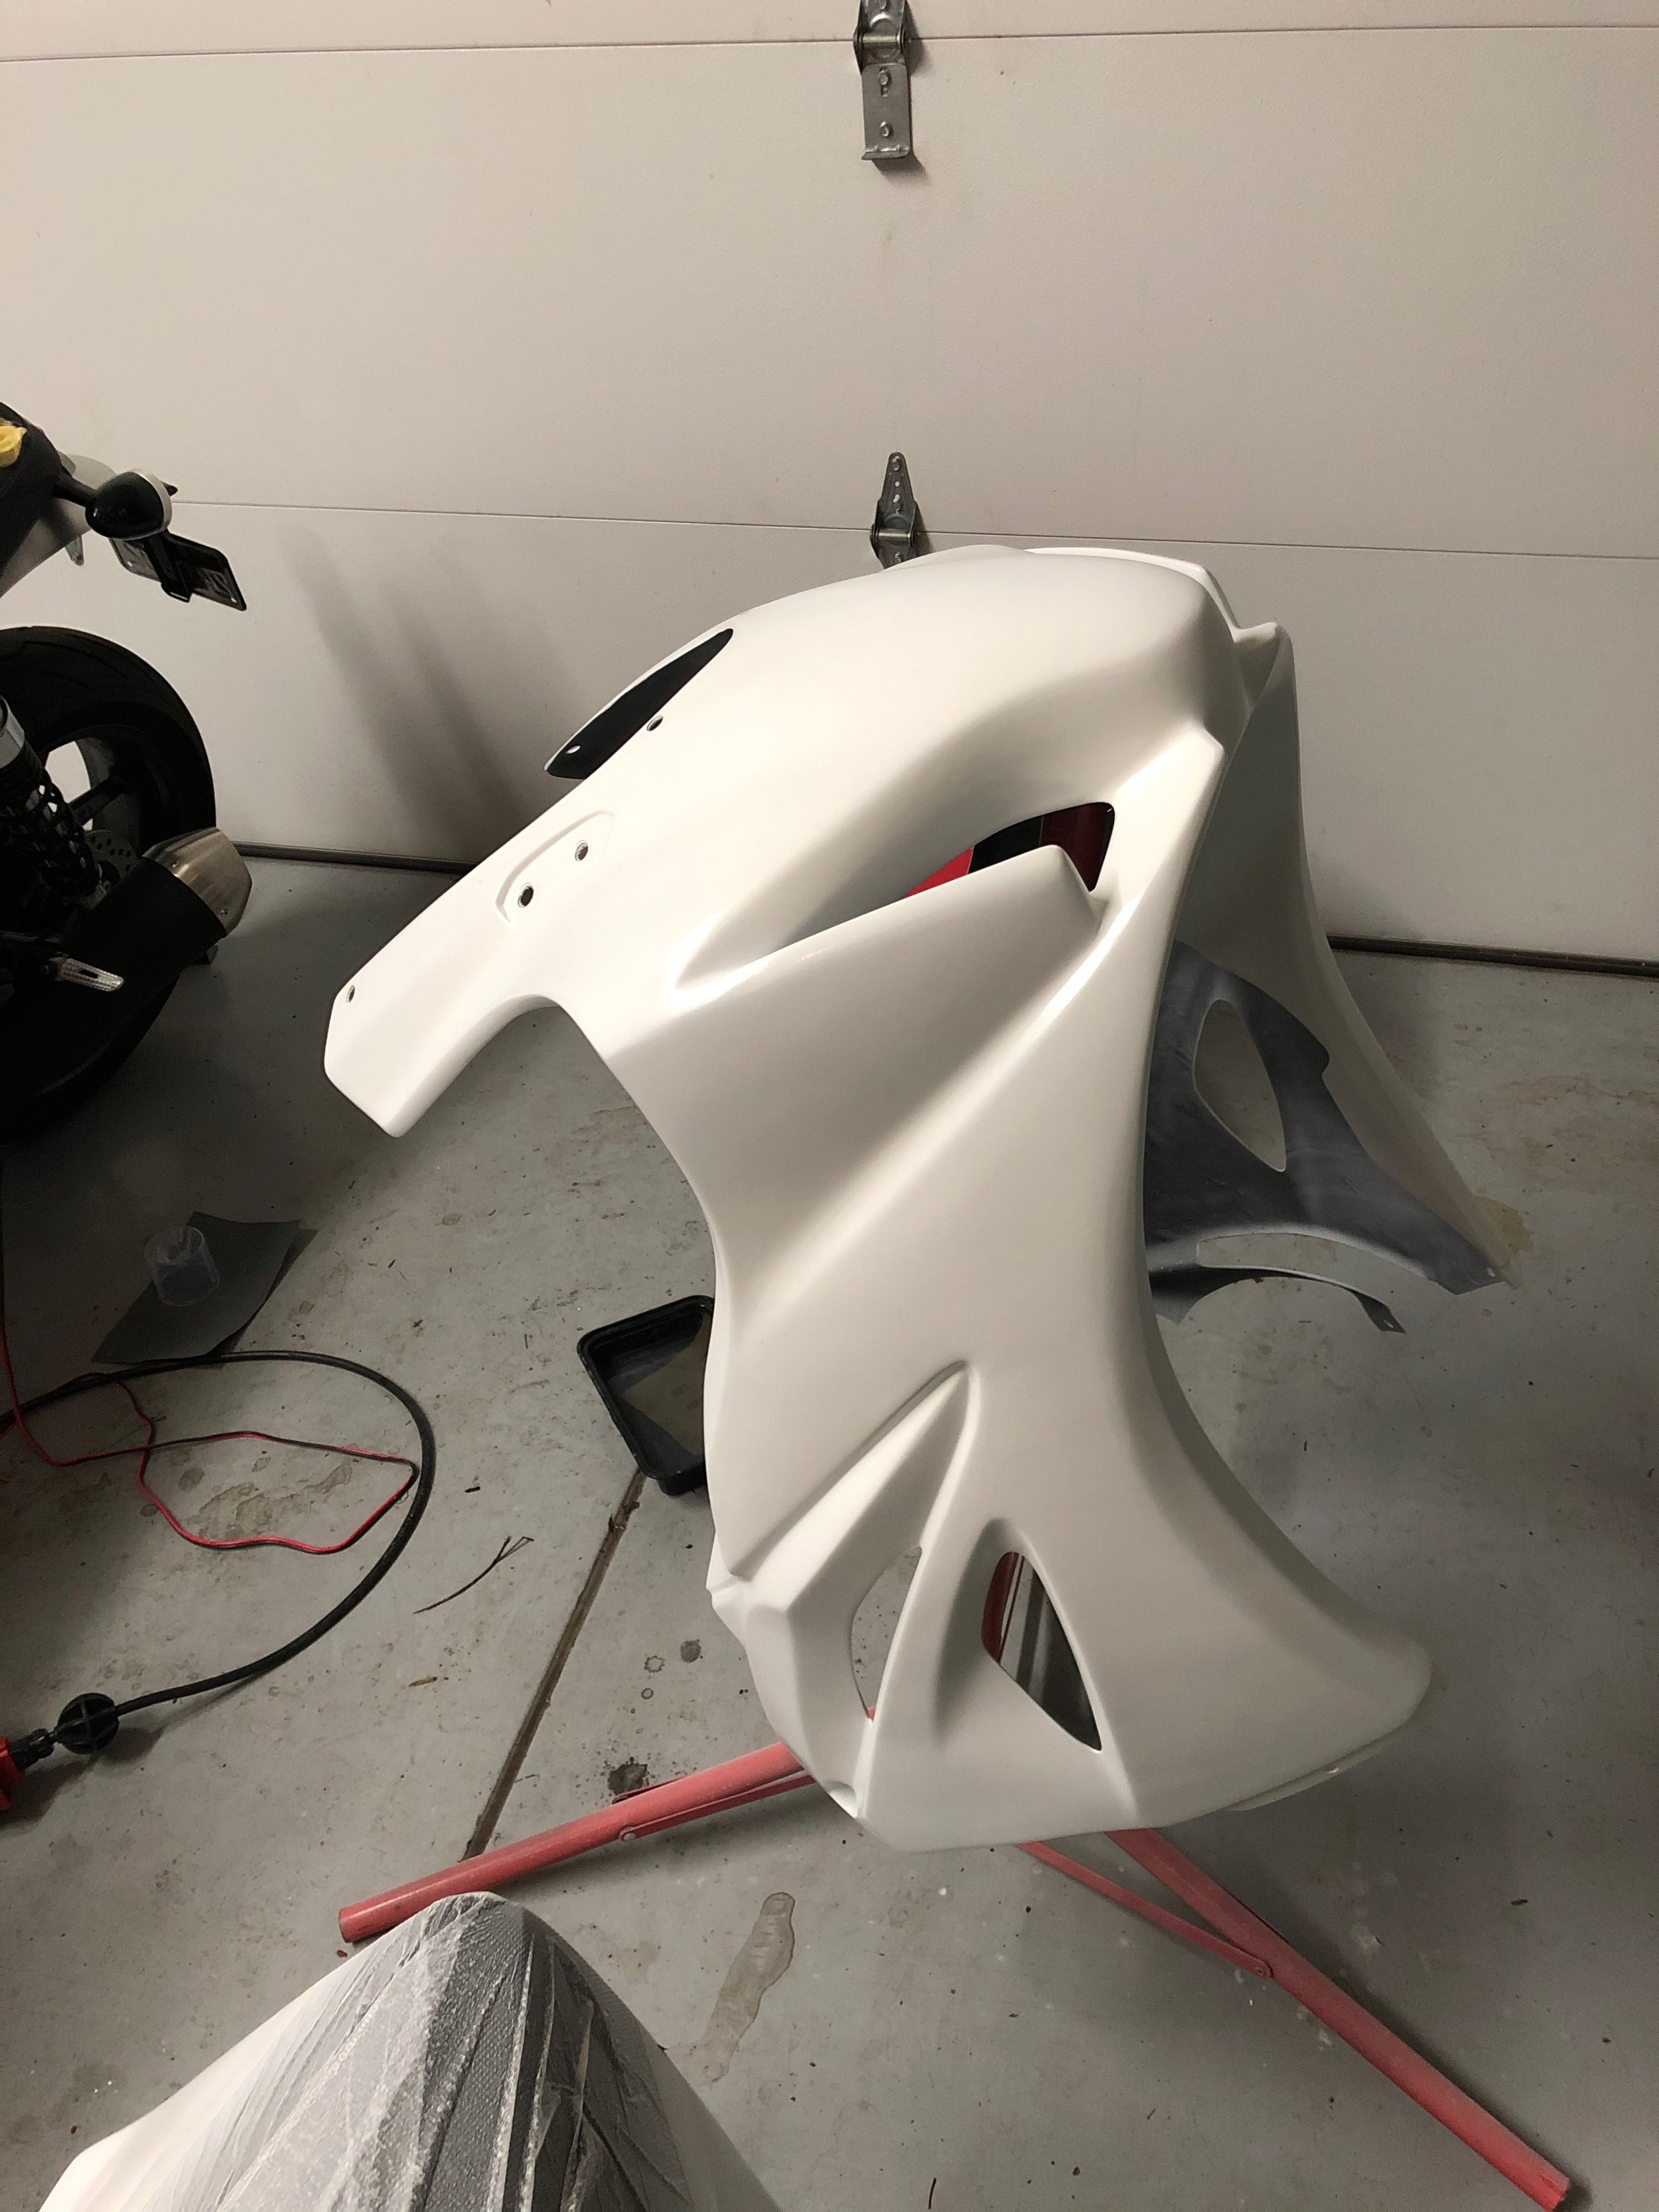
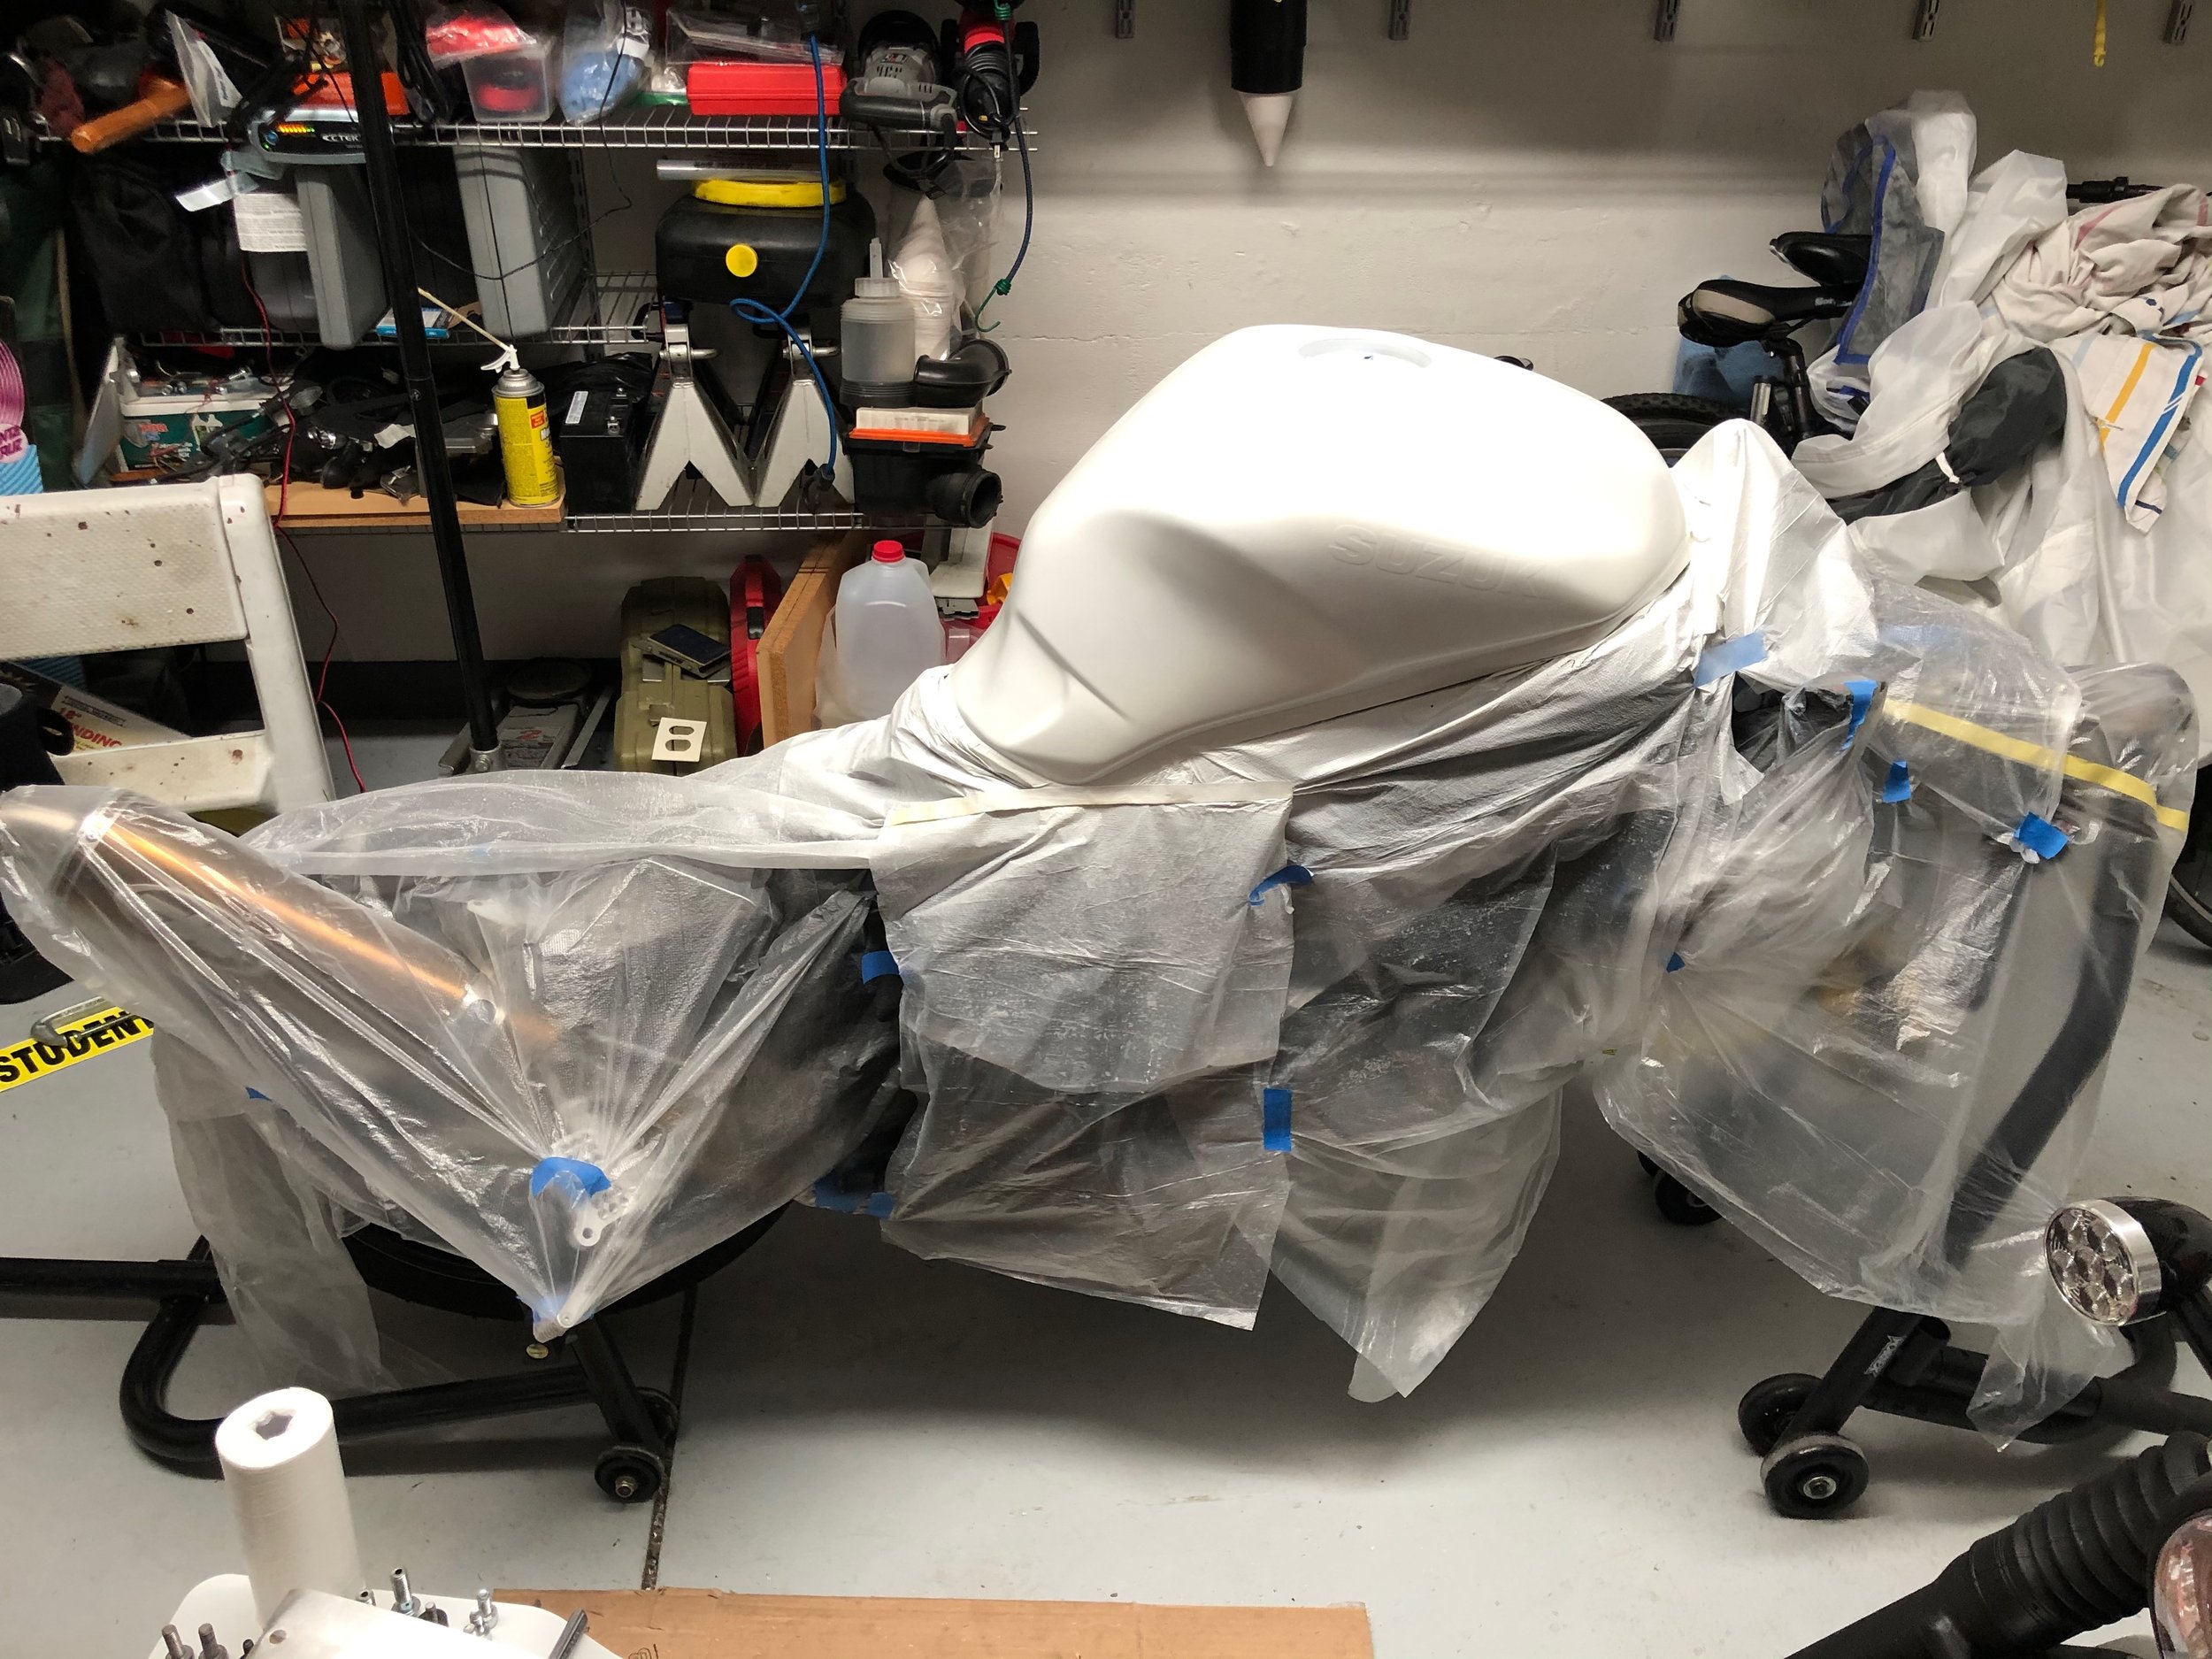
Pretty much any kind of paint will suffice as long as the surface is clean. For this, I chose Custom Shop’s Panel Prep. This foaming cleaner does a great job of removing dirt and grease from the surface, helping the paint adhere properly. From there I applied masking film all around the frame. This product is simply a roll of plastic film with masking tape pre-applied to one edge and comes in various widths. While I would typically want to paint lighter colors first, the masking sequence made painting black first the easier task. To manage overspray and wind, I picked up a Wagner paint booth tent. Fine mesh panels allow airflow without allowing debris to drift in, however the overspray it contains, even with one side open is pretty excessive. If you’re looking for a high gloss paint job, I do not recommend this setup. Paint will dry in the air and settle on your parts. Good thing for me, I was after a more unique looking matte effect. If you paint in a contained space, opt for a good respirator with vapor filters—your lungs will thank you. The frame, lower belly pan, draft panel, subframe, and each part I didn’t want to call attention to got the black treatment. Mounting tabs and the tank flange were particular areas I wanted to disappear. Once they were done, I used fine line masking tape on the tank, tail, and belly pan. This flexible tape allows you to mask off curves and provides a clean edge. That was ideal for the tank in particular. Speaking of which, the ‘03-04 SV had the Suzuki logotype between the base coat and clear coat. I did not opt to strip the paint and remove the graphic, opting to paint over it directly, so you’ll notice the subtle raised “Suzuki” on the sides. On went the white, in the same fashion as the black. Lastly I gave all parts several coats of clear. This is another area where you don’t want to cut corners. Pick up 2K clear for this job. This paint has hardener that you mix in by simply pressing the button at the bottom of the can. Once that button is pressed you have 24 hours to use up the can. The hardener will makes paint far more durable and who wants to go through this part more than once?
180 Rear Tire
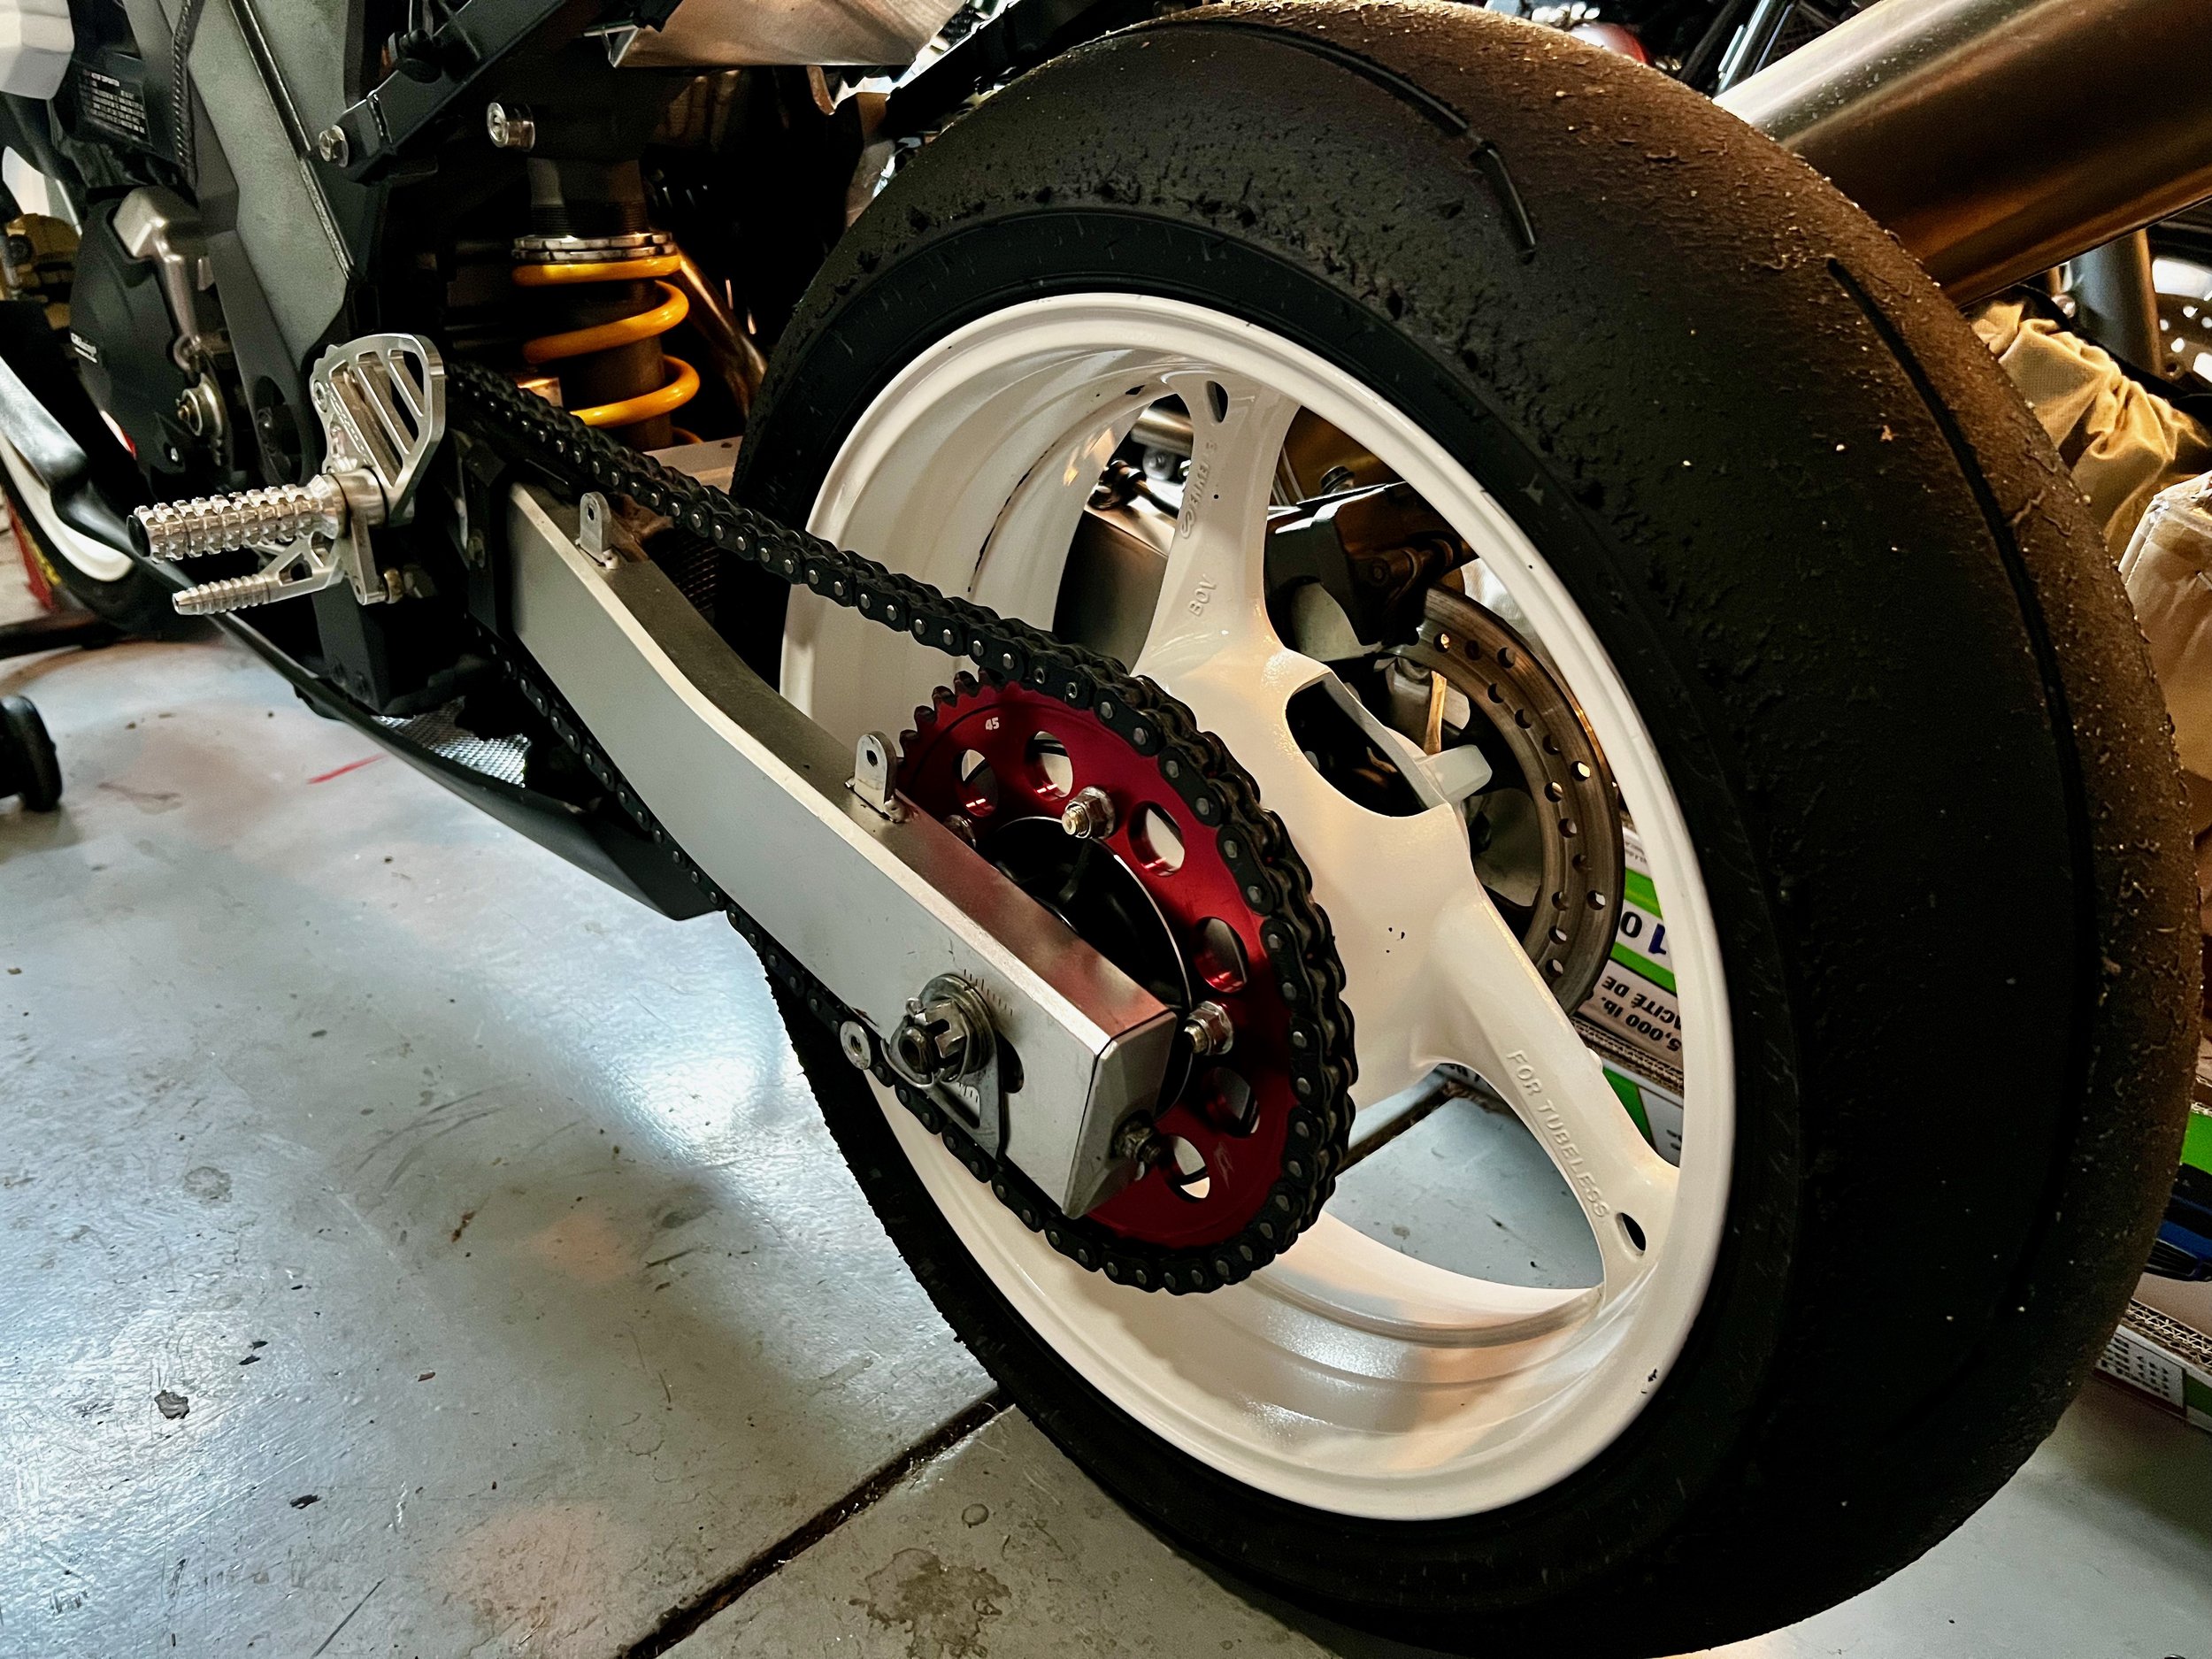
This is definitely not necessary, but I fully admit to big rear tire envy. I also like that it opens the door to a bigger selection of tires and the Dunlop Q4 that I wanted doesn’t come in a stock 160 width. The 180 conversion is as popular among SV owners as it is controversial. It gives you more rubber on the road without adding weight, however willingness to tip in may result due to the relatively flatter profile. Suspension tuning guru Dave Moss told me he prefers the 160 on the SV. I went ahead and changed it anyway. I almost always default to logic and expertise, but I am human and that envy is real strong. From my research, I learned the best way to go about this was to purchase a ‘08 (or other year if identical) GSX-R600/750 rear wheel. Although it’s an inch wider, it’s also three pounds lighter than the stock SV’s. That weight savings helps offset the weight increase of the bigger tire and the fact that much of that combined weight is far from the center of rotation. Whatever, it looks cool. I shipped my rear brake caliper bracket and new sprocket carrier to TWF along with $150 and they send them back, freshly machined along with three new spacers. From there its just a matter of mounting it back onto the bike as you normally would. Word to the wise, while the SV650 rear disc is identical to the GSX-R’s, the mounting bolts are not. The thread diameter and pitch are identical, but the over all length of the bolt as well as the length of the shoulder are different.
Big fat rear tire!
Freed Horsepower and multiplied torque
Chains can’t make horsepower, but they can free it up. Anything you can do to reduce the weight of your rotational mass beyond the crank is free power. Going from the stock 525 setup to the narrower 520 does this on two fronts, the thinner chain itself, and the thinner sprockets. This is task I should have performed either earlier or later as hindsight dictates. I went about it after removing my old rear tire and breaking the old chain. Don’t do that. The most difficult part of this whole task is removing the front sprocket and that thing is torqued down hard. Without a rear tire on the ground to prevent the assembly from rotating, you lose a lot of leverage. You might come across a video that instructs you to use a screw driver as a wedge to prevent rotation. This is one of the finest ways I have found to bend a screwdriver. I eventually sprung for an impact driver (difficult to resist the allure of new tools anyway) and placing a towel-wrapped steel bar above the swing arm and in front of a spoke, then draping the old chain over both sprockets, I was able to loosen the sprocket nut. Be sure to put the bike in neutral, by the way. You don’t want that kind of shock traveling through your transmission and engine. I also opted to go up one gear on my rear sprocket. I haven’t redlined this bike in top gear even with a significant tail wind so there’s plenty of torque to be gained by increasing the rear sprocket diameter. For nerdy motorcycle fun, check out Gearing Commander to see how sprocket changes can affect your bike’s top speed and shift points.
Keeping the front ahead of the rear
Another popular and highly affordable modification, the R6 throttle tube swap is one I’m glad I performed. With the stock throttle tube I found I was constantly regripping the throttle to twist it wide open and then again to fully close it for braking. Worse, I found that in my quest to be more efficient and late on the brakes I wasn’t fully closing the throttle and that led to some unpleasant behavior from the bike. A command to simultaneously go and stop is not one you want your bike to obey. The stock SV requires a 90 degree turn from closed to wide open throttle positions, whereas the R6’s only demands 72 degrees. In all other functional ways they are nearly the same. With a bit of trimming, you can make this conversion, or if you are like me and you’re willing to pay a few bucks for someone else to do it you can order one ready to roll from Spears.
R6 throttle tube
Greatest Single Weight Savings
To my surprise, of all the things I did on this project, it was the humble battery that provided the greatest weight loss. It doesn’t give you any cool points, but it gets the job done. One of my favorite changes was ditching the old lead acid battery and replacing it with newer technology. Given my area’s temperate climate, I opted for a four cell lithium ion battery by AntiGravity. This little guy starts up my bike every time and weighs less than a pound, which is roughly one tenth of the weight of the old one. I saved 8.65 lbs from just one item. I plan to do this with every bike I have going forward. To keep it tip top I also invested in a li-ion specific battery charger from Ctek. This old guy in a denim shirt on TV with millions of dollars worth of motorcycles (and cars I guess?) swears by them which is good enough for me.
No Keys, No Problem
Given the new role for this bike no longer requires so much anti-theft protection, eliminating the keys is an easy process that also removes weight from areas you really don’t want it. Removing the ignition required some anti-theft driver bits, the kind that look like stars with holes in the middle, but was otherwise uneventful. To ensure that the bike would still start, only took a small wiring adapter from (once again) Woodcraft. Additionally, a new Vortex gas cap was all that was needed to completely eliminate keys from my life. Strike something off the track day packing checklist for once.
Diet Results
I weighed just about every single component that went on or came off the bike. Some notable exceptions from this build include the chain and sprocket and the rear tire assembly. The others (rear fender and exhaust) were removed so long ago I wouldn’t be able to get their weights accurately. The upshot is there was more weight removed in total than what this spreadsheet documents, but once you see the number you may be surprised—33 lbs?!
Okay, But How’s She Go?
While I would love to provide you with lap times as some sort of proof that this project was a success, I can’t discount my massive variability as a rider as a factor in any of it. I can only leave you with my impressions. For one, I love the look of this bike. I did countless renderings of Gixxer paint jobs (see GIF) and I ended up going with something incredibly simple. But given my new branding strategy I’m glad I chose it over the wild brush stroke wrap I had planned. I’ll admit it felt good when I pulled up to tech and was told, “This is the cleanest SV I have ever seen.” Since these modifications, I’ve been to Sonoma Raceway and Laguna Seca. I did notice some resistance to tipping in at first, but a slight bit less preload in front and a bit more in the rear seemed to correct most if not all of that. By Laguna I was very confident and didn’t feel like I had to muscle the bike over. These days, an SV is more underpowered than ever and there are fewer and fewer on the the track. Comparing yourself to other riders is not a great way to benchmark unless you are at the top of the game, but overall I was much closer to regaining my A group form of old, being the third fastest B group rider at my last track day. There are many variables at play, but it just may be the tires that have made the greatest difference. The Q4 warm up so quickly and hold the track so well, my confidence has increased greatly and that’s something that’s often hard to come by. I have found that little more than half a lap is required before I can fully press. That’s like getting 15% more track time for the same money, and who doesn’t like that?
Circling Laguna Seca in B Group, October 2022


