How To: Replace Fork Oil and Springs
Fork oil needs to be changed more frequently than you probably think. After pouring out your old oil you will definitely understand why. Read on to learn why and how to perform this critical maintenance step on your bike. Note, the spring replacement is incidental to the process. You will need to perform all the steps whether you are changing springs or not.
How Do Motorcycle Forks Work?
Motorcycle forks are essential components that play a vital role in the overall performance and handling of a motorcycle. They are responsible for providing suspension, stability, and control, ensuring a smooth ride and responsive handling.
The forks consist of two main components: the outer tube and the the inner tube. Inside these tubes, you'll find fork springs that absorb shocks and bumps. These springs are usually made of steel and are designed to compress and expand depending on the terrain and rider input.
Another crucial element of motorcycle forks is the damping mechanism. Damping controls the movement of the fork springs, minimizing oscillations and maintaining control. Forks utilize hydraulic damping, which uses oil located within the fork tubes. They contain a piston that moves through the oil, creating resistance and absorbing the energy generated from the springs. By controlling the flow of oil, damping influences the speed and smoothness of the suspension's compression and rebound.
To regulate damping, motorcycle forks incorporate adjustable settings, such as rebound and compression damping. Rebound damping controls the rate at which the fork extends after compression, enhancing stability and preventing the motorcycle from bouncing excessively. Compression damping, on the other hand, manages the fork's compression, controlling how quickly it compresses under load. These adjustable settings allow riders to fine-tune the forks according to their preferences and riding conditions.
Does the Fork Oil Really Need to be Changed?
While it faces a far different environment than engine oil, it does accomplish a similar task: reducing the friction between metal surfaces. During the normal operation of your forks, the outer surfaces of your spring scrape against the inner surfaces of the tube. In this process, fine particles of steel from each component contaminate your oil, degrading its performance over time. As you can imagine, adding bits of steel to your oil increase its weight and decrease its viscosity.
Additionally, fork oil needs to provide certain flow characteristics in order to dampen the movement of the springs. Were it not for that aspect, your motorcycle would never stop bouncing. You’ve probably seen cars on the freeway with a blown shock absorber which leaves that corner unable to control its spring. That wheel will not stop bouncing. You can imagine how devastating that would be with a motorcycle.
The good news is that it is surprisingly easy to change the oil yourself with just a few inexpensive fork service tools and some knowledge. In this article, I demonstrate the process step by step on 2005 GSX-R 600 and 750 forks. Bear in mind, not all forks are the same and you should consult a manual for exact specifications.
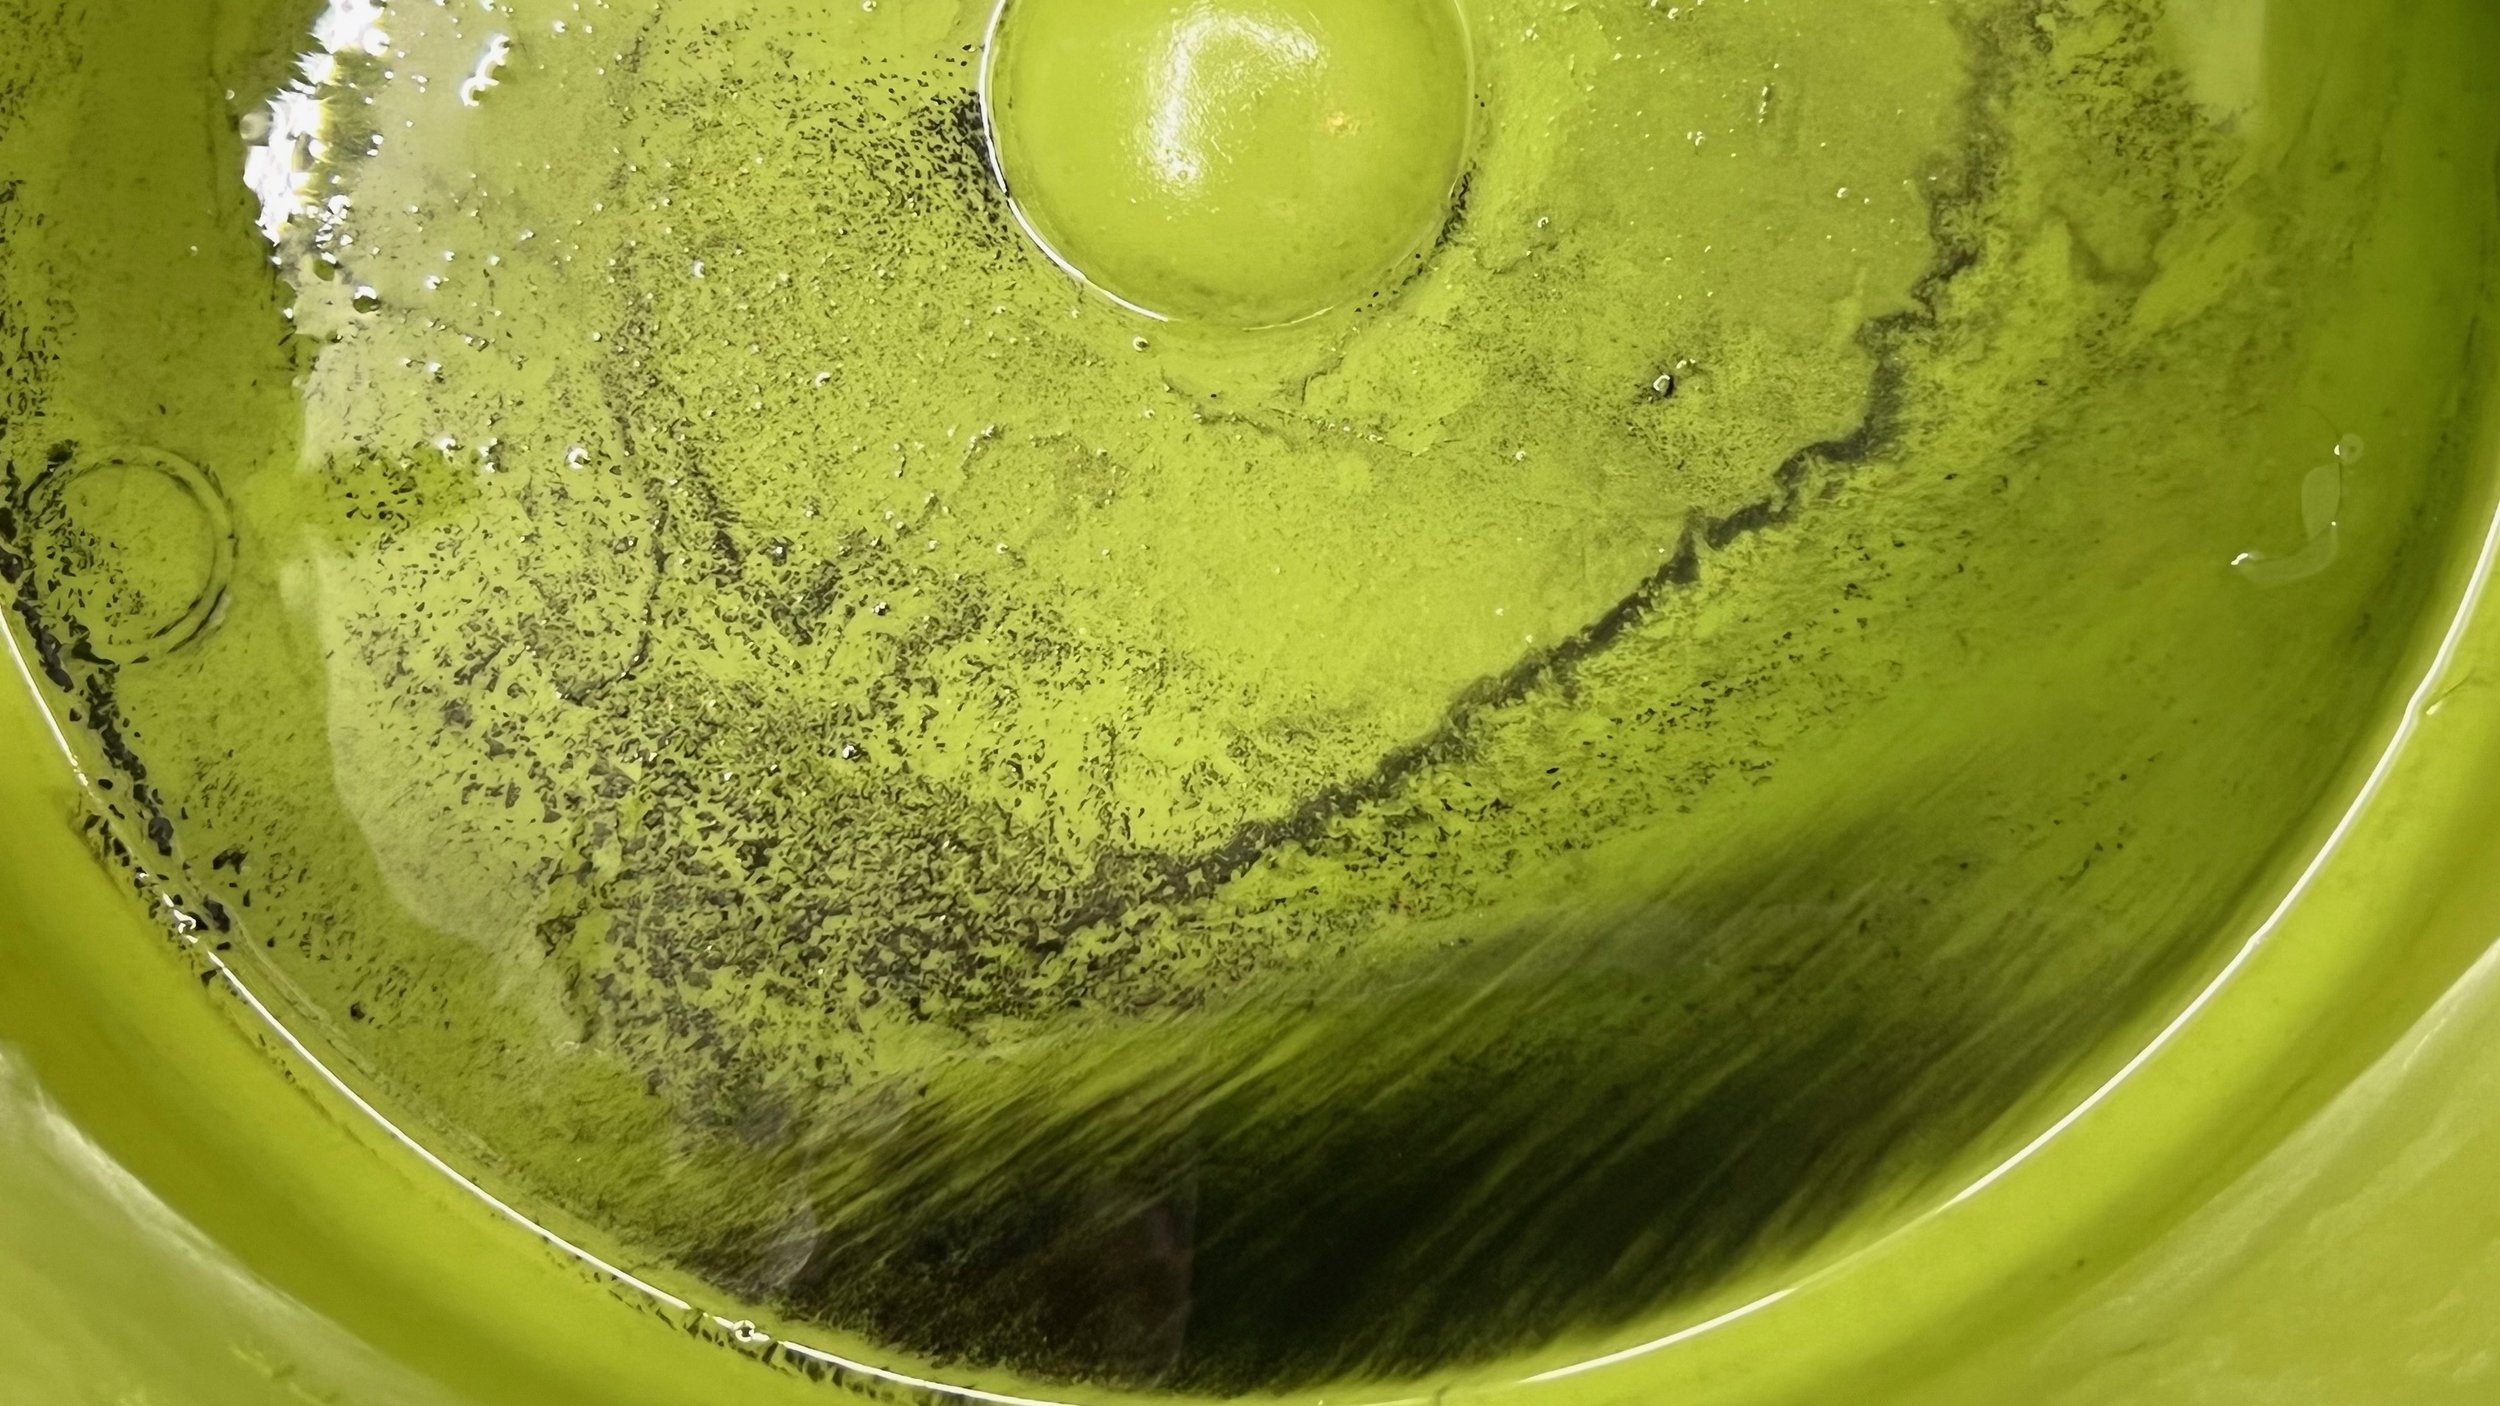
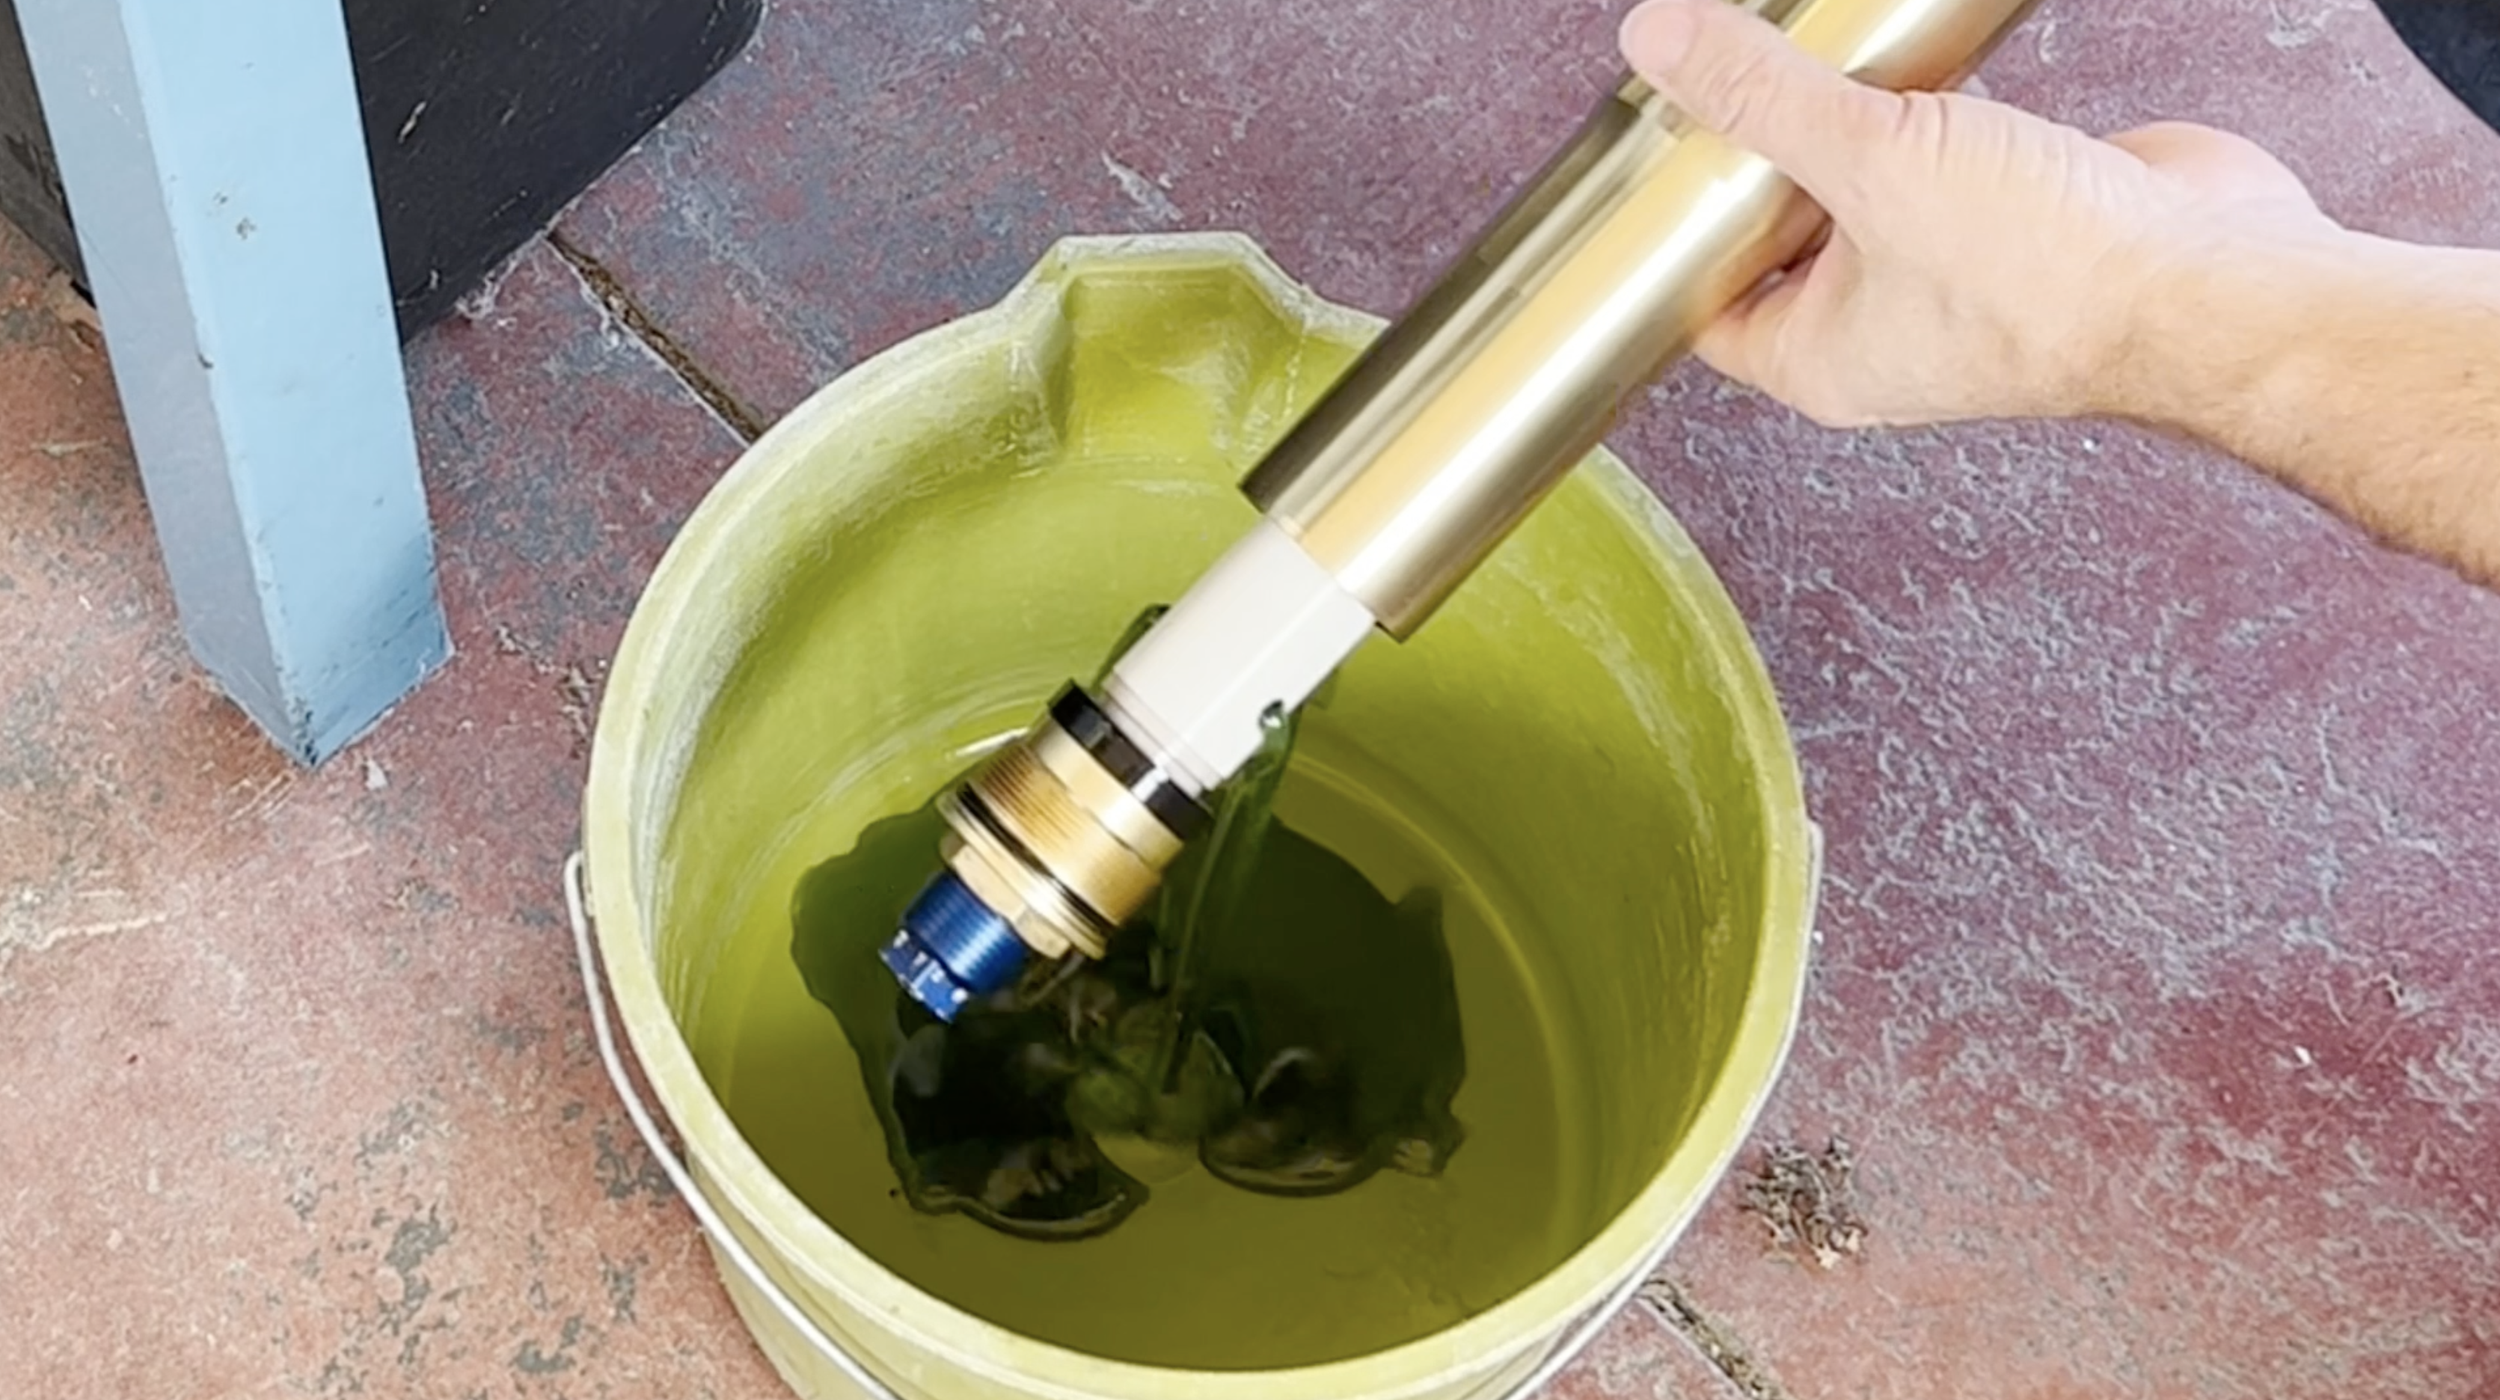
These steel particulates left behind in my drain bucket represent a fraction of what was suspended in the oil.
Tools and Supplies Required
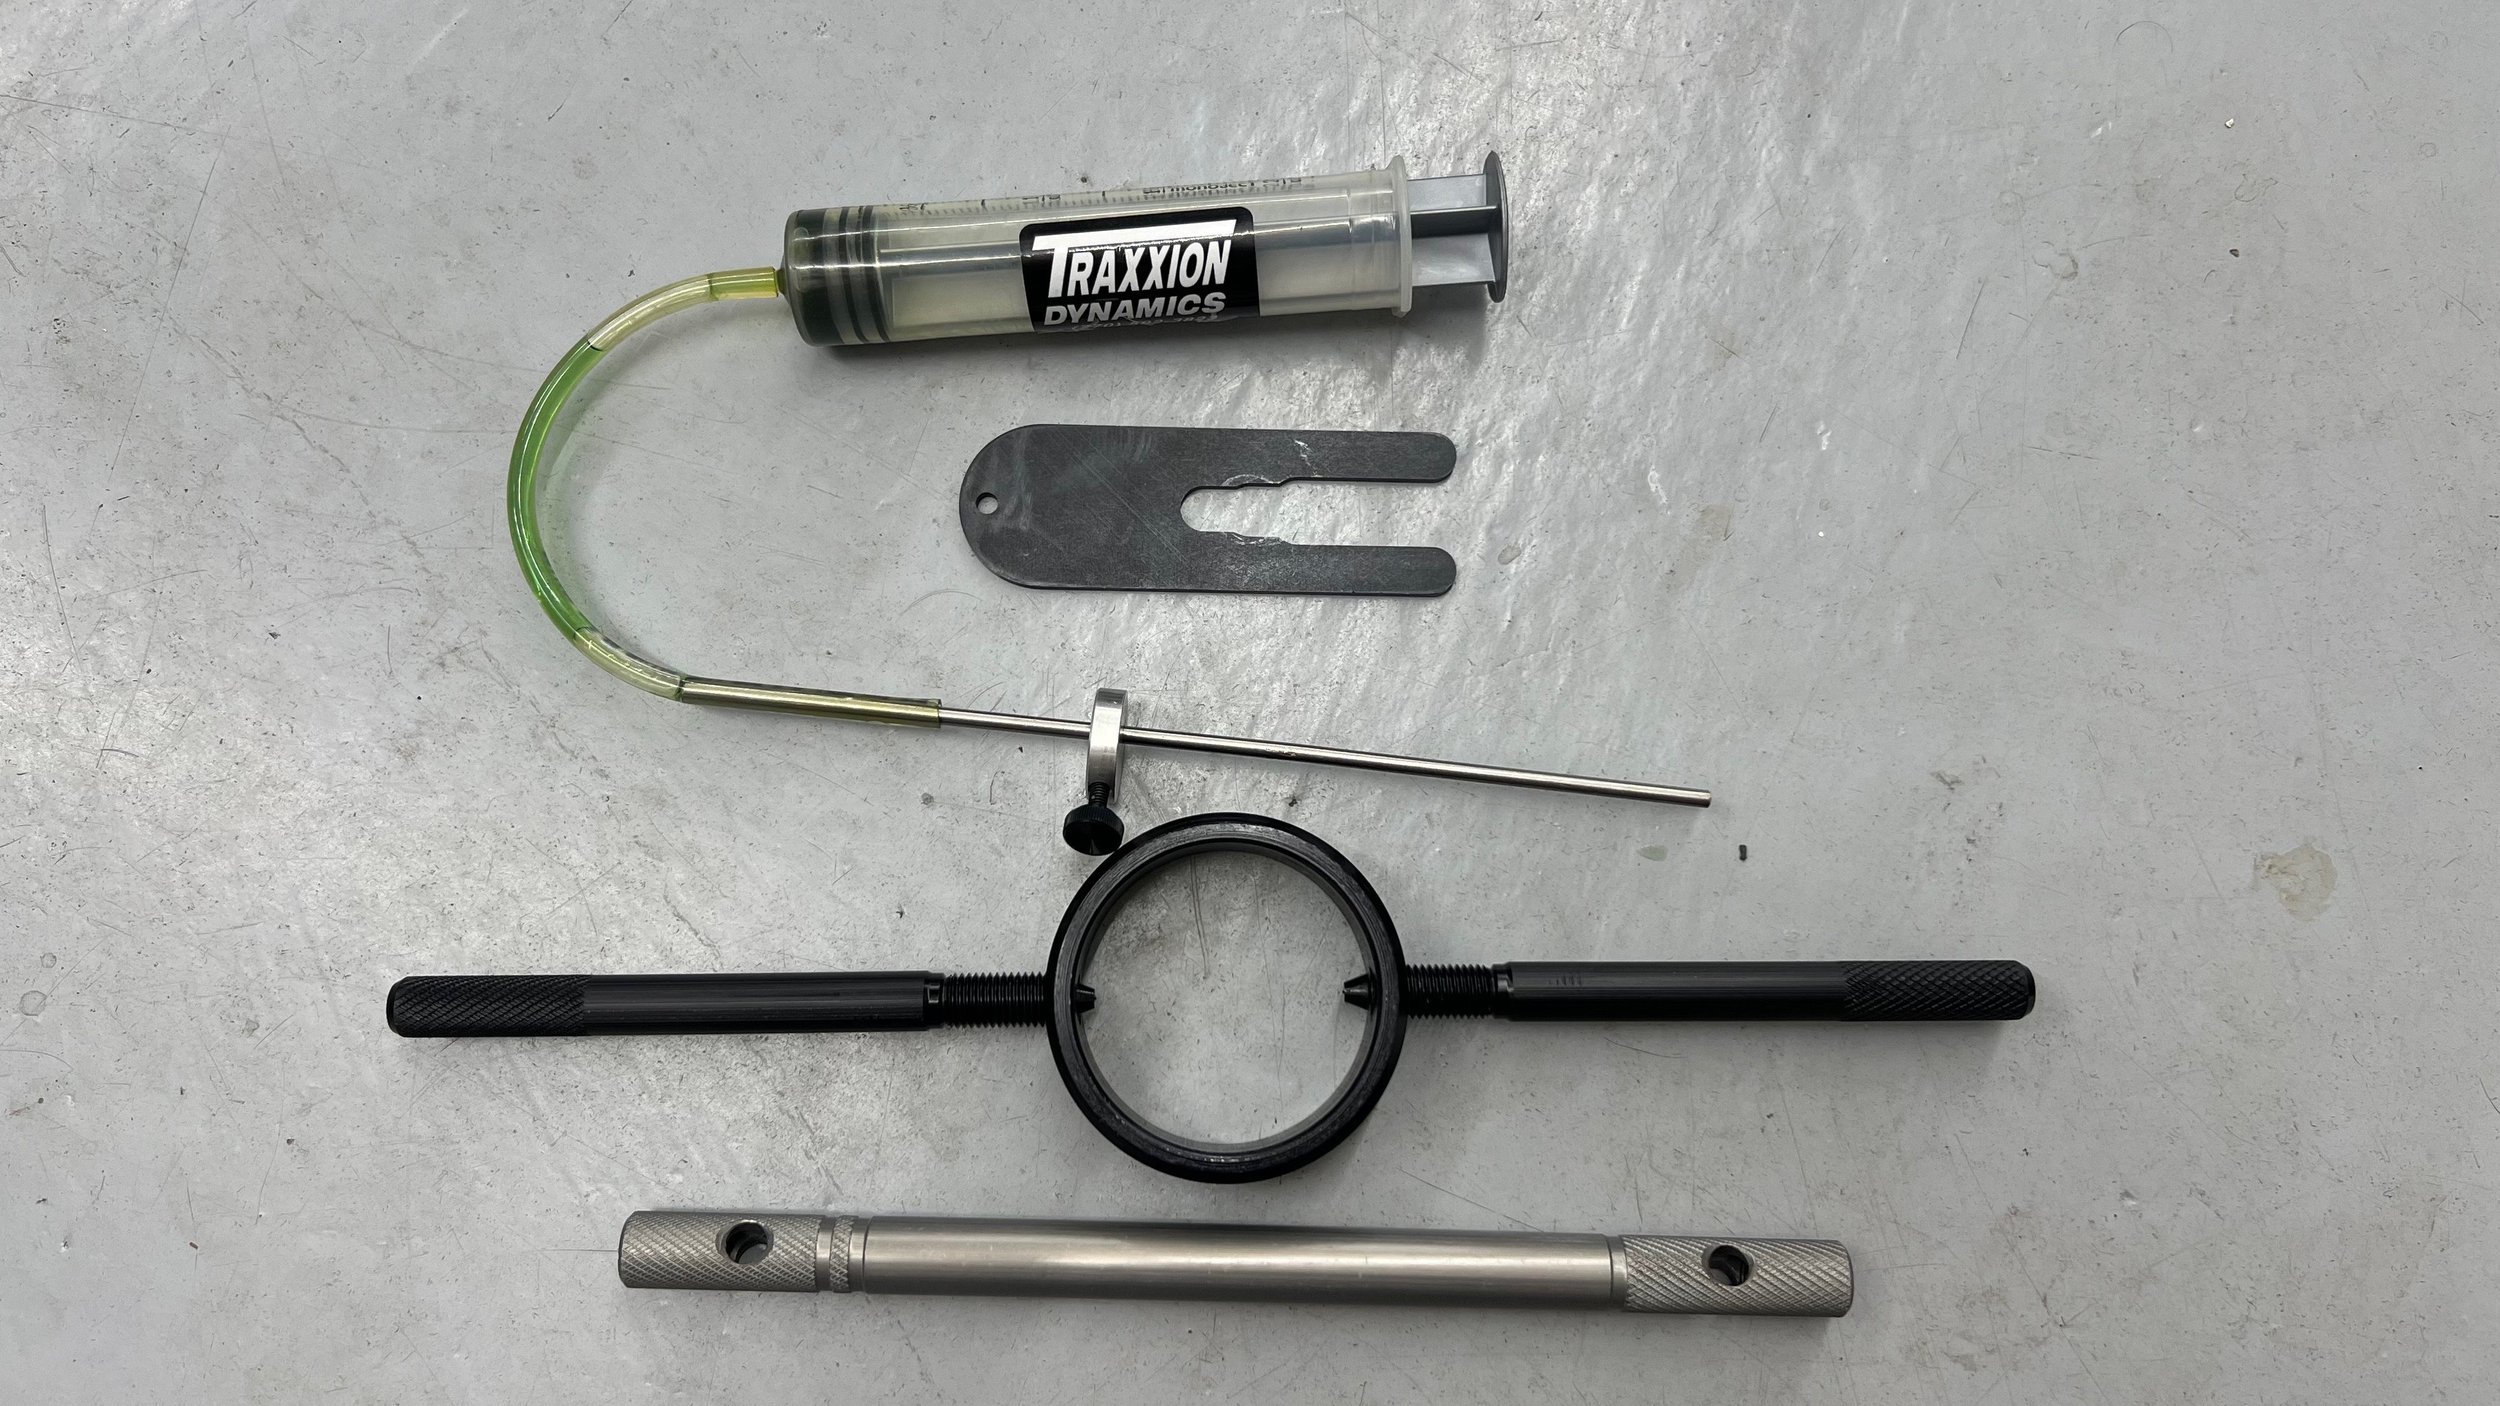
You will need some very specific tools to accomplish this task, but if you use the same ones I do, it’s really not that expensive. Years ago I purchased a set of tools for upside down forks from Traxxion Dynamics. For the reasonable sum of $80 I have been able to use these to service my forks multiple times and they have always worked well. They come with a tool to compress the spring, one to hold the spring, one to purge the rod, and one to precisely set the fork oil level.
If you want to really shell out and get the coolest tools out there, consider the $425 Motion Pro Fork Vise and this $220 fork spring compressor from Race Tech. They will make the job much easier though I’m not sure how many fork oil changes you’d have to do to break even. That said, I do have my eye on their aluminum vise jaws and I reckon I could build my own pan.
The Traxxion Dynamics Fork Service Tools I Use
What Fork Oil do I Choose?
I’m glad you asked. The predominant unit of measurement for oil is weight which, more specifically, is a measure of the oil’s density. It’s not a particularly accurate measurement at that because manufacturers define what they consider to be 5 weight, 7 weight, 10 weight, etc. While you can expect a specific brand’s weights to be accurate relative to one another within their range, it is entirely possible that a 5 in one brand can be equal to a 7 in another.
Not all hope is lost however. Oil density isn’t really all that relevant to fork oil in the first place. The property we should be most concerned about is viscosity and there is a standard test and measurement unit for that. For our purposes, we are only concerned with the viscosity at 40 degrees C as measured in centistokes or cSt for short. Most bottle labels will call out this number, but for others you will need to refer to their website. To give you a good idea of how viscosities and weights can be independent of one another, check out this chart from Transmoto. As I scanned the values looking specifically at 10 weight oils, I noticed that most fell within the 32-35 cSt range though there were some outliers. For instance, I found Torco at 19.9 cSt and Silkolene PRO RSF at 47.4 cSt! To illustrate how important this is, consider your forks had Silkolene 7.5 weight fork oil (37.2 cSt) and you needed a higher viscosity. Assuming a linear correlation between weight and viscosity, you could have logically selected the Torco 10. What you would end up with is an oil with far less viscosity. You’d have to bypass their 15 and go all the way to Torco 20 weight to actually increase fork oil viscosity.
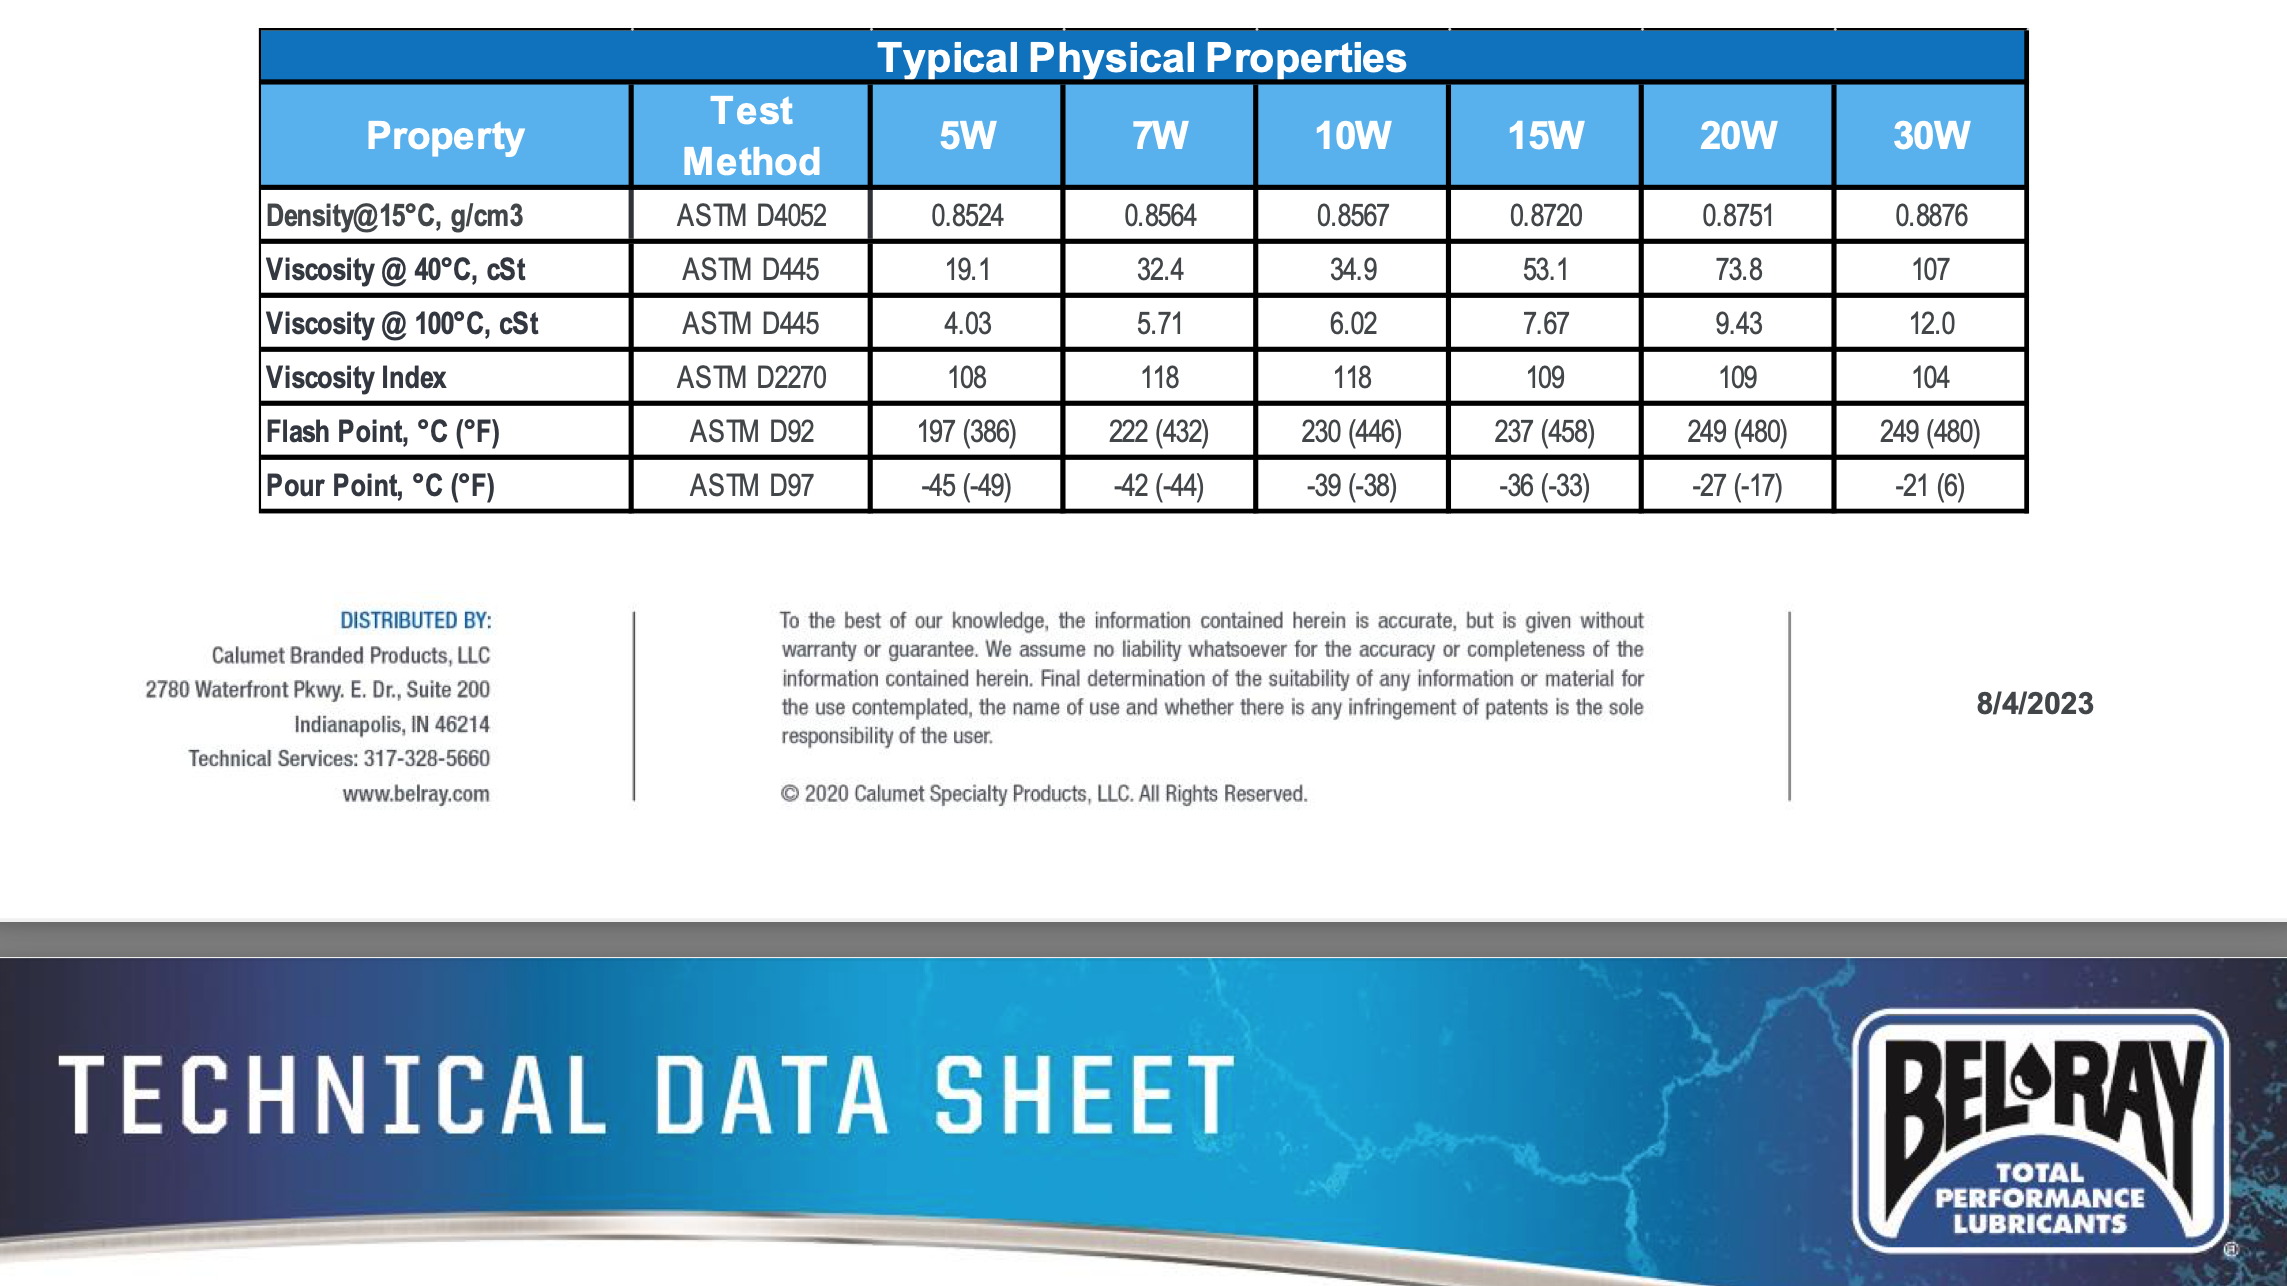
For my particular case, noted suspension tuner Dave Moss noted that my braking forces were beyond the range of adjustability to the point where I was about to bottom out my forks. Dave suggested that I increase both my spring rate and my oil weight. In both cases I was still using the factory specifications, so increasing the weight meant going from 7 to 10. I used Bel-Ray the last time I serviced my forks so I stuck with it this time too. Surprisingly, they do not provide the viscosity values on their bottle in spite of the fact there is a full on booklet glued to the back. For that information I had to go to their website. Somewhat confusingly they refer to weight as “viscosity grades” throughout their site. Never mind that. Keep going until you find the actual viscosity values on the technical data sheet. In their case, the 32.4 cSt value fell right in that typical range.
Fork Settings
If you have forks with adjustable preload, compression, and/or rebound, now is a good time to write down your settings. Start with each one by noting their current position relative to being maxed out. For instance, while counting your turns or clicks, twist your rebound to its maximum amount. Your rebound is now said to be that number of “turns out” or “clicks out”. Write this information down whether it be on a sheet of paper or even the fork itself.
Getting the Old Oil Out
There are quite a few steps involved in this whole process. The in depth portion of my instructions start with a fork already removed from the bike. If you need some advice on how to get that far, see my article on how to remove a front wheel. Beyond that, its just a matter of loosening the triple clamps and clip-ons (if so equipped) and sliding out the forks.
Remove the Fork Cap and Pre-Drain
For this step you will need a vise. There are some excellent fork vises out there including these from Motion Pro that will make the job a lot easier. But if you are like me, the reason you’re doing this in the first place is to save money and spending money on specialty tools isn’t all that high on your list. More on that as we go along. A regular bench vise is sufficient, but make sure your vise has soft clamps so your fork does not get dented or scratched up. I personally just fashion some out of some 1x2 and a couple rags. Be sure to clamp your vise on the same area the lower triple clamp of your motorcycle does. This is the strongest area of the tube.
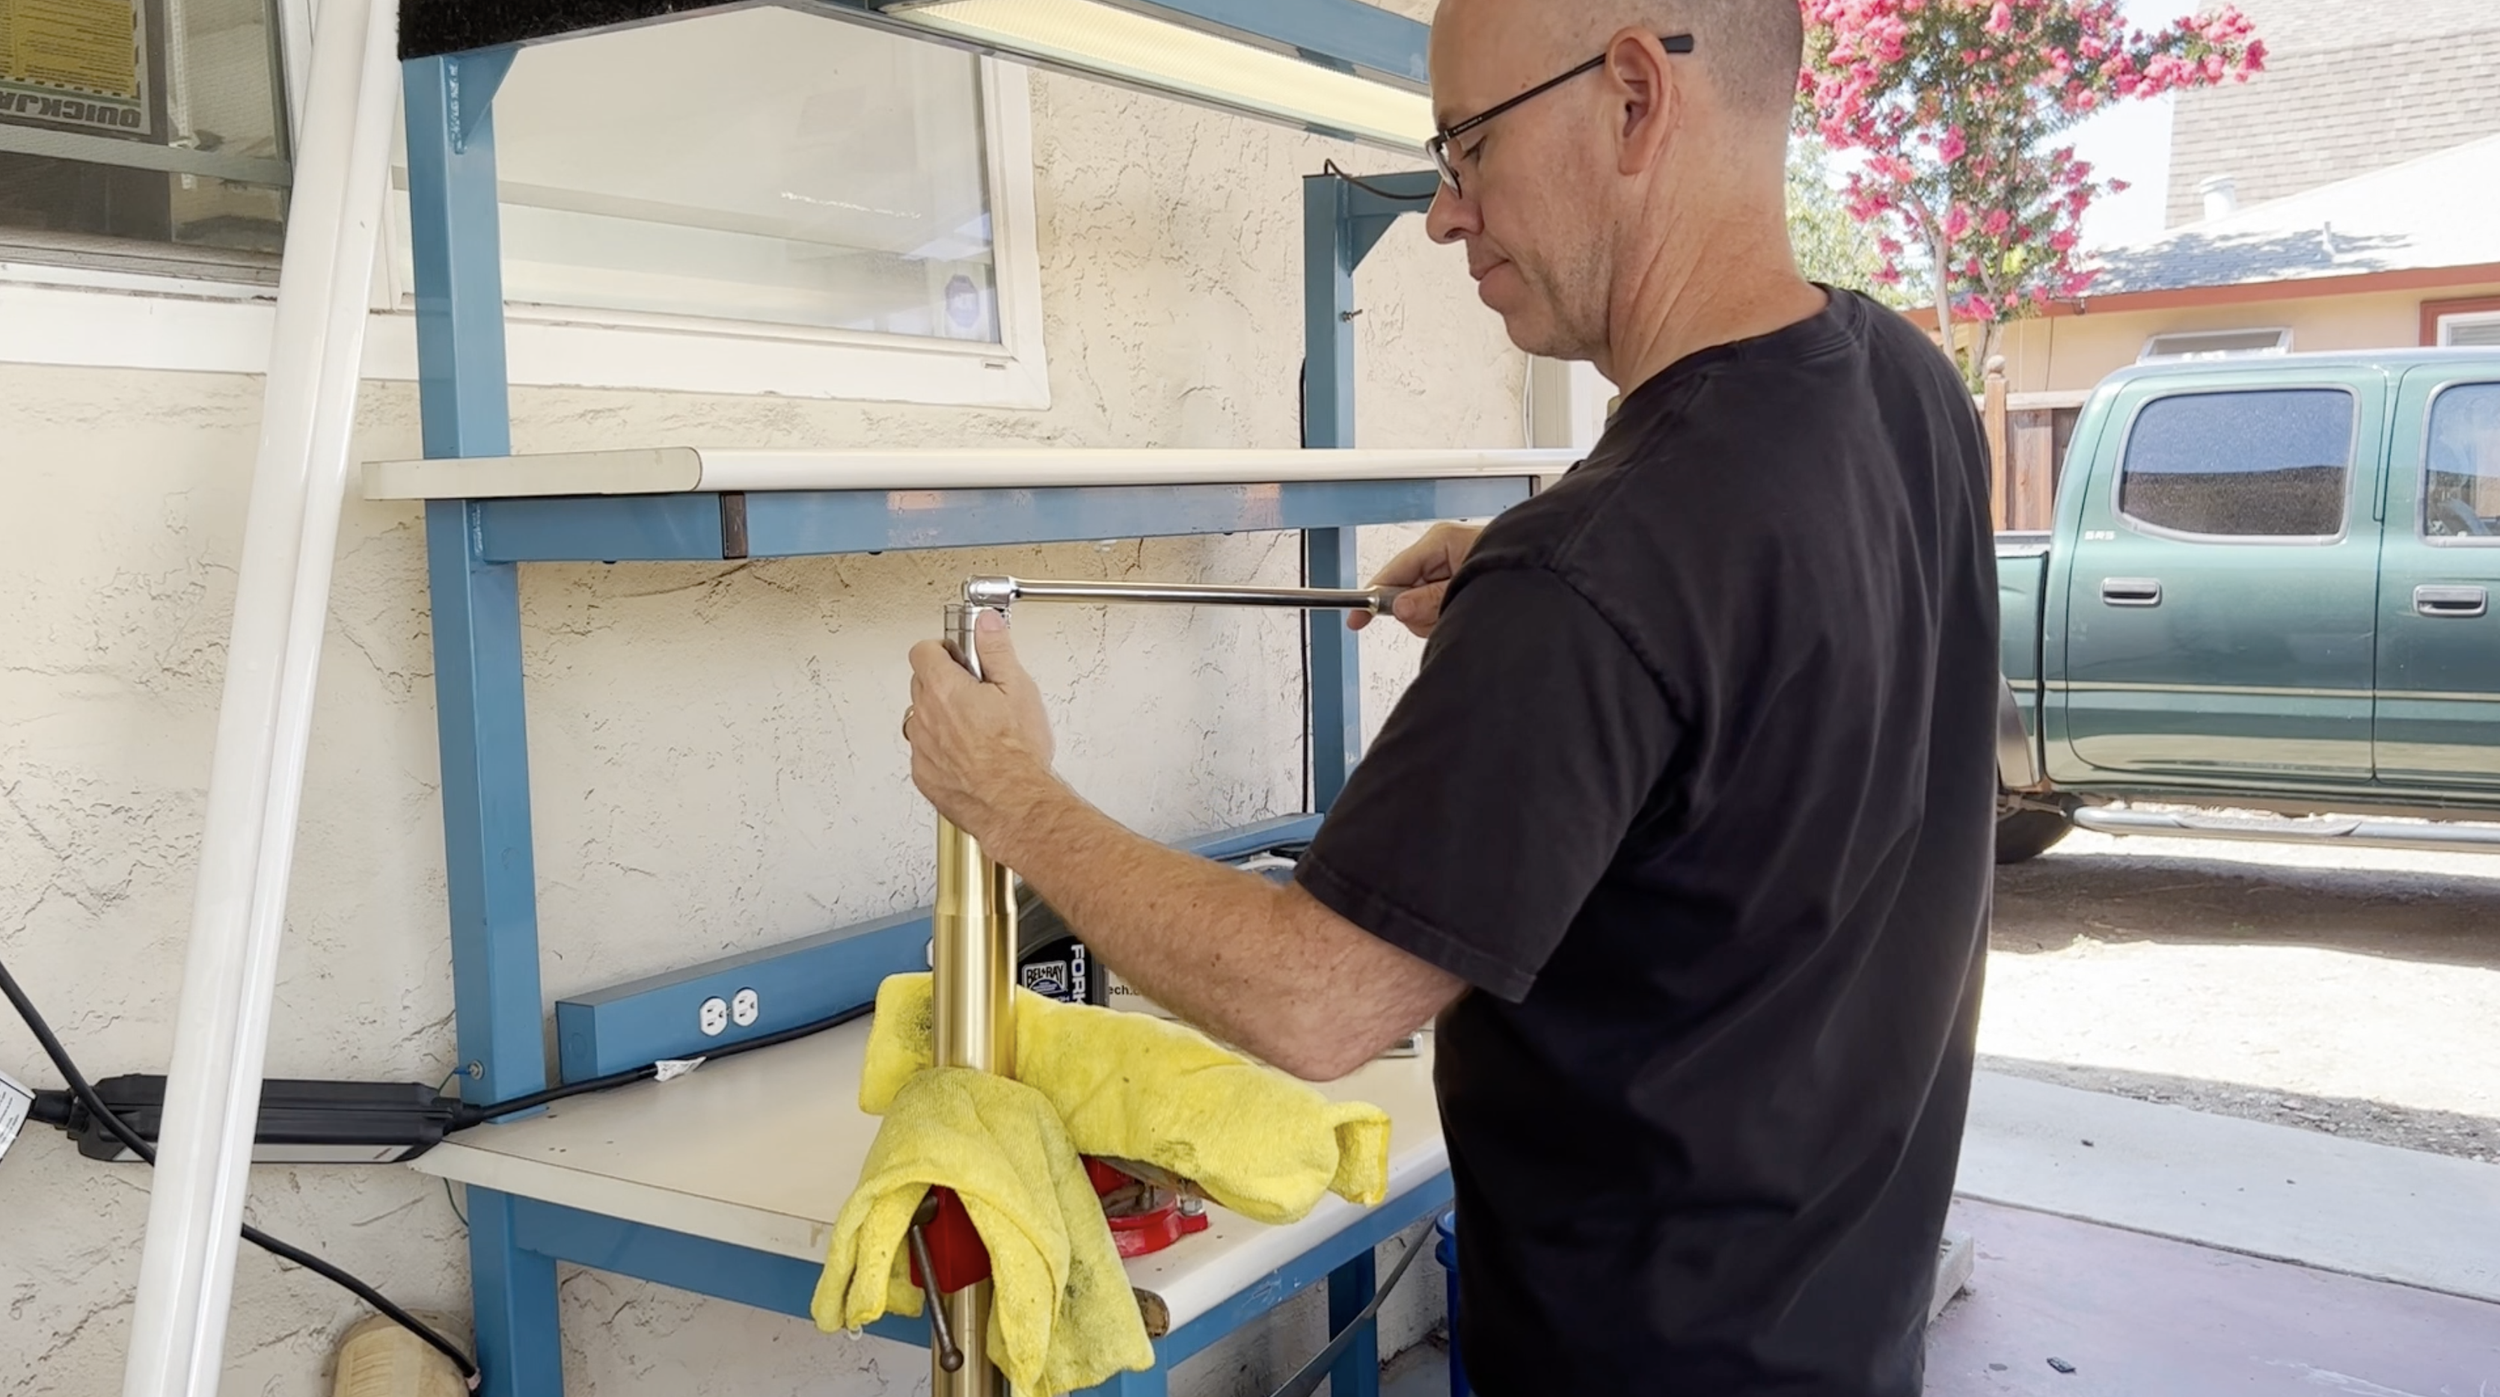
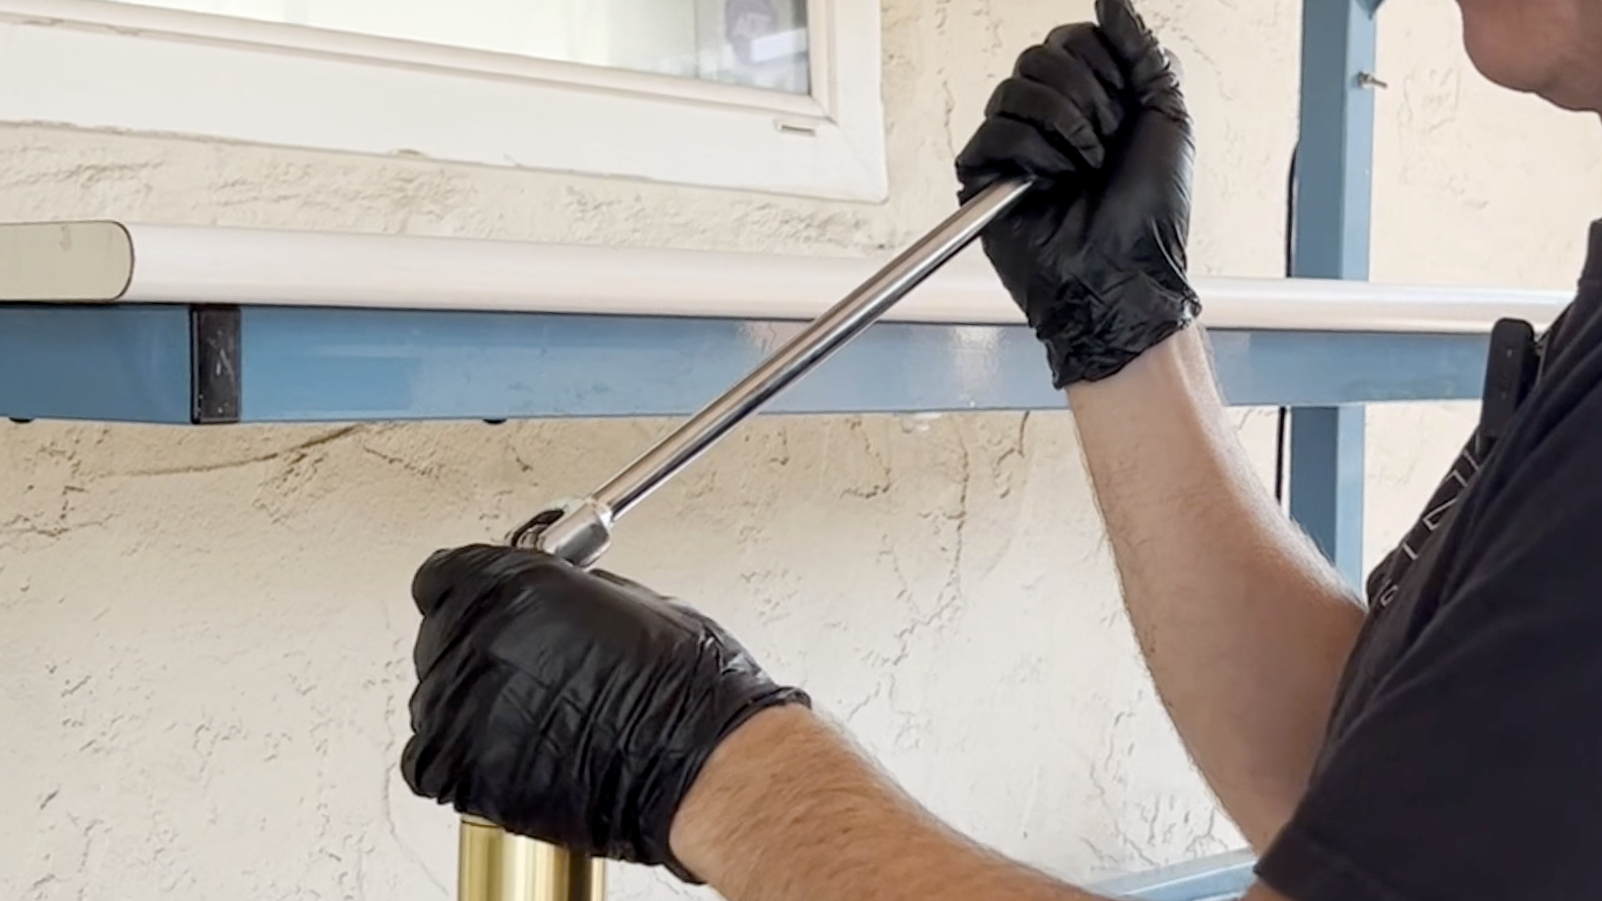
Once you’ve got your fork mounted securely in the vise, take all of the preload (if so equipped) out of your forks. Simply ratchet them counter clockwise until they stop. You can line your socket or wrench with tape if you are concerned with keeping the cool anodized finish intact.
Next, place your wrench on the fork cap nut and loosen it. If your forks have never been serviced, this may require a fair bit of force. You may need to use a breaker bar to get sufficient leverage. Caps do not require nearly that much torque, but they are often installed with an excessive amount of it. As you twist, listen for a clunking sound. That is the sound of the fork cap threads completely loosening from the tube.
Drain as much oil as practical at this time. You will not get all of it out, but you will get enough to keep you from having to splash around in it later in the process.
Compress the Spring
As you raise the cap, you will see a plastic spacer with two holes on either side. Slide your fork compression tool over the cap and thread the rods evenly toward the spacer. Seat them firmly into the holes in the spacer, but not so tightly they deform the shape of it. You will be placing a good deal of force so you want to ensure they do not slip. Remove the fork from the vise and complete the remaining steps on the floor. Be sure to put a towel between the foot of the fork and the floor so you don’t mar either one.
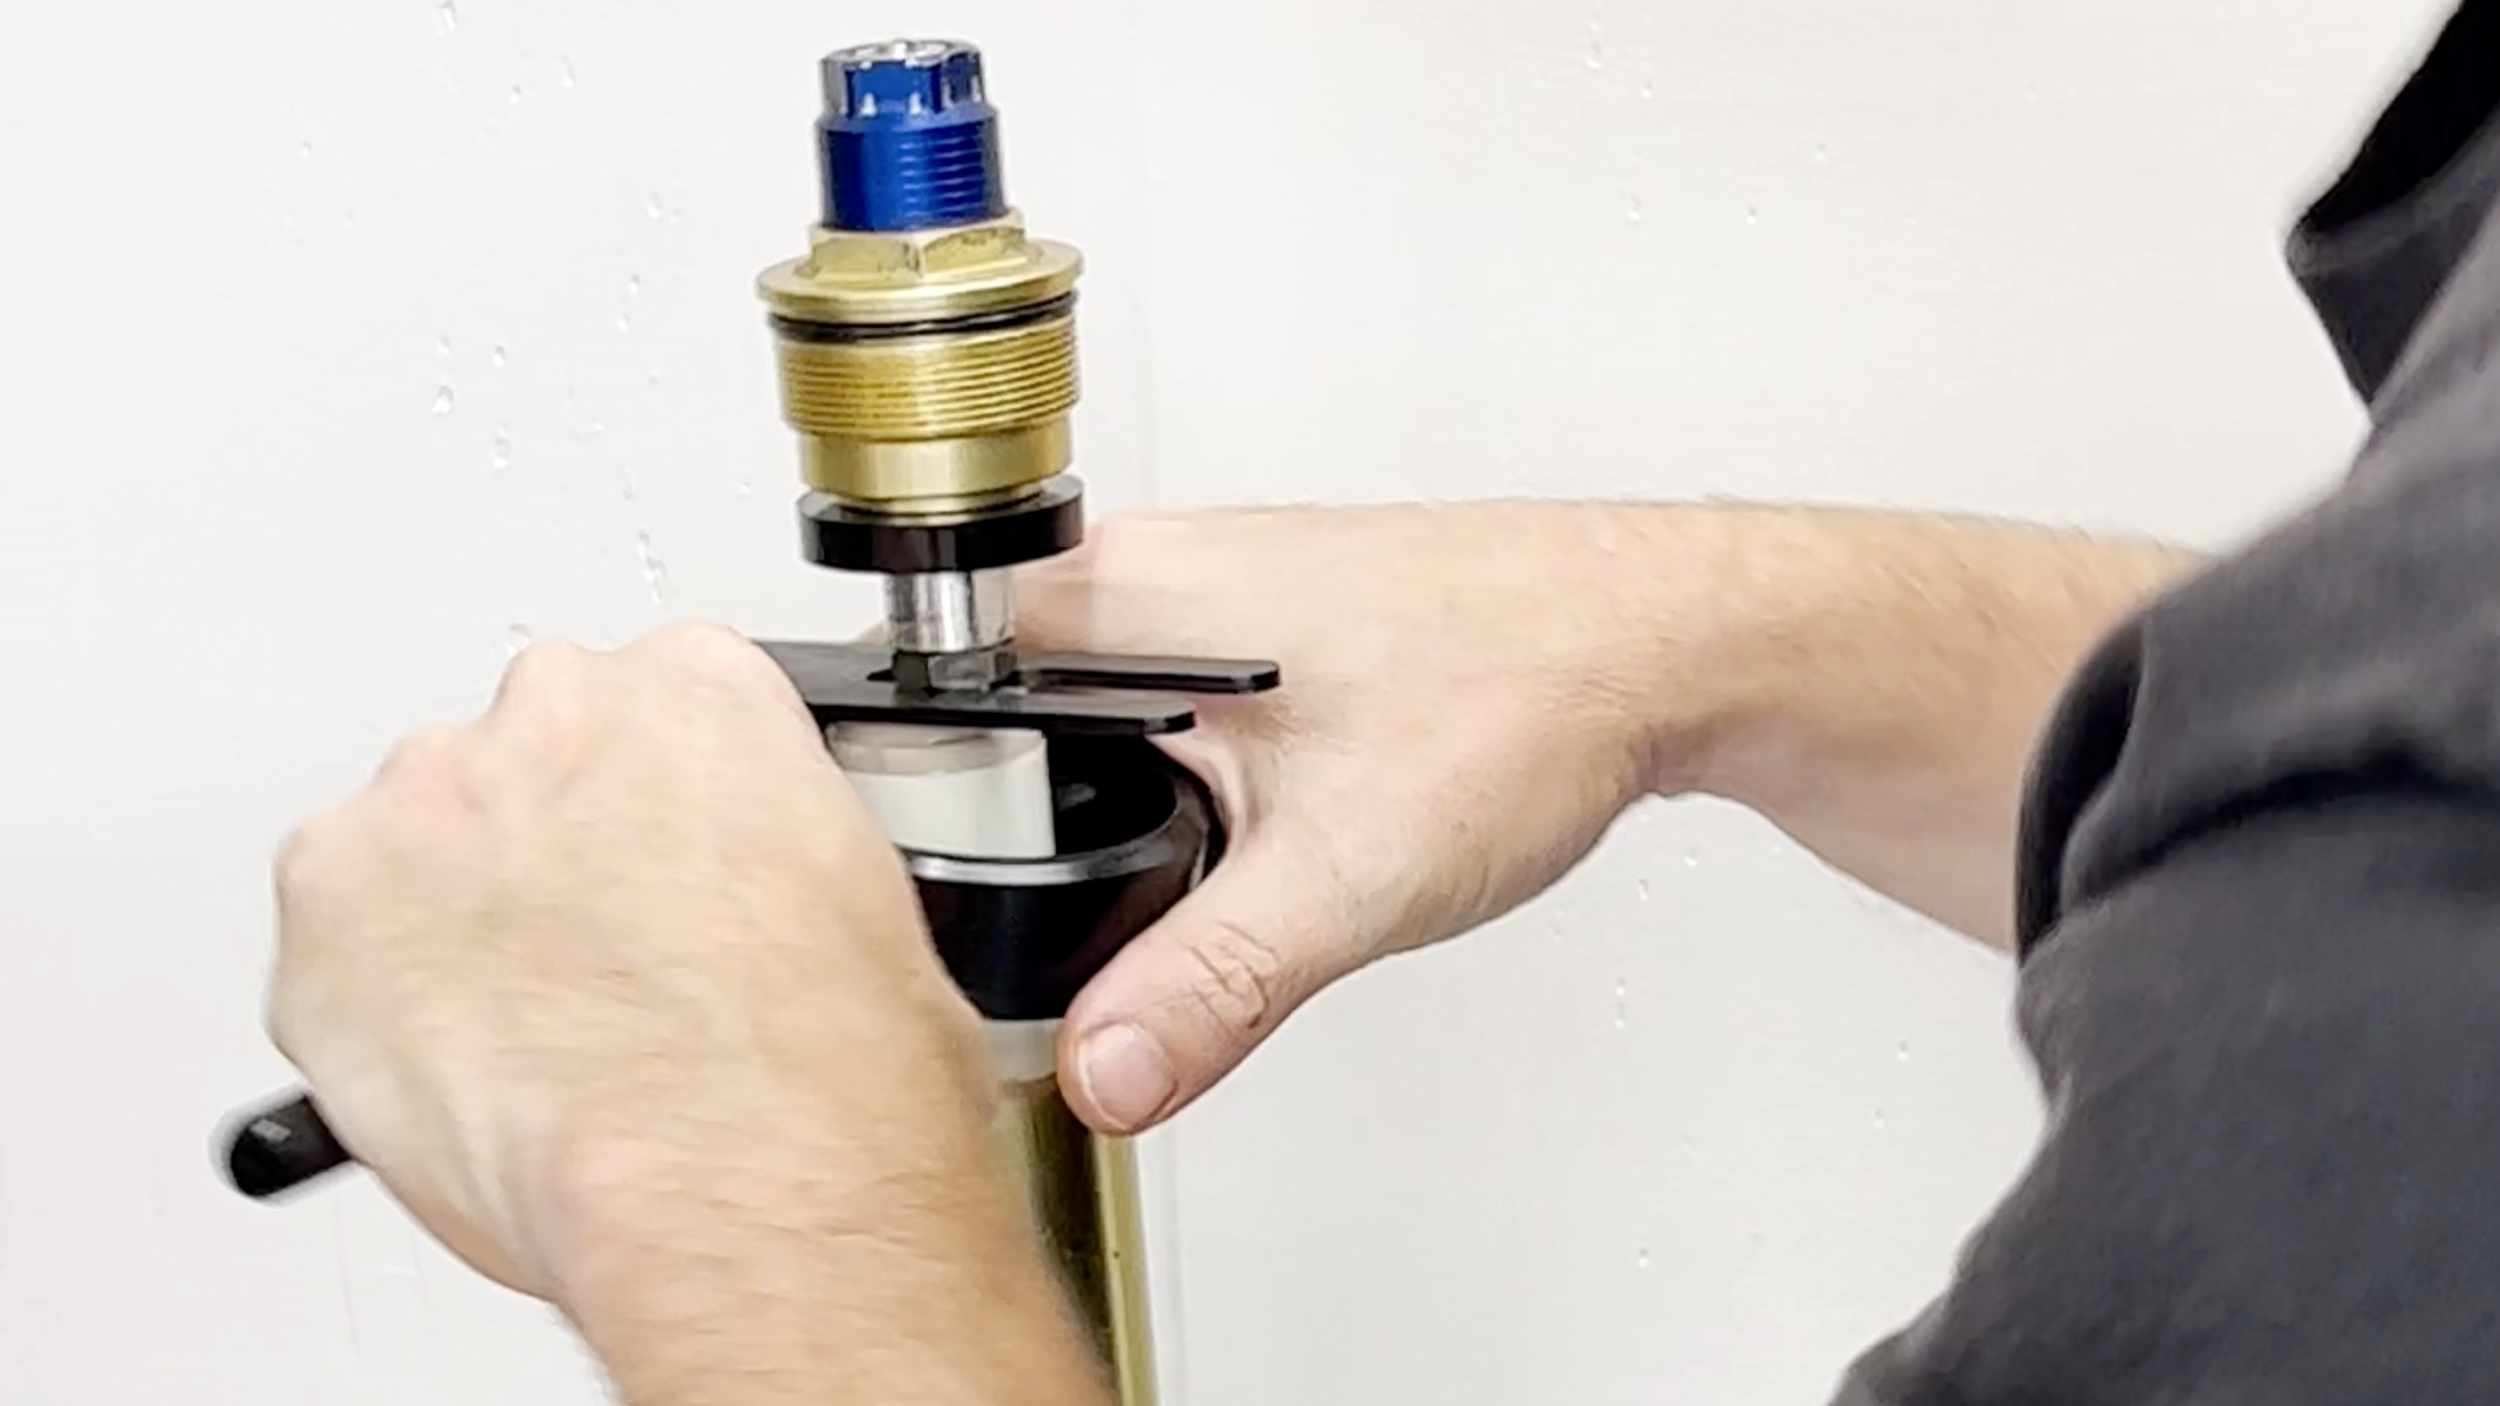
At this point you will need a helper. Their contribution is basic but completely necessary unless you were blessed with three hands. As you steady the fork upright, grip the compression tool and push down to compress the spring below the newly exposed jam nut. Have your helper place the compression holder between the top of the spacer and the bottom of the jam nut.
Compress fork spring with compression tool and have helper slide compression holder between spacer and jam nut.
Disassemble the Fork
If you are specifically working on the same fork I am, you will find the need for another slightly odd tool. On my particular set up, and maybe yours as well, the jam nut holding the fork cap in place is rather thin. In fact, it is too think for a standard open end wrench to fit. When I placed my Craftsman 17mm wrench on the nut, it also held the bottom of the cap with the two flats. Since we need to separate these two from one another, that’s not going to work. Fortunately for me, I was able to find a thin 17mm wrench in my bike’s tool kit. This is literally the only thing I ever use this wrench for.
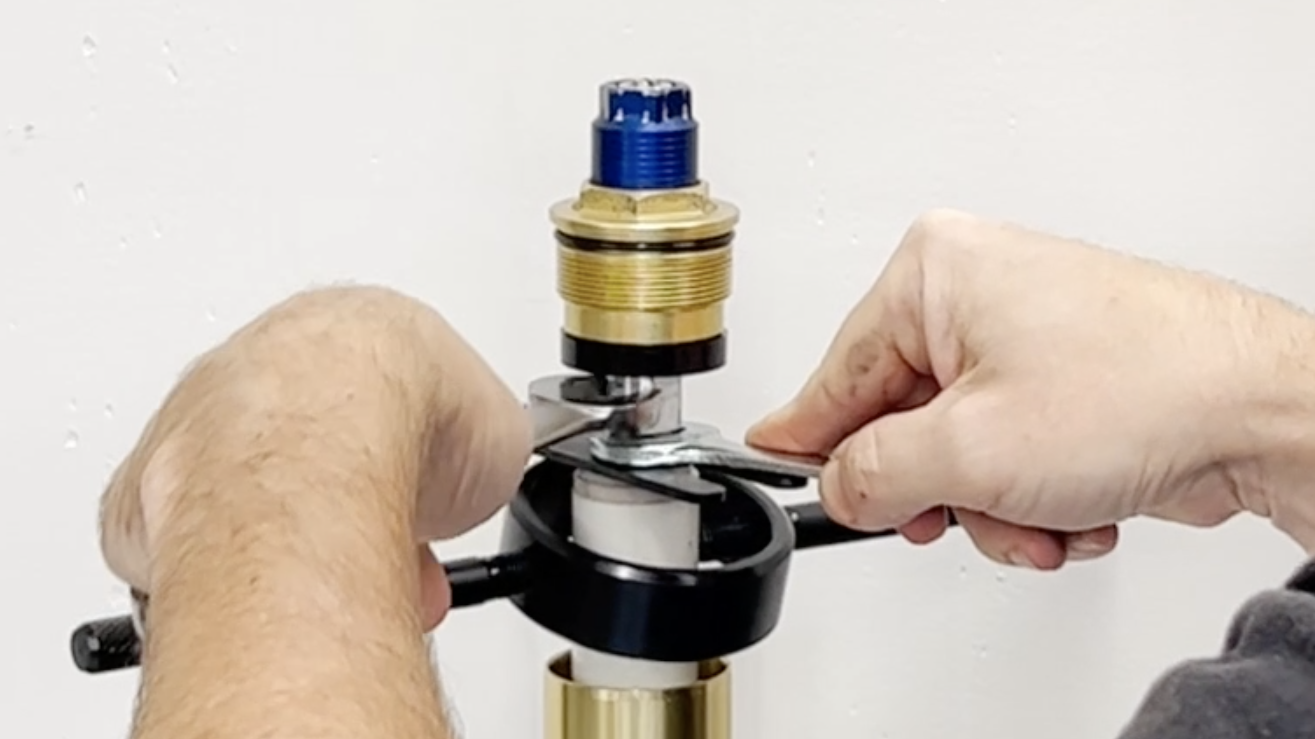
Using an adjustable or 17mm wrench placed on the flats below the cap, twist the jam nut down. Loosen the cap assembly from the rod and place it safely out of the way. I like to set my components on an old bath towel since they are covered in oil.
Invite your helper back. Compress the spring enough so they can to remove the compression holder. Have them also gently sink the rod down inside the spacer. At this point you can relieve pressure on the spring and remove the compression tool.
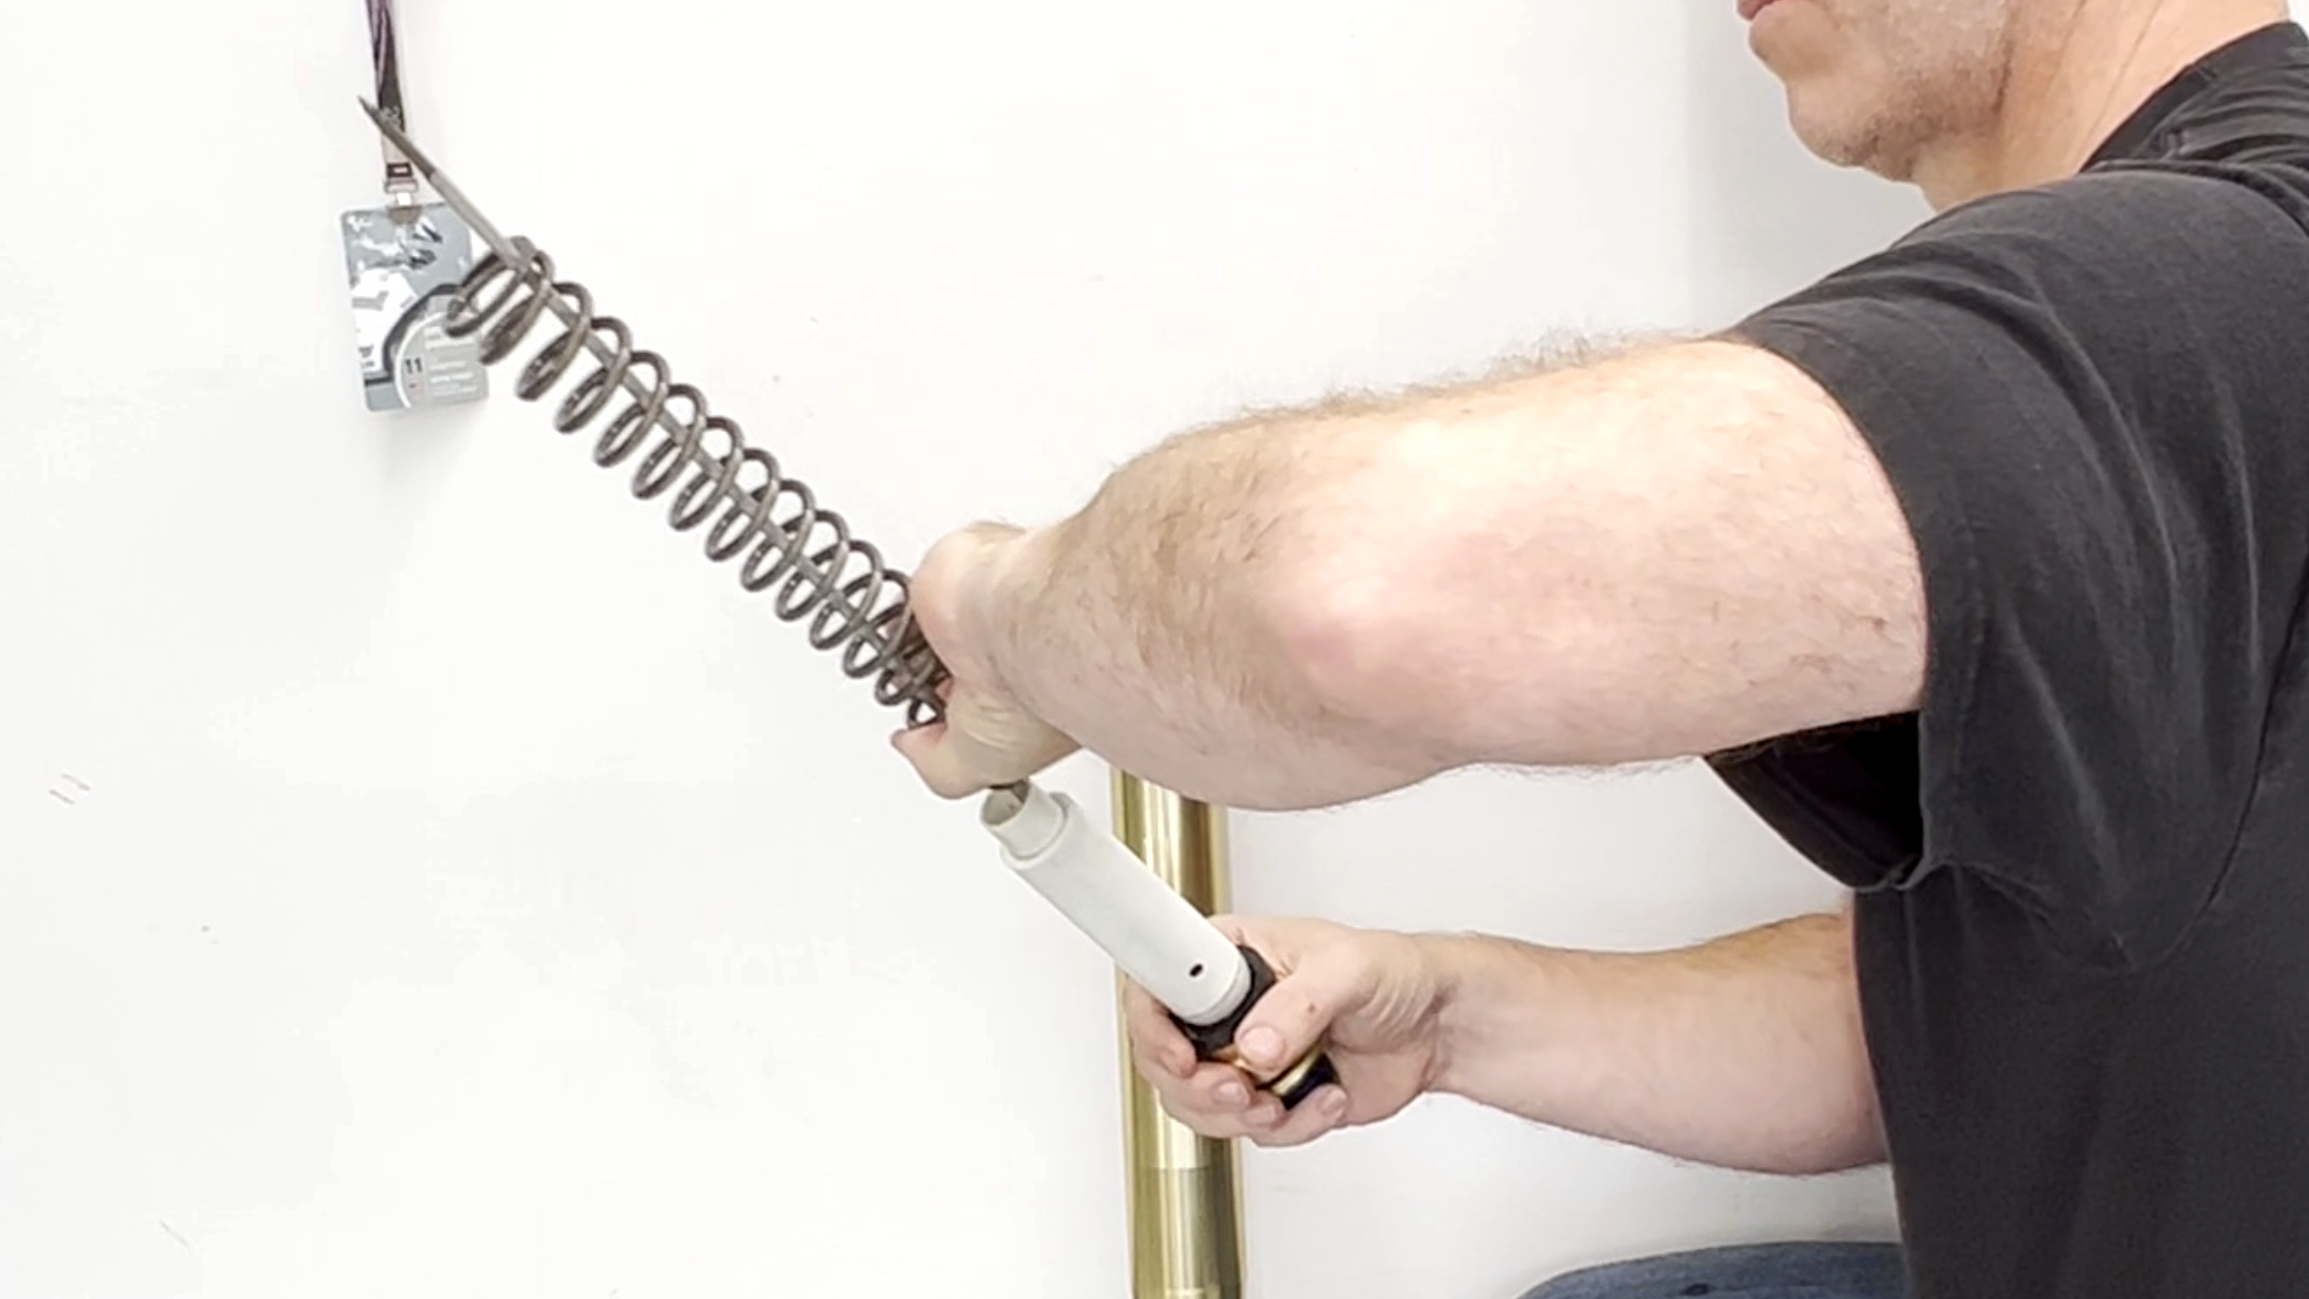
Pull out the spacers and the spring. I like to store mine in order on the rebound rod so they are all in one location.
Dump the remaining oil into your bucket. Allow the fork to drain for a minimum of 15 minutes. While it is draining this is a good time to get your other fork and repeat the process above.
Clean and Lubricate
This is the best opportunity you will have to get all the components clean and properly functioning. There isn’t much point in replacing your fork oil if you’re going to leave the components dirty.
Pull the outer tube completely off of the inner tube. If you have a fork with captive bushings like this older Showa fork, it’s a pretty simple process. If your fork is different, it may require the use of another tool to completely pull them apart, or at least a bit of force. Again, check your service manual for specifics.
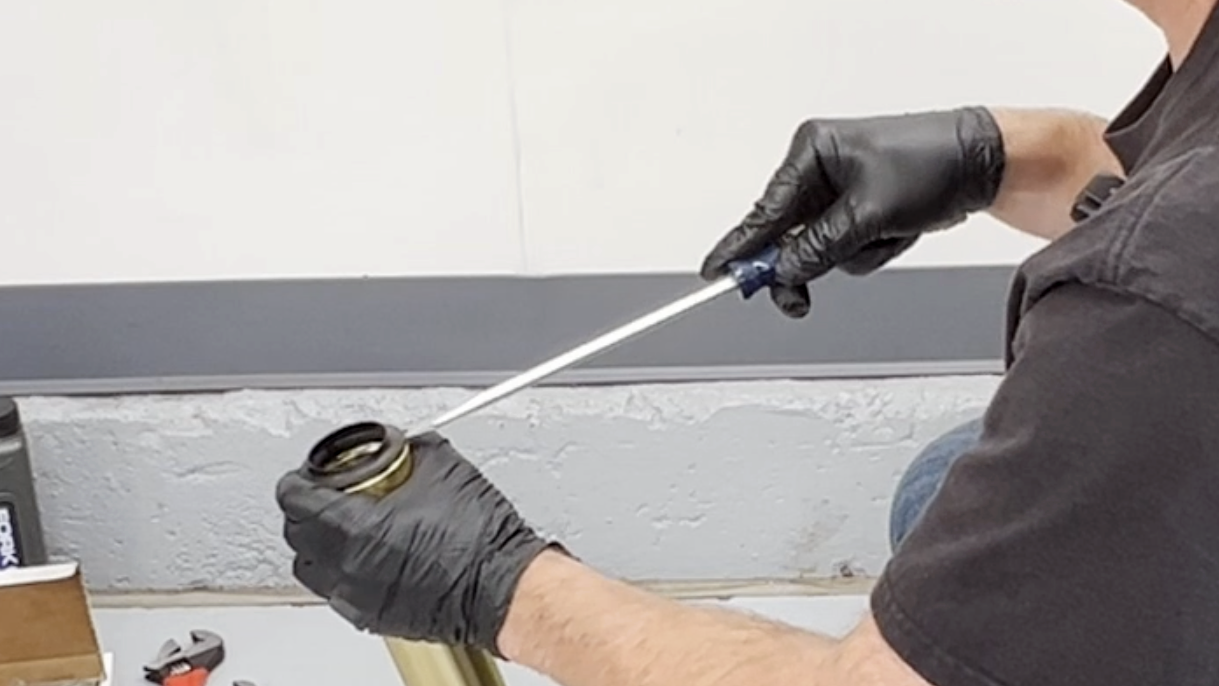
Remove the dust cap at the lower end of your outer tube and clean it thoroughly. Gently slot a standard screwdriver between the end of the fork tube and the dust cover. When inserted, twist the screwdriver and work your way around until it comes off. Never use harsh chemicals like brake or chain cleaner on parts like these. Simple Green, a paper towel, and a bit of elbow grease are sufficient.
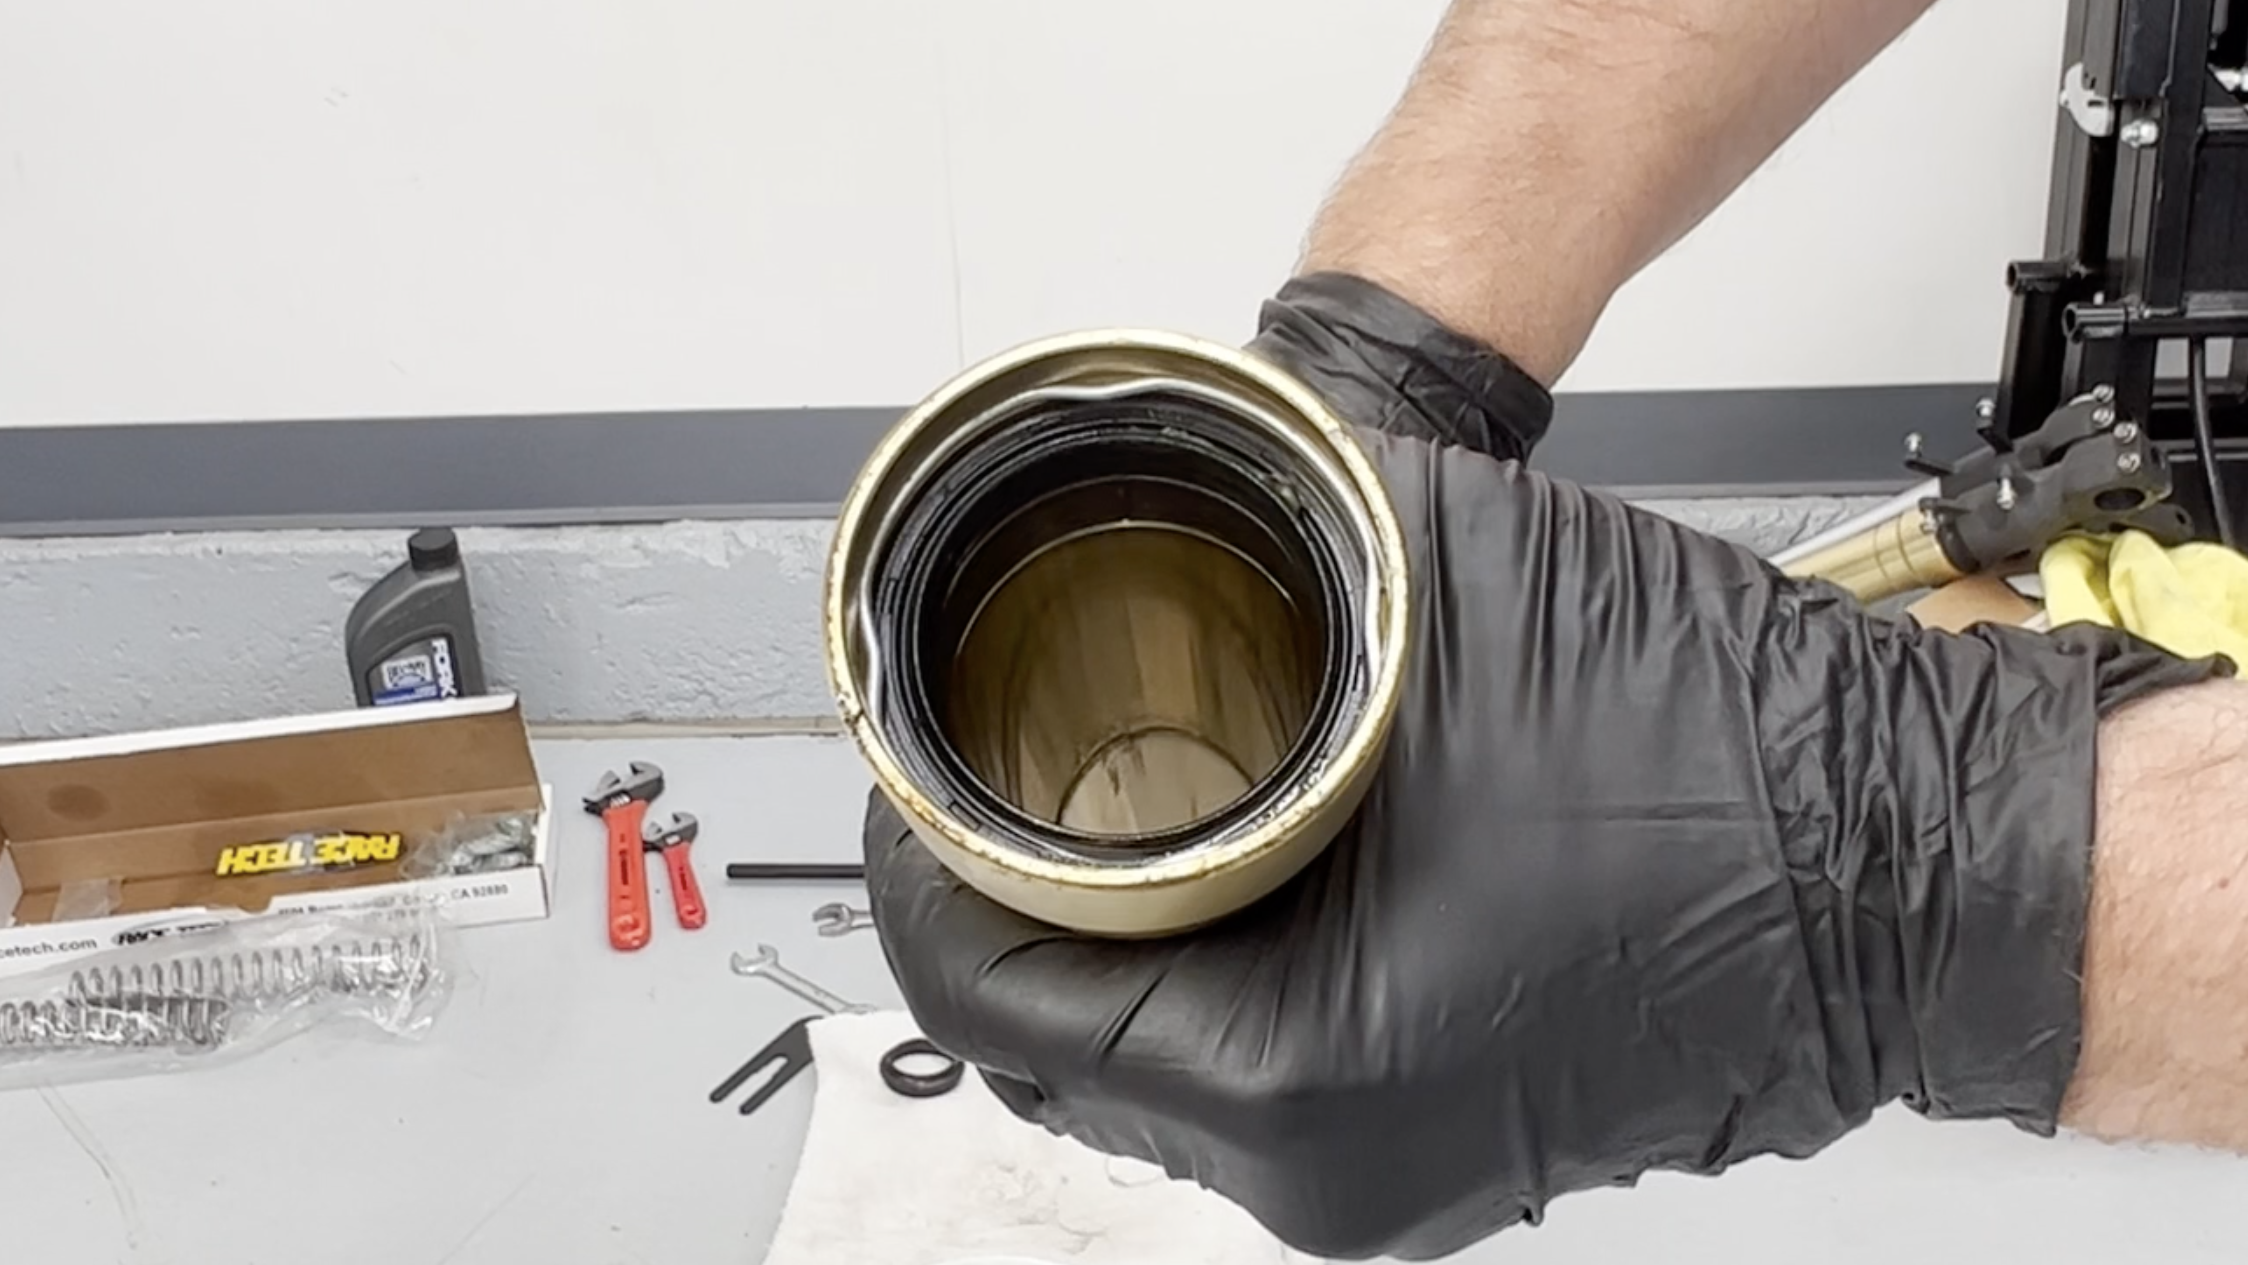
Clean the fork seal at the bottom of the tube just as you did with the dust seal. When you have gotten it as clean as possible, it is helpful to use a bit of high temperature grease to keep them working well and making them easy to reassemble. I use this oddly punctuated Red “N” Tacky Grease from Lucas Oil.
At this point you can carefully slide the tubes over one another. Line them up as best as you can, because you won’t want to damage the fork seal as you do so.
Refill the Oil
Now that everything is cleaned up we can start the process of adding our new fork oil. We need this to be as precise as possible to have our forks working at their optimum.
Initial Fill Up
Many factors will dictate the volume of oil you need to add, so be sure to refer to the manufacturer’s guidelines, or if your forks have modified internals, refer to the specifications from the company who built them. For my (now) mostly stock GSX-R forks, the oil is filled to 130mm of the top of the outer tube.
Use a ruler or and a pencil or marker to give yourself a rough idea of how far down from the top your forks should be filled. You can safely mark the outside of the tube—it will clean off easily enough with some parts cleaner. It’s best to overfill slightly from the start. On these forks I filled to the ridge near the top. There will be air trapped in the fork. Wait five minutes to let some of it bubble out on its own.
Set your initial oil fill level making sure to add a bit more than necessary
Bleed the Rod
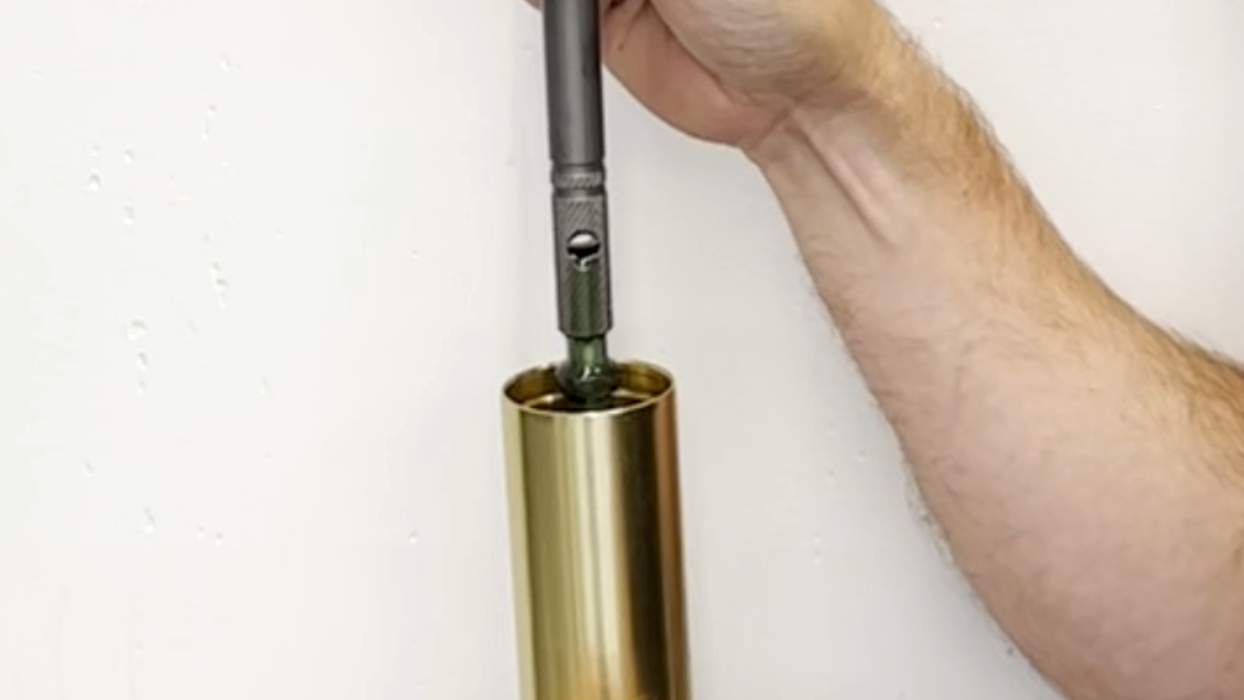
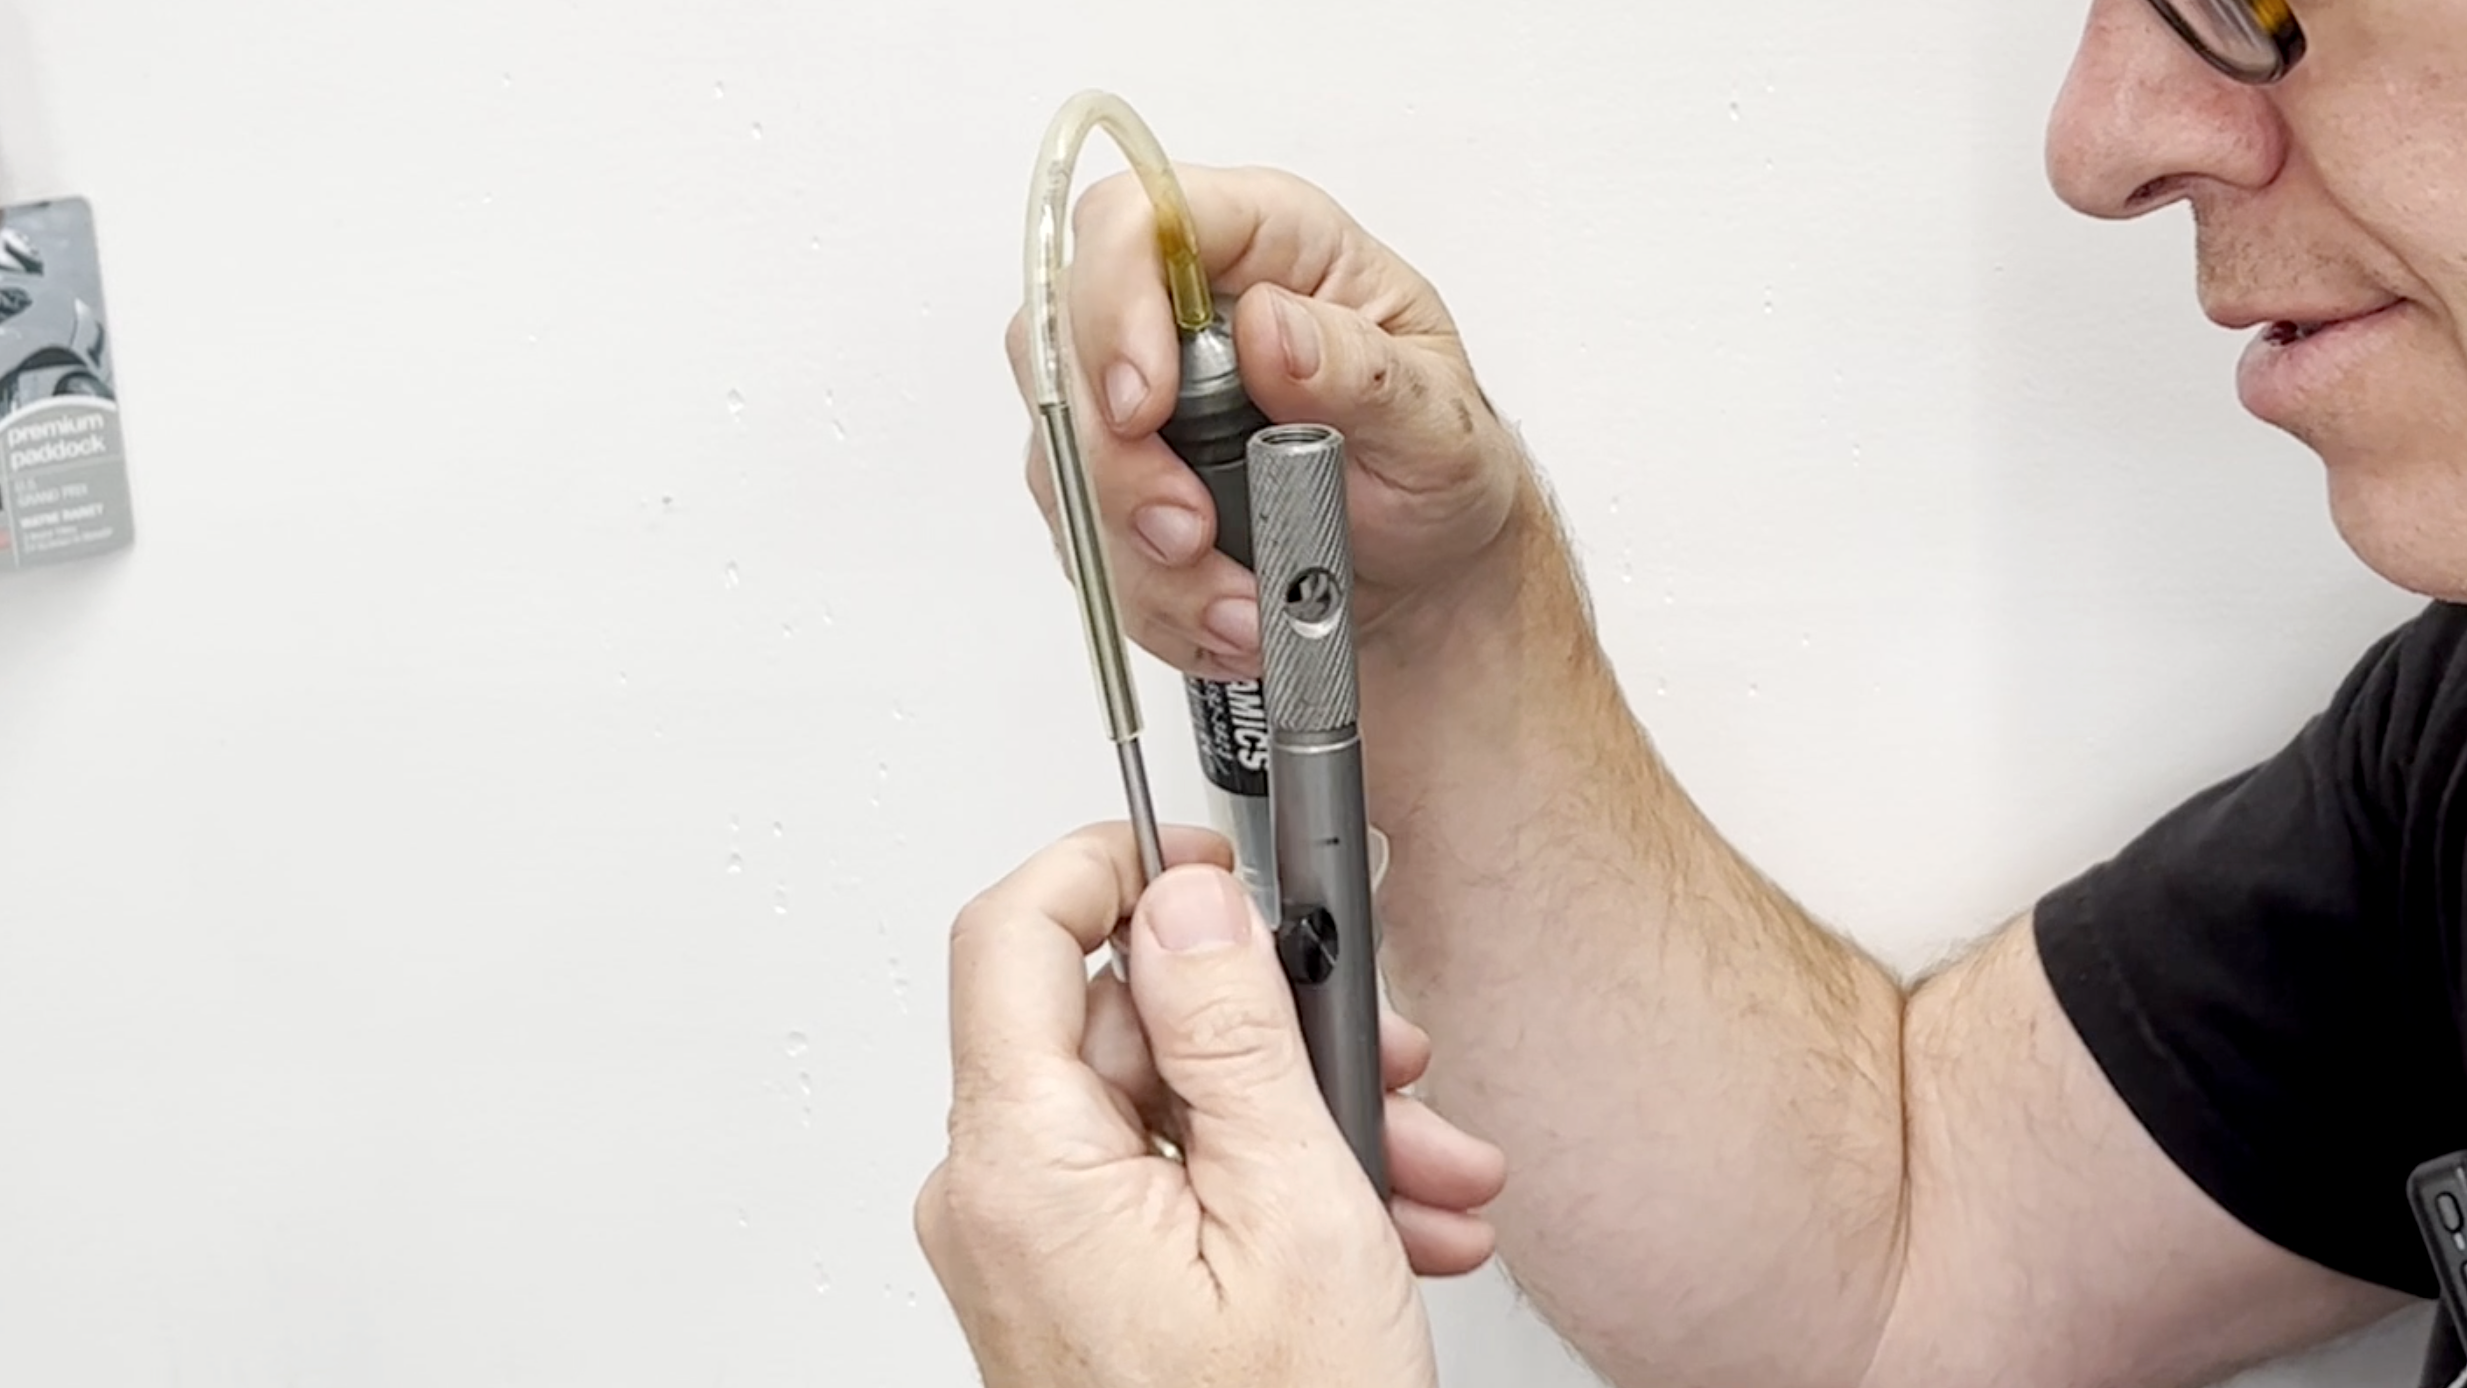
Air wGently thread the bleed tool to the end of the rod. Make sure you are using the correct end of the tool. It is made for four different thread pitches. It does not need to be tight. It simply needs to hold the rod a bit. Pull the rod up to the end of its stroke and gently sink it down to the bottom of its stroke. You will see oil start to drain out of the bottom hole of the tool along with air bubbles. Repeat this up and down motion until oil is coming out at the top of the stroke and there are no more air bubbles.
Move the bleed tool up and down until air stops coming out at the top of the stroke
Set the Oil Level
Set your oil level gauge to the required position and connect it to your syringe. With your fork as upright as possible, slide the gauge inside the fork until it hits the stop, and pull the plunger. Hopefully the syringe is pulling fluid. If so, continue until it is only sucking air. If not, add more oil until it is above the bottom of the gauge and repeat the process.
Pull excess oil out of the fork according to manufacturer specifications.
Reassemble Forks
Putting everything together the way it was is basically a matter of disassembly in reverse, but there are some important points to note to make sure you don’t damage the rebound rod.
Install Springs and Spacer
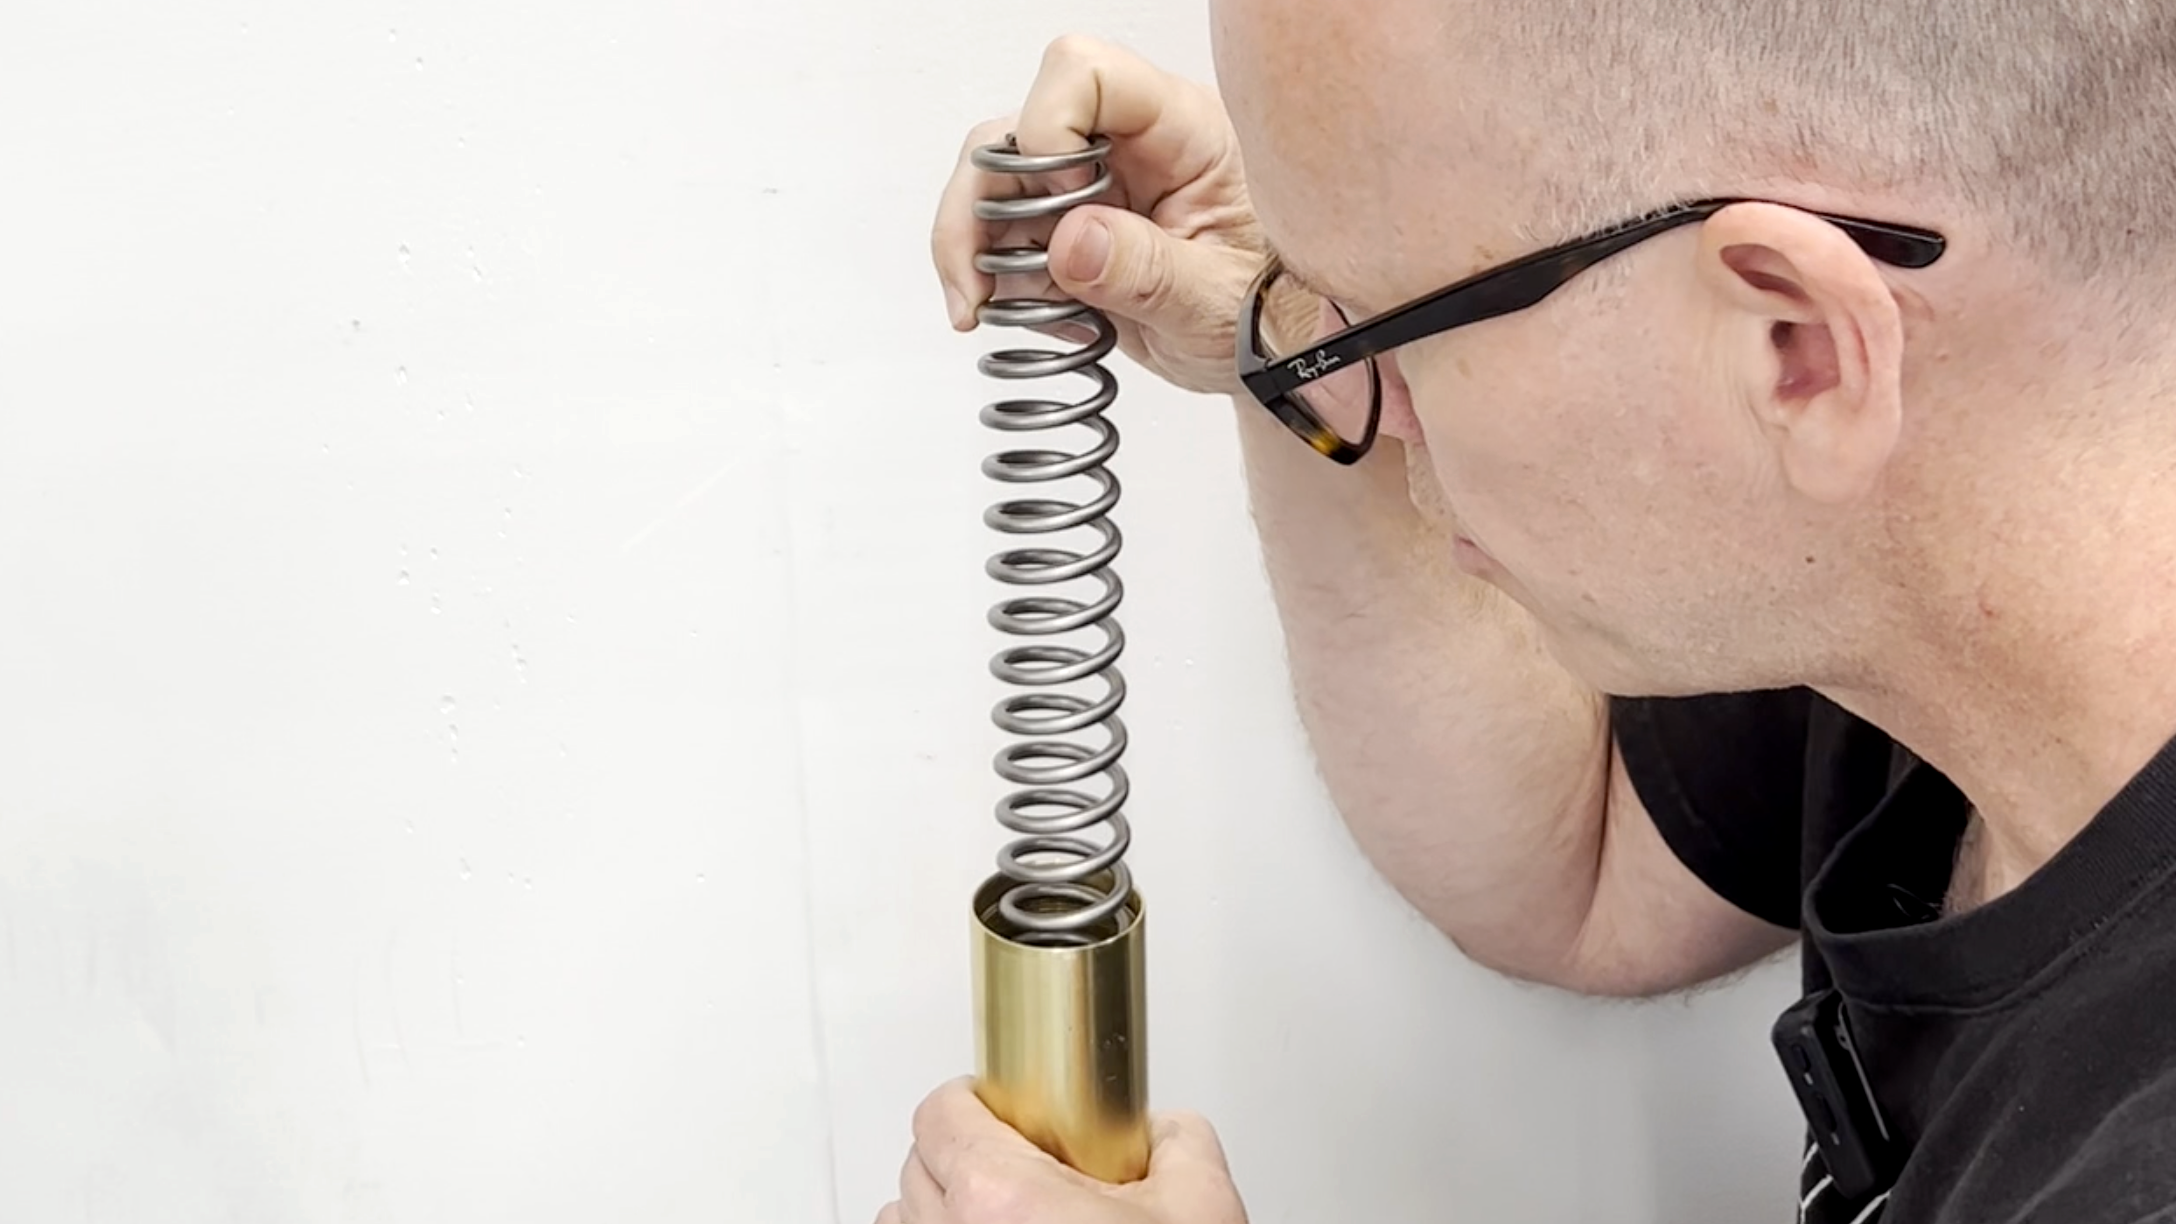
Gently place the spring back into the fork tube followed by the spacers, and the rebound rod and cap. Make sure that all parts are put back in the same order and orientation and the spacer is centered in the spring. I find it easiest to put them all together first, set them into the fork tube, then pull out the rebound rod and fork cap.
Return spring and spacers to the fork tube
Install Rebound Rod and Cap Assembly
Have your helper come back for this part. Have them use the bleed tool to pull the rod back to its highest position. Compress the spring once again and have your helper insert the compression holder. Now you can remove the bleed tool.
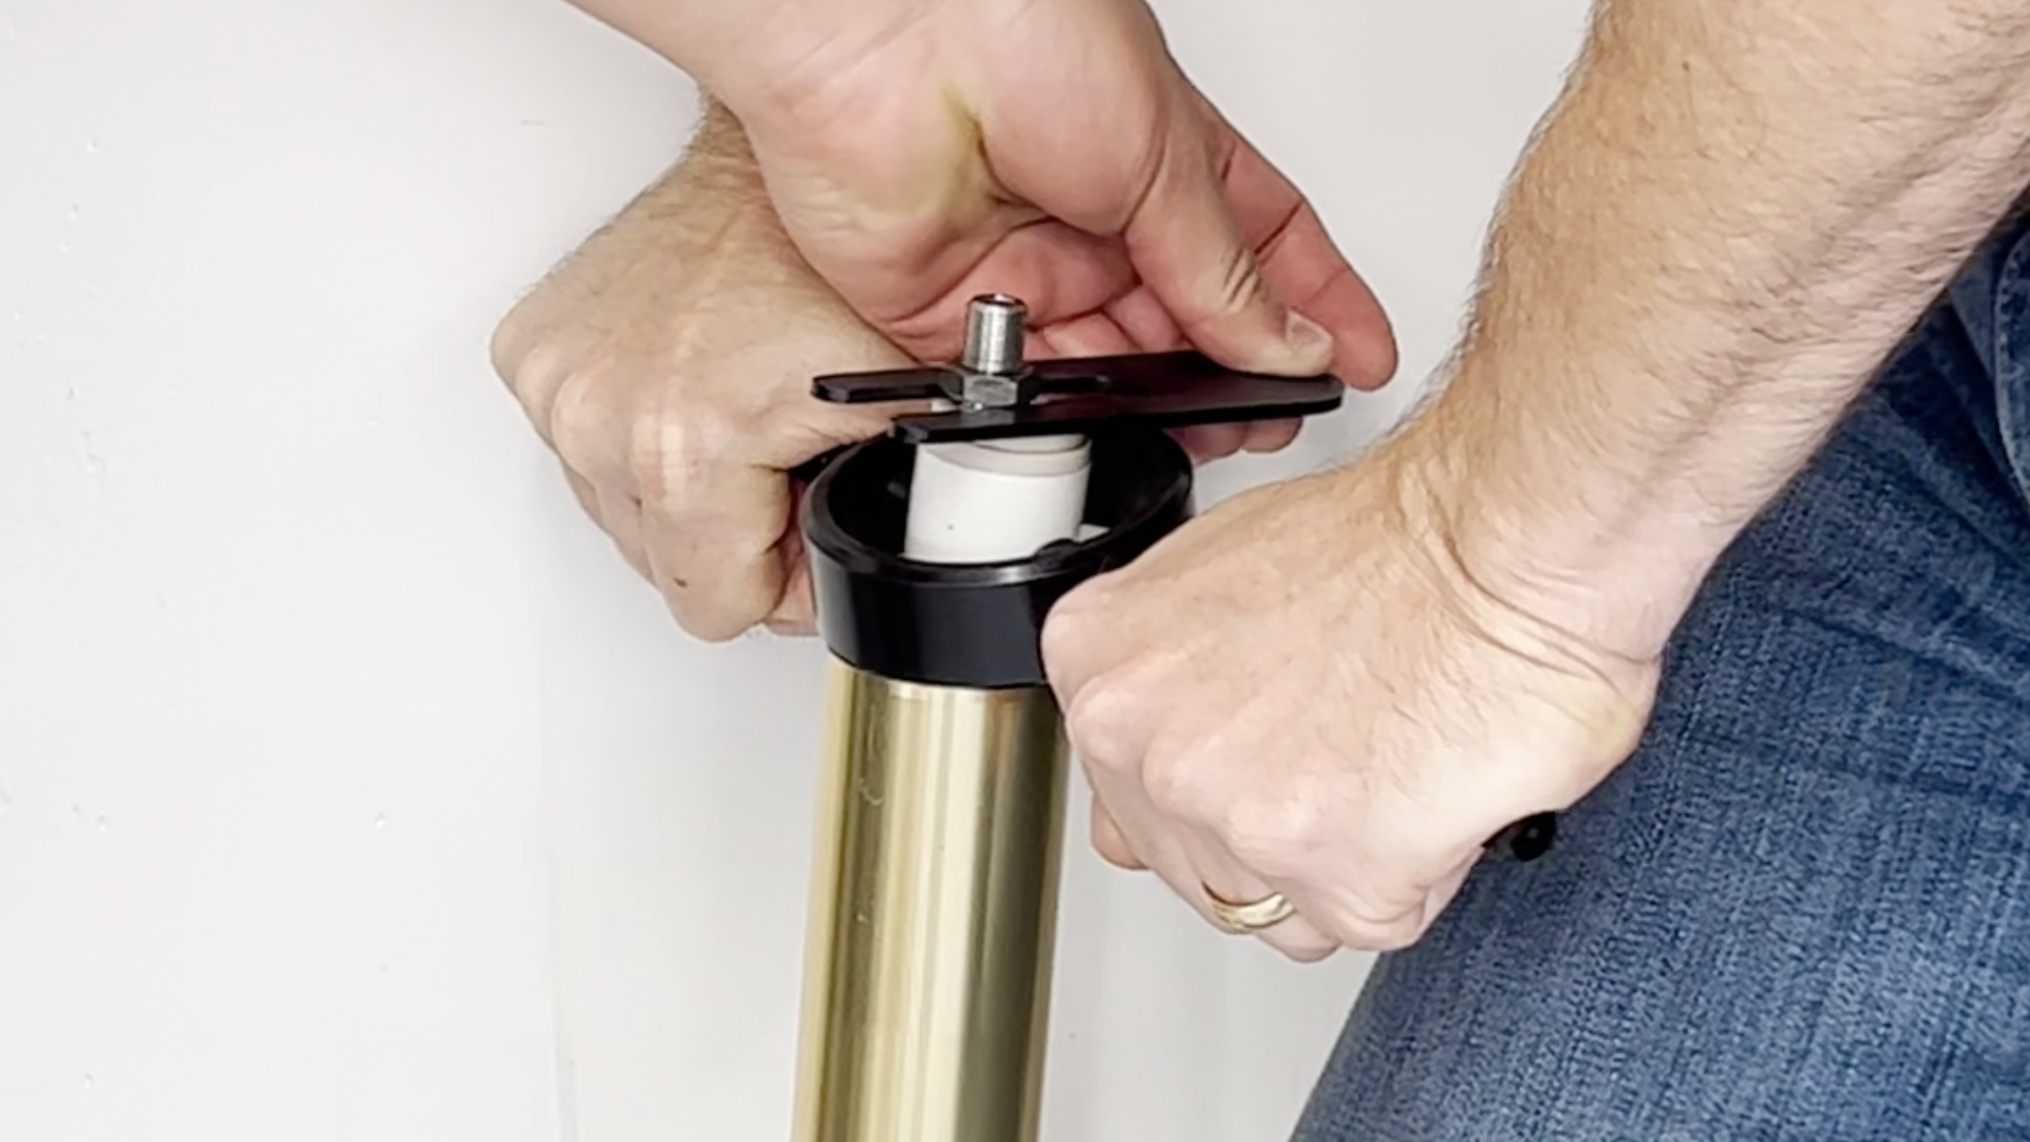
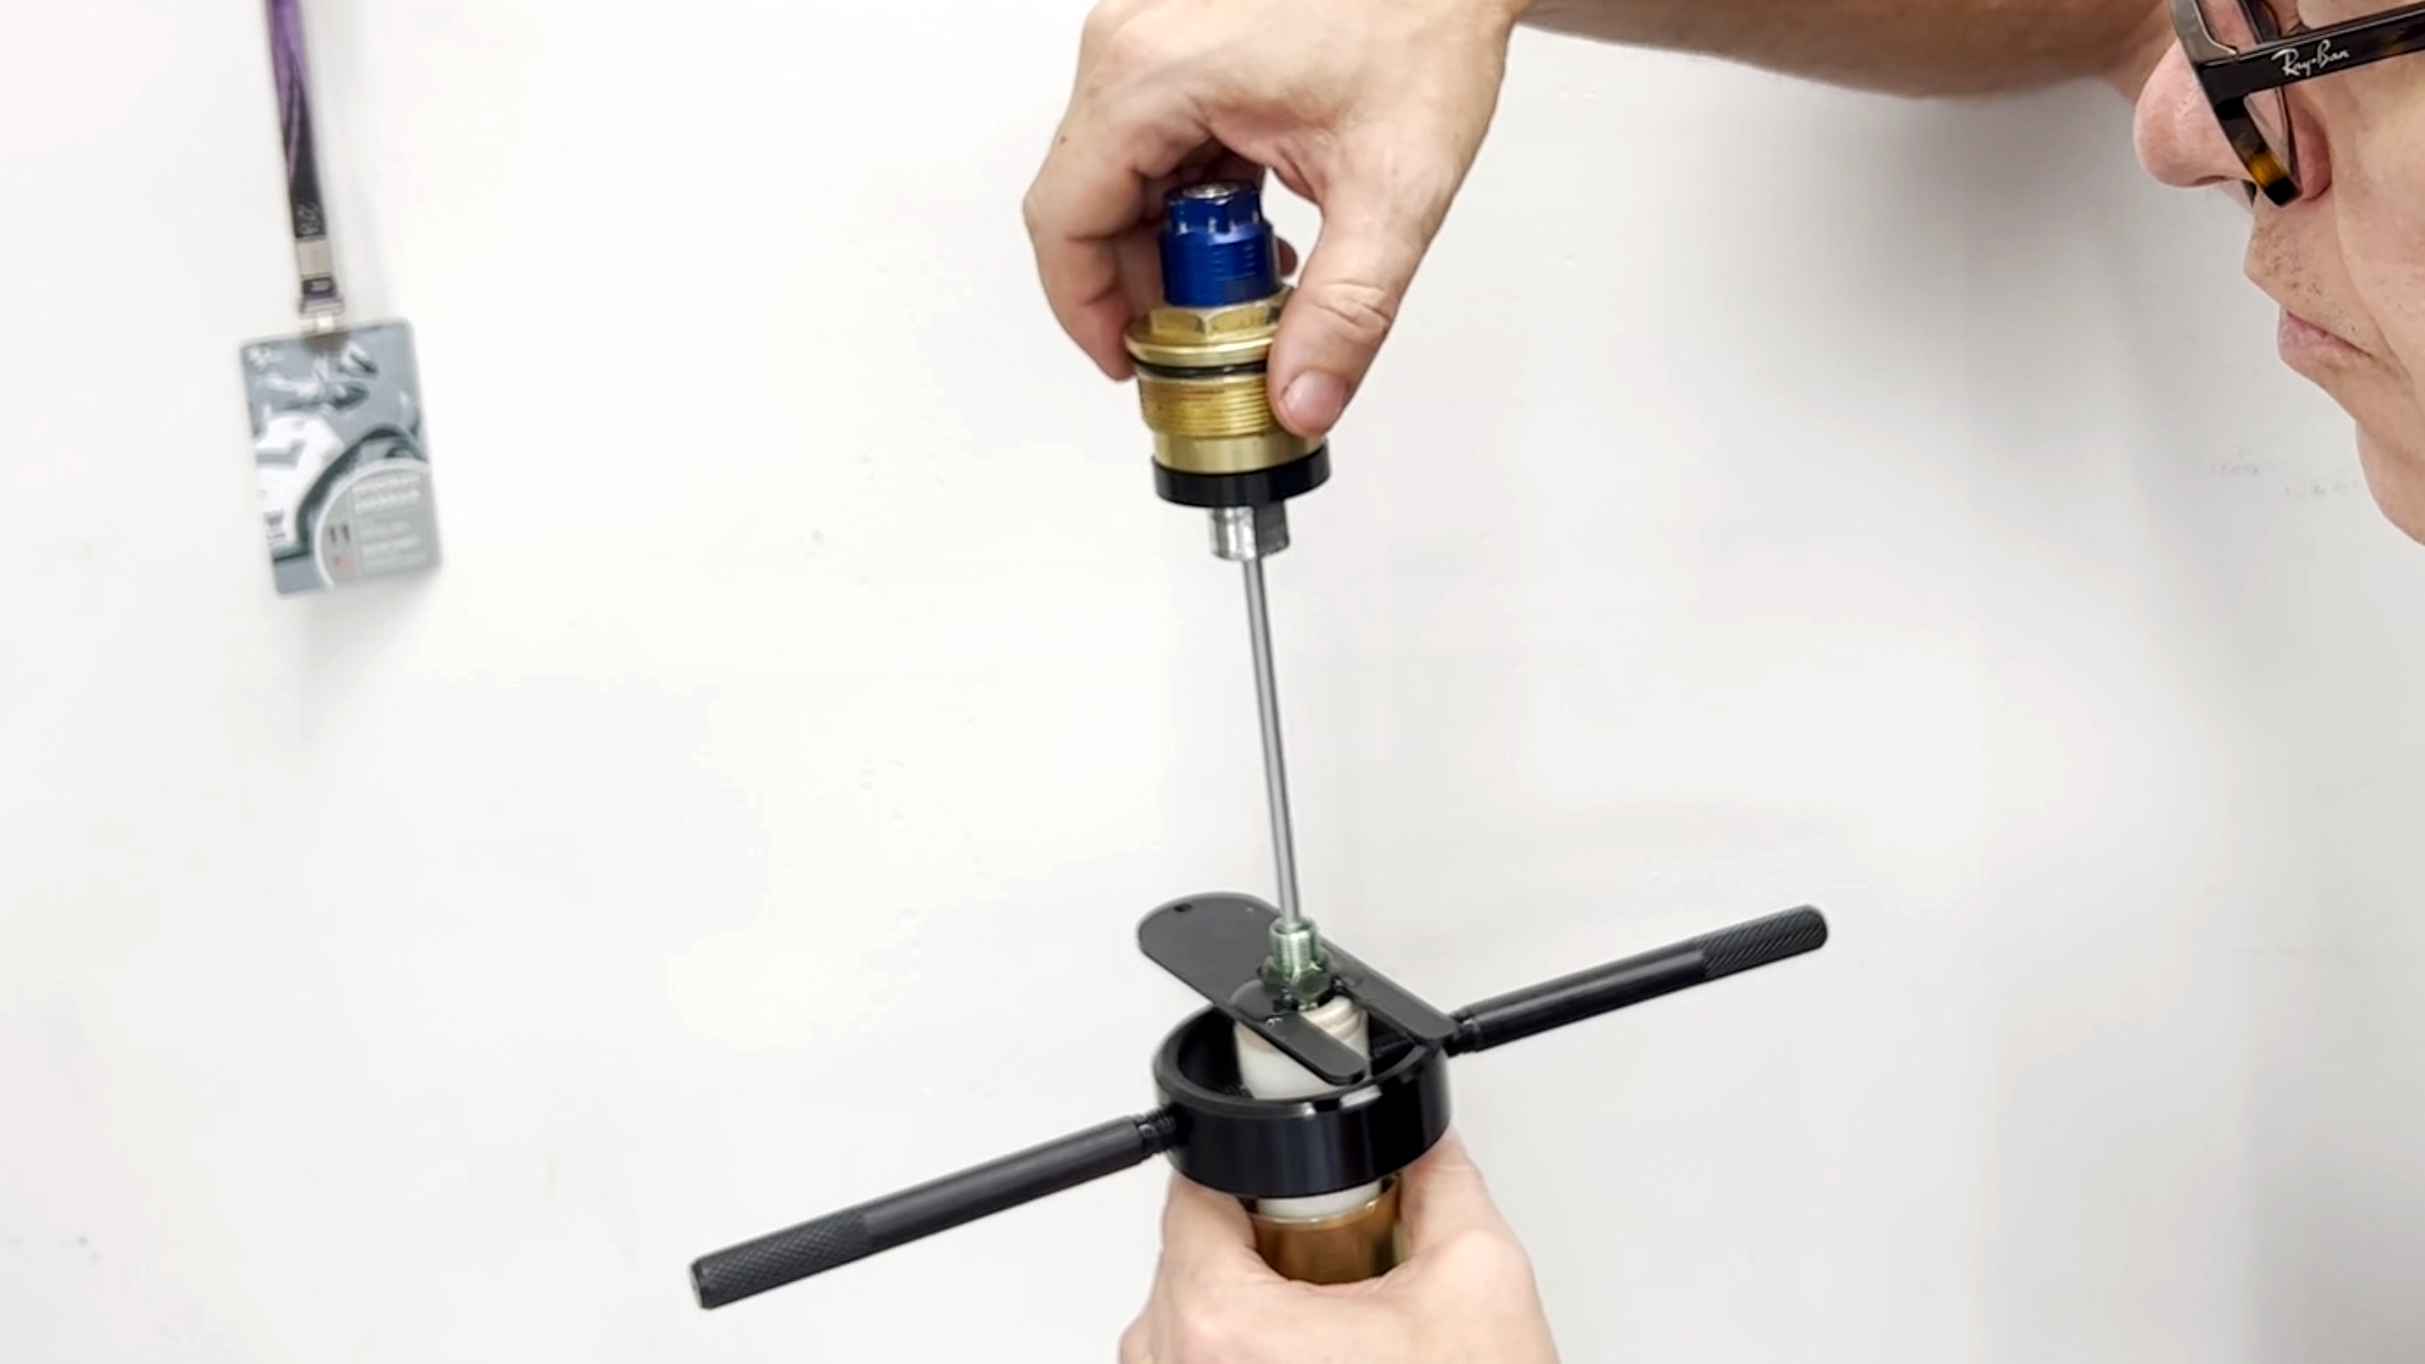
Back your rebound adjust out one full turn. This will give it a bit of space to prevent damage during the next step. Insert the cap and rebound rod assembly into the fork. Thread it on by hand until it stops. Now tighten the jam nut to the bottom of the cap assembly until it is tight. Do not use excessive force to tighten it or you will regret it next time you do this. One last time, compress the spring and have your helper remove the compression holder.
Compress spring and install cap and rebound rod assembly
Tighten Cap
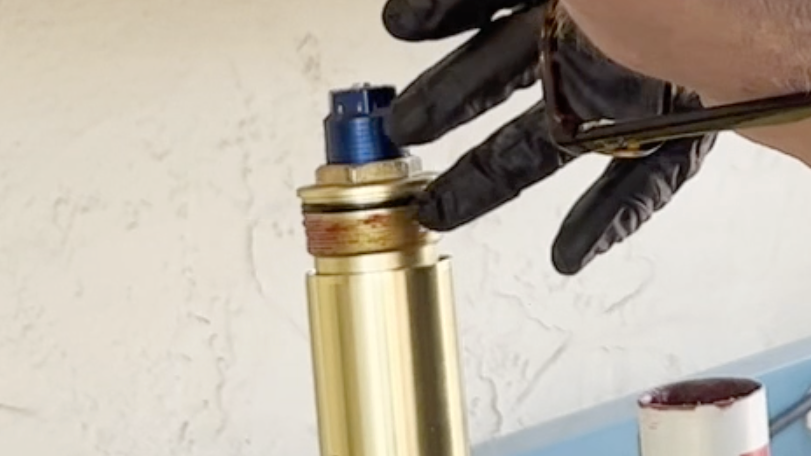
Now that all of your components are connected, return your fork to the vise. Add a small amount of grease to the threads and tighten it. The fork cap should not be excessively tight. I prefer to tighten by hand and give it a slight extra bump with the wrench.
Now is a good time to return all your settings to their original position. You will likely need to make compression adjustments later because you now have clean and properly functioning fork oil.
Task Completed
True, this is not a job for the faint of heart, but you can do at home by yourself with some occasional help. Hopefully by now you know how important fork maintenance is to the proper operation of your motorcycle and fork service is a bit demystified. For roughly $100 in parts and supplies you can change fork oil in your own garage.


