

How To: Change Coolant on a Triumph Modern Classic
Changing the coolant on your own Triumph Modern Classic can save you money, hassle, and time. This needs to be done every three years. It is not a quick and painless process, but it also doesn’t require any unusual tools aside from a siphon and a plank of wood. No paying shop rates for doing work you could do yourself. No more coordinating rides back home while you wait for your bike to be finished. You’ll want to set aside a couple of hours for this one, but you got this. If you’re really into learning about coolant, check out my deep(ish) dive from a previous more generic article: Change Motorcycle Coolant.
Step 1: Siphon the reservoir
A siphon is as close to a specialty tool as is required. You can find them cheap online.
The first thing to do is to remove the cover from the reservoir. It’s located on the right side of the bike, near the peg.
Use your siphon to withdraw as much of the coolant as you possibly can.

Siphon coolant from reservoir.
Step 2: Remove Fuel tank
Yeah, you have to remove that just to get to the radiator fill cap.
Remove the seat and left side cover and set them aside for awhile. This will expose the back of the tank and the bolt that holds it in place.
Using a 10mm wrench and an 8mm socket, remove that bolt and set it aside.
On the left side of the bike, unplug the fuel tank breather hose from the tip over valve, then prop up the back of the tank with a plank. It should be 6-9” tall. Use your wood plank to raise the back of the tank. For the Bobber and Speedmaster, remove the hose from the bottom of the tank.
Go to the right side of the bike and locate the two wiring connectors. They are each sitting on tabs. Slide them up and off of their tabs and disconnect them.
Disconnect the fuel line. Have a rag handy to catch a small amount of fuel that will leak out. Slide the tab at the bottom of the connector forward. There are buttons on each side of the coupler. Pinch them both while pulling upwards to remove the hose.
Prepare a surface for your tank that will not scratch it. I used a towel on my floor. Grab the front and rear of the tank and slide it backwards a couple inches, then lift it off the bike and set it down on the surface you prepared.
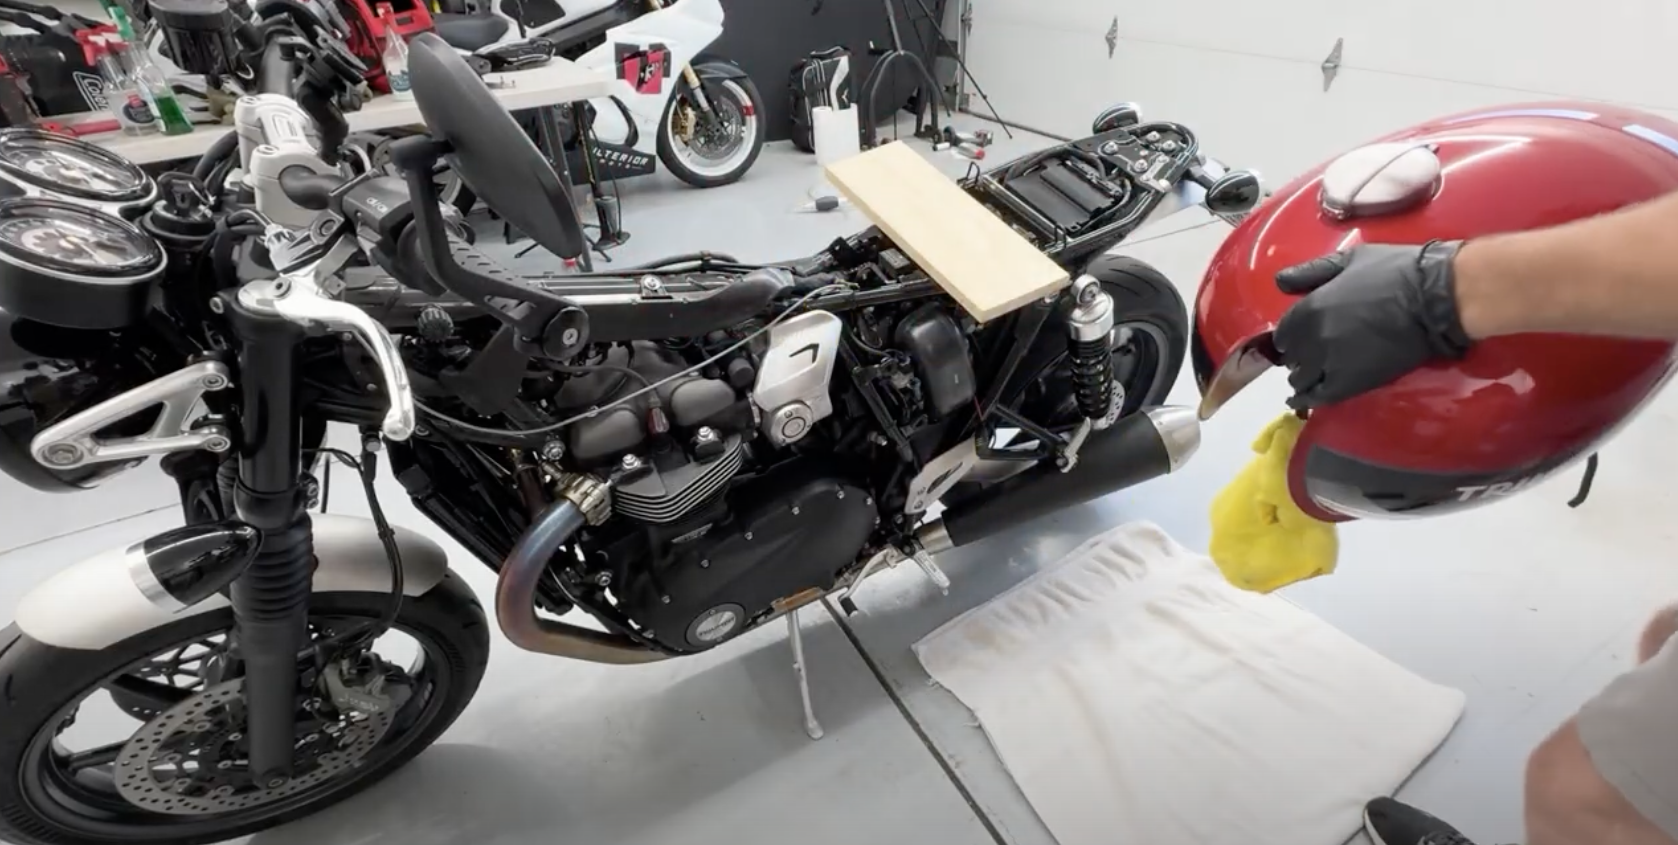
Remove fuel tank.
Step 3: Drain, flush, and fill cooling system
Triumph saved a few pennies and made it look super cool, but they didn’t make it easy.
Remove the radiator cap.
Place your catch pan underneath the lower radiator hose. Have a large towel handy.
Use pliers to loosen the radiator hose clamp and slide the clamp up the hose.
Pry the hose off of the tubing. Coolant will go everywhere. Some will go in your catch pan.
Pour a gallon or two of tap water into the radiator inlet. This will purge your system of old coolant.
Reattach the hose. This is a huge pain because the hose is so incredibly short.
Reattach the hose clamp.
Raise the rear of the bike on a paddock stand.
Slowly pour new coolant into the radiator inlet. This is also the only way for air to get out, so patience is a virtue. It will take nearly 1.5 liters. I used Triumph D2053 OAT coolant as the original spec HDX4 is no longer available.
Squeeze the lower radiator hose several times.
Top off coolant.
Repeat steps 3.10 and 3.11 until completely full.
Remove the bike from the paddock stand.
Tip the bike left and right repeatedly to coax any trapped air out of the system.
Top off coolant if necessary.
Replace radiator cap.

Drain coolant.
Step 4: pressurize the system
We will need to pressurize the system to verify air has been purged from the cooling system.
Replace the tank in the reverse order of removal. You do not need to take care to properly route the wires and hoses, nor do you need to reattach tank bolt.
Start the bike and let it run for several minutes.
Once warmed up, rev the bike to 4-5k RPM three to five times.
Shut off the bike and let it cool for half an hour or more.
Fully remove the tank as you did earlier.
Carefully remove the radiator cap. You may want to have a rag handy in case it is still pressurized and loses a bit of coolant.
If there is room for more coolant, top it off.

Pressurize the cooling system.
Step 5: Reassembly
You have successfully changed your coolant. Now it’s just a matter of reassembly.
Set the tank on the bike, making sure the front engages with the rubber pads and the hoses and wires are on the proper sides of the frame.
Prop up the back of the tank.
Reattach the tank vent hose to the tip-over valve making sure to route it properly through the frame. For the Bobber and Speedmaster, reattach this hose to the bottom of the tank.
Reconnect the wires and attach them to their mounting tabs. They should be behind the fuel line.
Reattach the fuel line by pressing both tabs. Slide the base clip backwards to fully secure the line.
Remove the wooden plank.
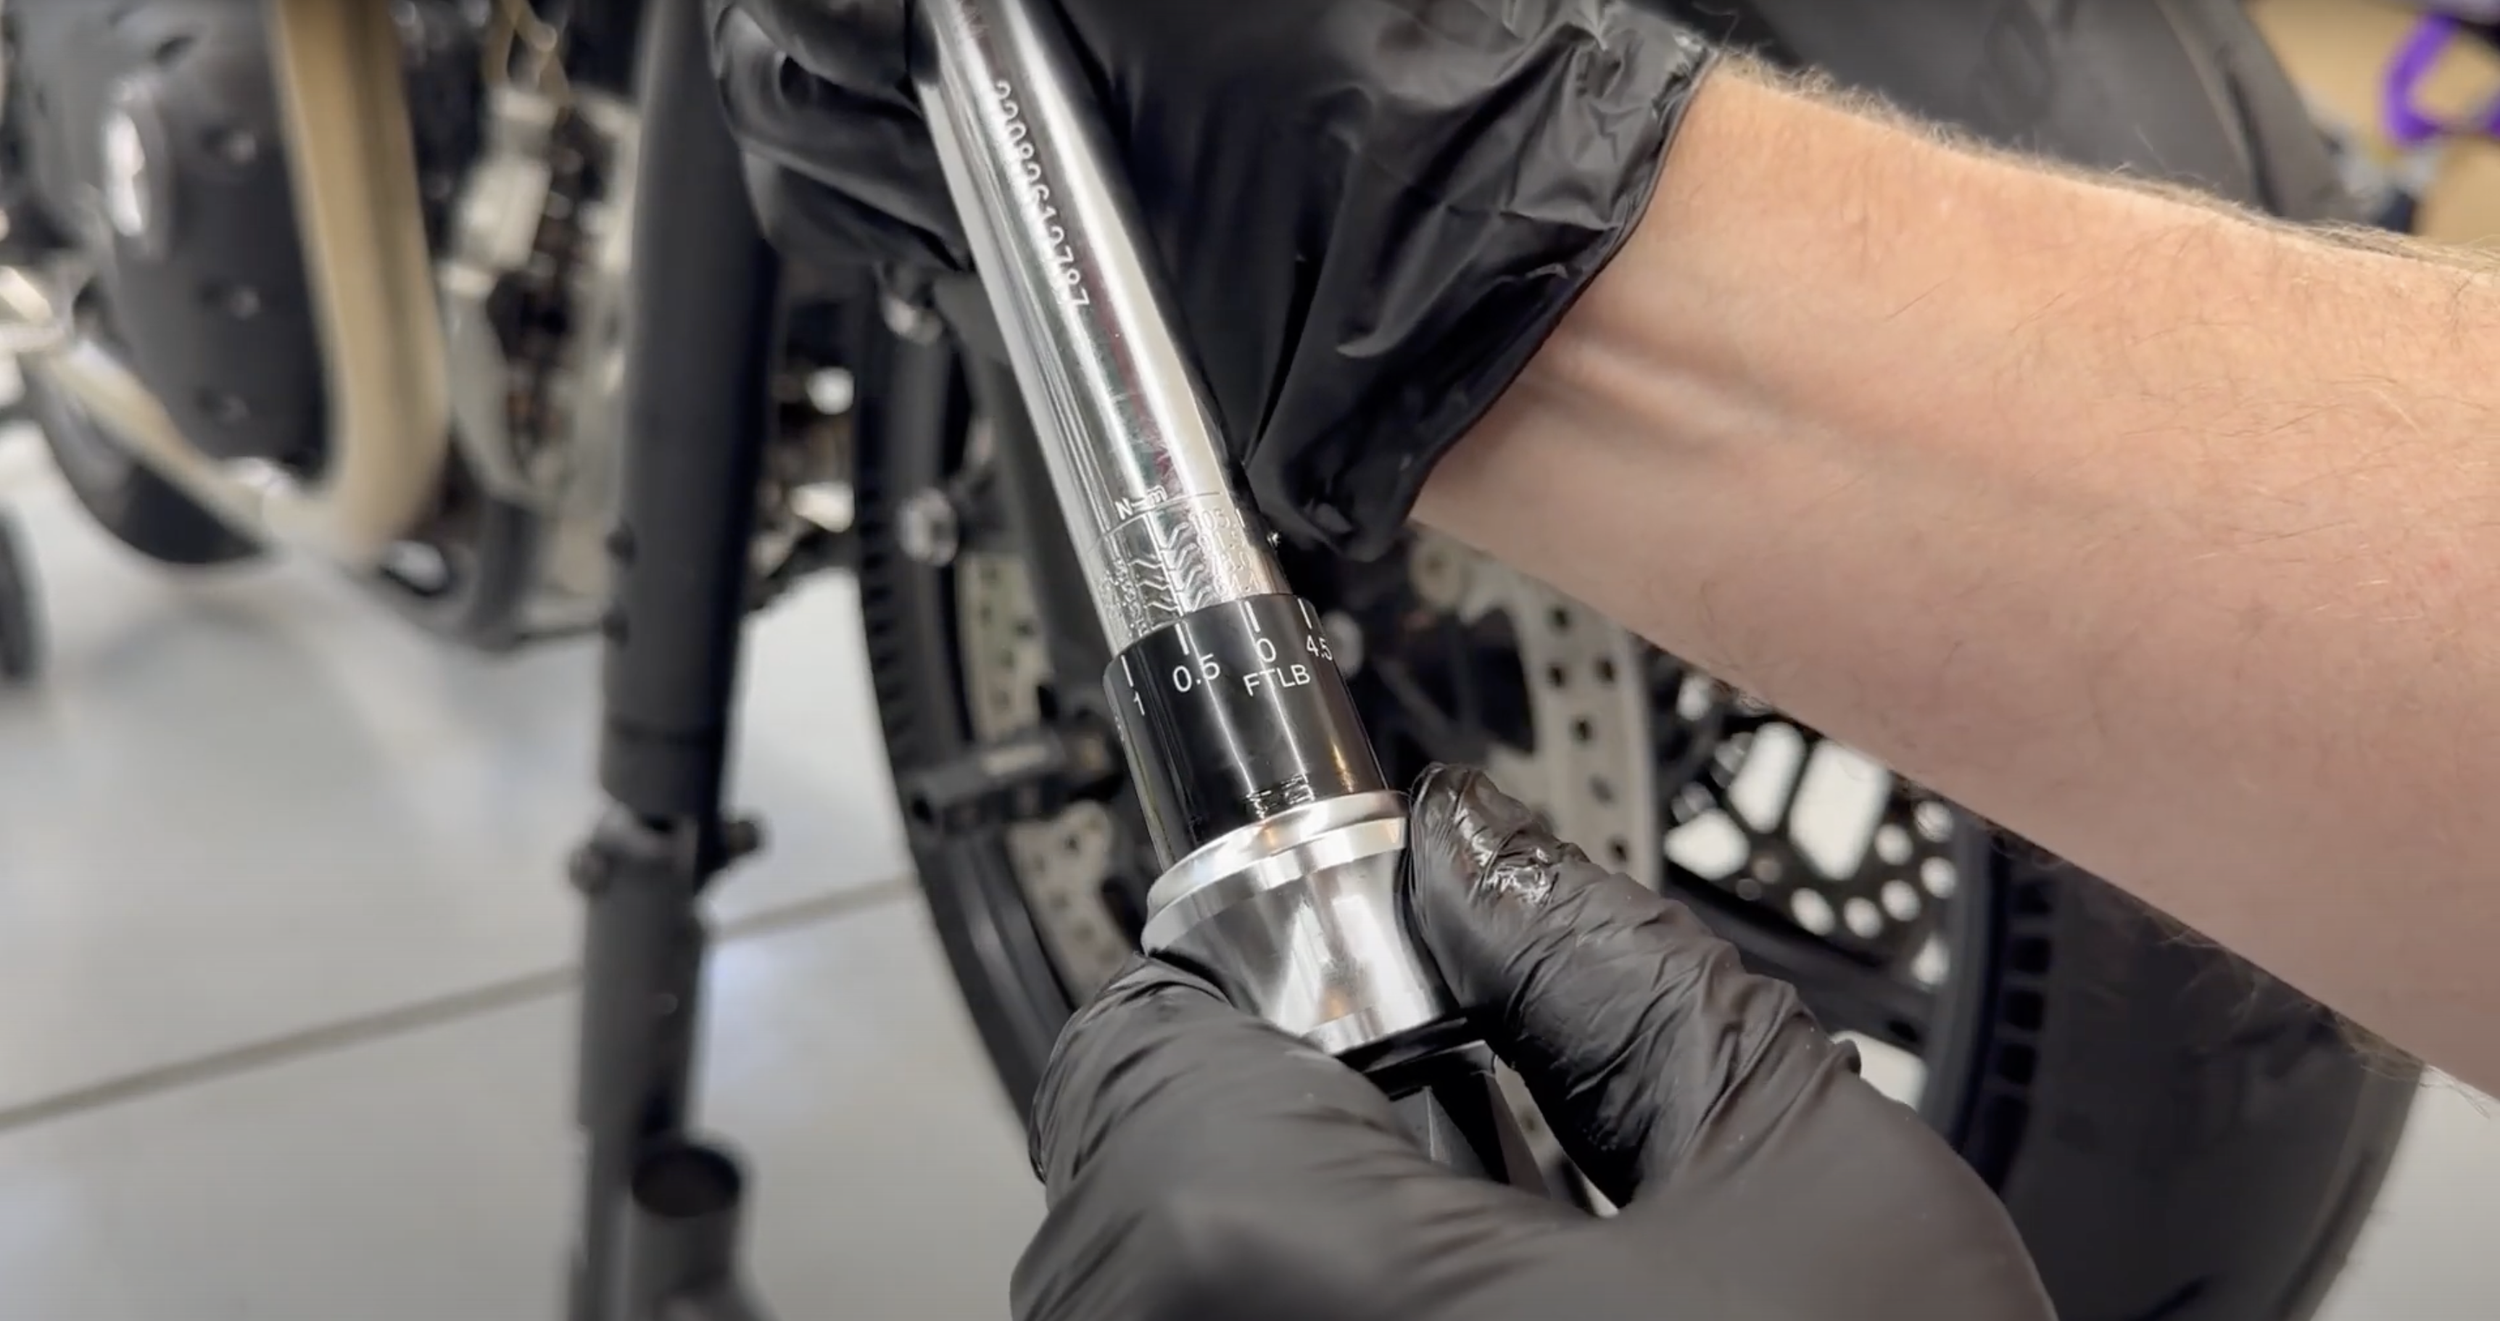
Reattach the tank bolt and torque to 8Nm, 30Nm for the Bobber and Speedmaster.
Reattach the seat and the side cover.
Bolt the reservoir cover back to the engine. Torque bolts to 8Nm.
Tools Required:
8mm socket
10mm wrench
6-9" block of wood
funnel
rear stand
drain pan
screwdriver
pliers
Supplies Required:
coolant (Triumph 2053 OAT or similar)
rags and towels


