
How To: Replace the Clutch Cable
We make things that work better and last longer. Our products solve real problems with clean design and honest materials.
eplacing the clutch cable can be necessary for a number of reasons; breakage, stretching, lack of maintenance resulting in excess effort, or aftermarket clip-ons. No matter the reason, if you’re replacing your clutch cable you’ll need to follow these steps to replace it. You won’t even need many tools. I was able to complete this task on my SV650 with only a 12mm wrench, a 1/8” screwdriver, a lubrication tool and a can of lubricant.
Remove the Old Cable
It doesn’t particularly matter at which end you start. I began at the lever and worked my way down. The most difficult part of the entire process is pulling the tab away from the cable barrel at the engine side, so I wanted as much slack to work with as possible when I got to that step.
Detach Cable from Lever
You will need to introduce enough slack in the cable to remove it from the adjustment screw. Start by backing the large diameter jam nut as far away from the clutch perch as possible. Next, turn the adjustment screw into the clutch perch as far as it will go. You do not need to get it tight, just thread it in until it stops.
You will note there is a slot present in all four components, the lever, perch, lock nut, and adjuster. Back off the adjuster and lock nut until the slots in each align with the slot in the perch.
Pull the cable out of the end of the adjuster and thread it through the slot in all four components until it is perpendicular to the lever. Now pull downward and the barrel at the end of the cable will slide out of the lever.

Loosen Adjuster, Align slots

Pull Cable Out and Down
Detach Cable from Actuator
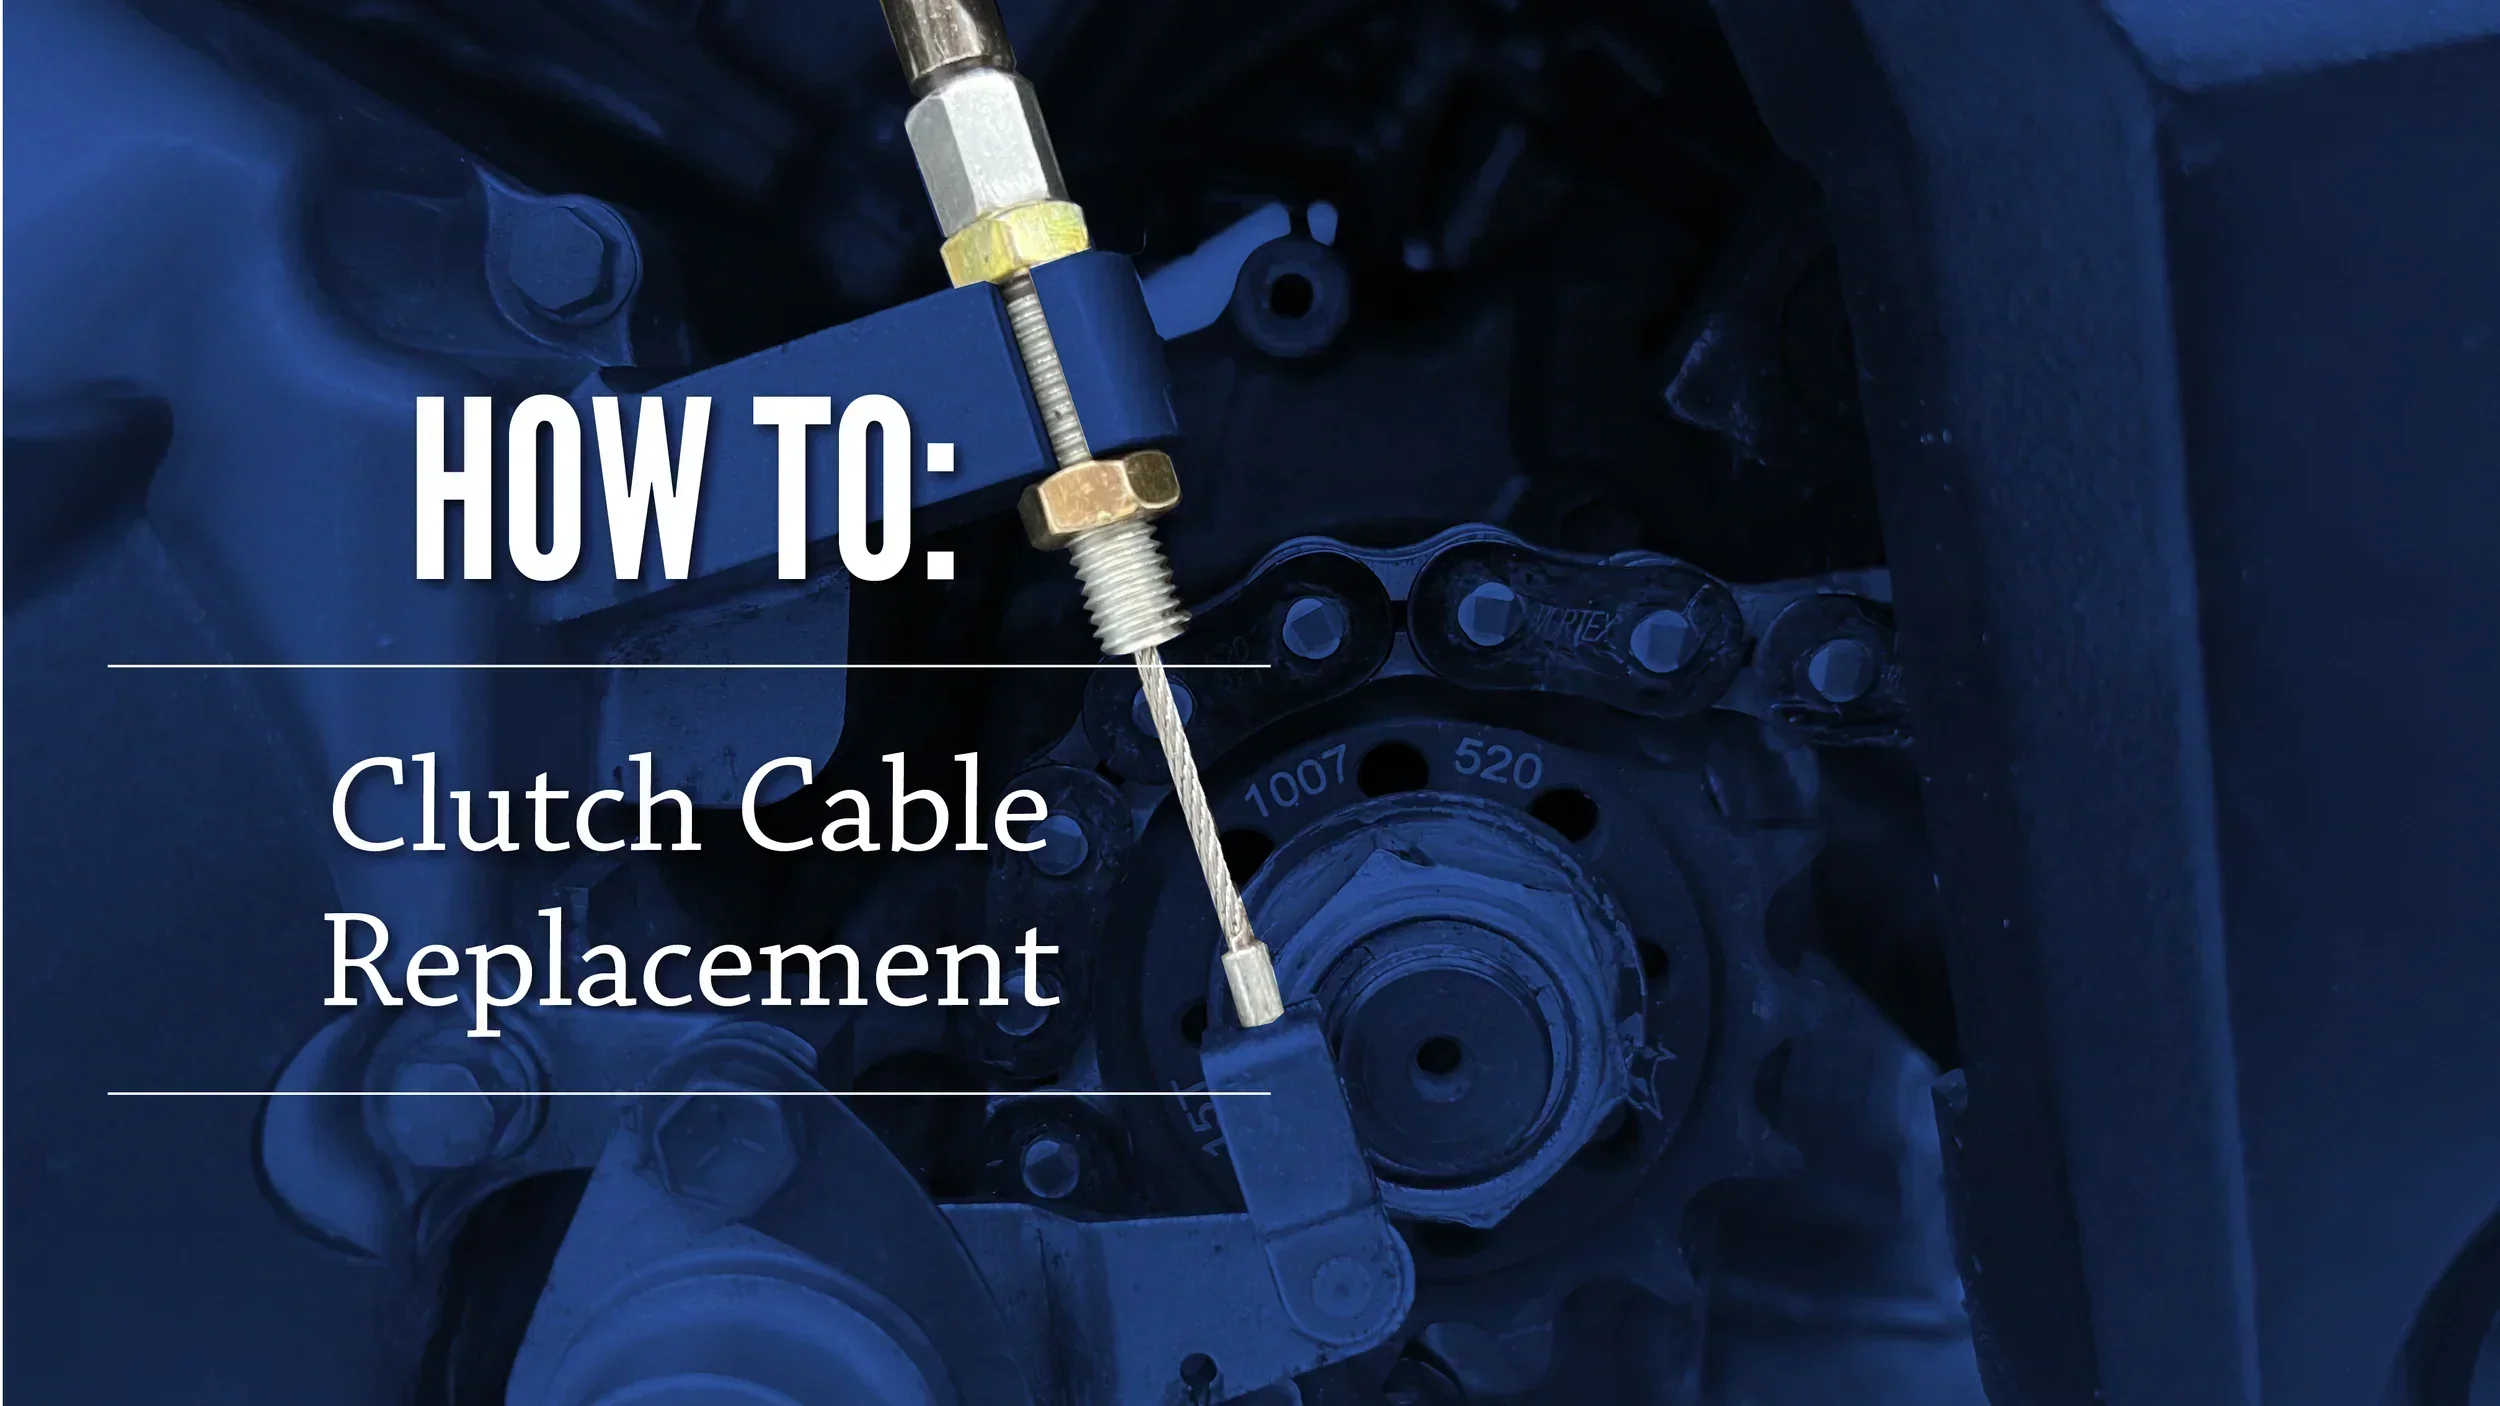
Many bikes will have a cover over this area. If yours does, simply remove it from the engine so you have access to the end of the cable. The engine side of the cable also has a barrel at the end, but it is different from the lever side. On this end, the cable slides through a slot in a pivot mechanism. In the case of the SV650, it is kept in place by a small tab of bent metal.
Use of a small screwdriver and large amount of patience are essential to the next step. To pry the metal tab away from the barrel, slide the end of the screwdriver between it and the cable barrel and twist. It will probably take several minutes to get enough leverage to sufficiently move the tab. Keep after it and you’ll get it done. Now you can slide the cable out of the slot.
Above this mechanism you will see the end of the clutch cable sleeve. It is threaded and held in place by a couple of nuts. Back off the nut at the end entirely off the threads. You should now be able to pull the threaded portion out of its position.

Pry Tab Down

Slide Barrel Out

Loosen Bottom Nut

Slide Cable Through Slot
Remove Cable From Chassis
Your cable will be held in place by one or more clips or other such fasteners which route it in a safe path. Take note of how the old cable routed through these clips. Once you understand how the new one needs to route you can slide the old one out.
Most clutch cables have a curved metal sleeve around one end or the other. It is easies to pull it out from that end so you don’t have to work the metal end through the entire path. You can save a bit of effort by cutting off either end of the cable itself near the metal sleeve and pulling the cable out one end and the sleeve out the other.
Install the New Cable
The steps you need to follow for installation are basically the reverse of uninstalling the old cable. I used an alternate routing for mine because the OEM cable was not compatible with my new clip-ons. I sourced a Motion Pro cable from an expert on Suzuki SVs, Twin Works Factory. If you are replacing your cable with a stock unit, compare it to the old unit to ensure you have the correct part.
Route the Cable
If you are replacing your clutch cable with a stock unit, feed the new cable down the same path as the old cable, starting with whichever end does not have the metal sleeve. Like removal, it’s much easier to feed the flexile end than the curved metal end.
If you are choosing a different routing option out of necessity, be sure to choose a path that is clear of other obstructions, especially moving parts. Make sure this new routing will not have clearance issues when the bars are turned at full lock in each direction.
Attach the Cable
Like removal, it doesn’t particularly matter which end you attach first, but you do need to make sure the threaded end is in place in its bracket. Back off the upper nut as far as possible, so it is at the end of the cable, not the end of its threads. This will give you as much cable as possible for installation.
Place the barrel in the pivot mechanism, just as the old one was. Bend the tab back under the barrel as closely as possible, forcing the barrel to the top of the mechanism. Test it repeatedly to ensure it will not fall out.
Now is the best time to lubricate the cable. For more information on this, see my How to Lubricate your Clutch Cable article.
Install the barrel of the lever end into its home on the lever. Lift up and slide the cable through the slots on all components, then seat the end of the cable housing in the end of the adjuster. If the cable is just short, as it was with mine, pull the cable back out of the components. Remove the clutch lever from its perch by removing the bolt that also acts as a pivot for the lever. Repeat the above steps, threading the cable into place, then place the lever back into the perch and reinstall the lever pivot bolt. The nut on the pivot bolt should be tight, but not excessively. If over-tightened it will pinch the lever and create excess resistance.


Adjust the Cable
Adjusting the new cable is critical to proper operation of your bike. If adjusted too loose, the lever will be sloppy and may not disengage the clutch sufficiently to change gears. If adjusted too tight, the clutch will not fully disengage and damage will occur.
At the lever side, adjust the screw out about 10mm. Go to the engine side and turn the upper nut down the threaded shaft until the slack is taken up, but do not tighten it to the point that it is pulling up the clutch actuator. Tighten the lower nut to keep it in place.
Return to the lever side and pull it towards the bar, noting the amount of slack, if any. There should be a gap of 2-3mm between the mating surfaces of the clutch perch and lever. Turn the adjuster in or out as appropriate until the desired gap is achieved. Tighten down the adjuster lock nut against the clutch perch. Actuate the clutch lever about ten times and reinspect the gap. Adjust as necessary. Ideally you want the top adjustment screw to be at least 8mm out from the lock nut. This will make lubrication easier in the future. Reinspect all nuts to verify they are sufficiently tight.
Twist your handle bars to full lock in each direction. There should be no restriction in the steering movement. If there isn't any restriction, check that the bike shifts gears properly while parked. If this is the case, you are good to go. If there is a restriction, your bike is not safe to ride. Verify the cable is properly routed. If the problem persists, verify you have the correct cable.

Adjust 8mm Out Minimum

Adjust Engine Side of Cable

2-3 mm Gap
Job Done
You have now successfully changed your clutch cable yourself for probably less than $65 total. You probably notice a significant difference in the feel of the clutch lever. It should be much smoother now and your bike should shift smoother as well. If you have any questions or comments, let me know in the comments section. Also consider signing up for my newsletter.
Latest Article

Follow Us


Related Posts
