
How To: Lubricate the Clutch Cable
We make things that work better and last longer. Our products solve real problems with clean design and honest materials.
Clutch cable maintenance is an often overlooked maintenance procedure. I can attest to that myself because this is the first time I have ever done it. When I noticed the clutch lever on my 20-year old SV650 requiring more effort than I thought necessary is when I started looking into actually maintaining it and I came across the Motion Pro Cable Luber V3. I use the SV for a lot of my videos so I thought the 2019 Speed Twin was a good candidate. At four years of age, this process is still well overdue on this bike, but I am glad I started with the semi-new bike. More on that later.
Frequency
How often you should lubricate your cables depends on a host of factors including mileage, riding environment, and weather. As you’ve probably guessed, the more miles you ride, the dirtier the environment you ride in, and the more water your bike sees, the more frequently you will need to perform this task. Considering how inexpensive and simple it is to do so, consider making it part of your annual routine. One of the side benefits is that you can make any necessary adjustments to the cable while you’re at it.
Tools and Supplies
There isn’t really much to it, particularly if you purchase the Motion Pro Cable Luber V3. In fact, that’s the only tool you are likely to need. Get yourself a can of cable lube and a couple towels and you’re set. I doubt the brand makes much difference, but I used Motion Pro’s own lubricant. Whichever brand you choose, be sure to get the little red straw that comes with the can. Without that, none of this will work.

The Process
The first thing you will need to do is remove the cable from the lever. If you’re worried about getting it all back together just right, set your mind at ease. I will cover that too. Here are all the steps. I will cover each one in detail below, but your best bet is to watch the video above. If you prefer written instructions, read on.
-
Loosen the cable
-
Slide cable through the slots
-
Pull cable barrel out of clutch lever
-
Place one towel at the bottom end of the cable and another below the luber
-
Slide luber cap over cable housing
-
Fit rubber seal around end of cable housing
-
Thread luber body to cap
-
Remove cap at end of cable housing (if so equipped)
-
Attach straw to plunger and can
-
Spray lubricant into chamber
-
Press plunger
-
Remove luber tool from cable
-
Reassemble cable to clutch lever
-
Reattach cable housing cap (as necessary) after five minutes
Removing the Cable from the Lever
To loosen the cable, you’ll first want to loosen the cable adjuster nut away from the clutch perch all the way toward the cable housing. Next, thread the clutch cable adjustment screw all the way toward the clutch perch. There is a groove in all three of these components. Back off the screw and nut until they are all aligned. Pull the cable housing out of the screw and bring it forward so the cable threads through the groove. Pull the cable downward so the barrel end drops out of the lever.

Cable Barrel

Screw into Perch

Slide Cable Out of Groove
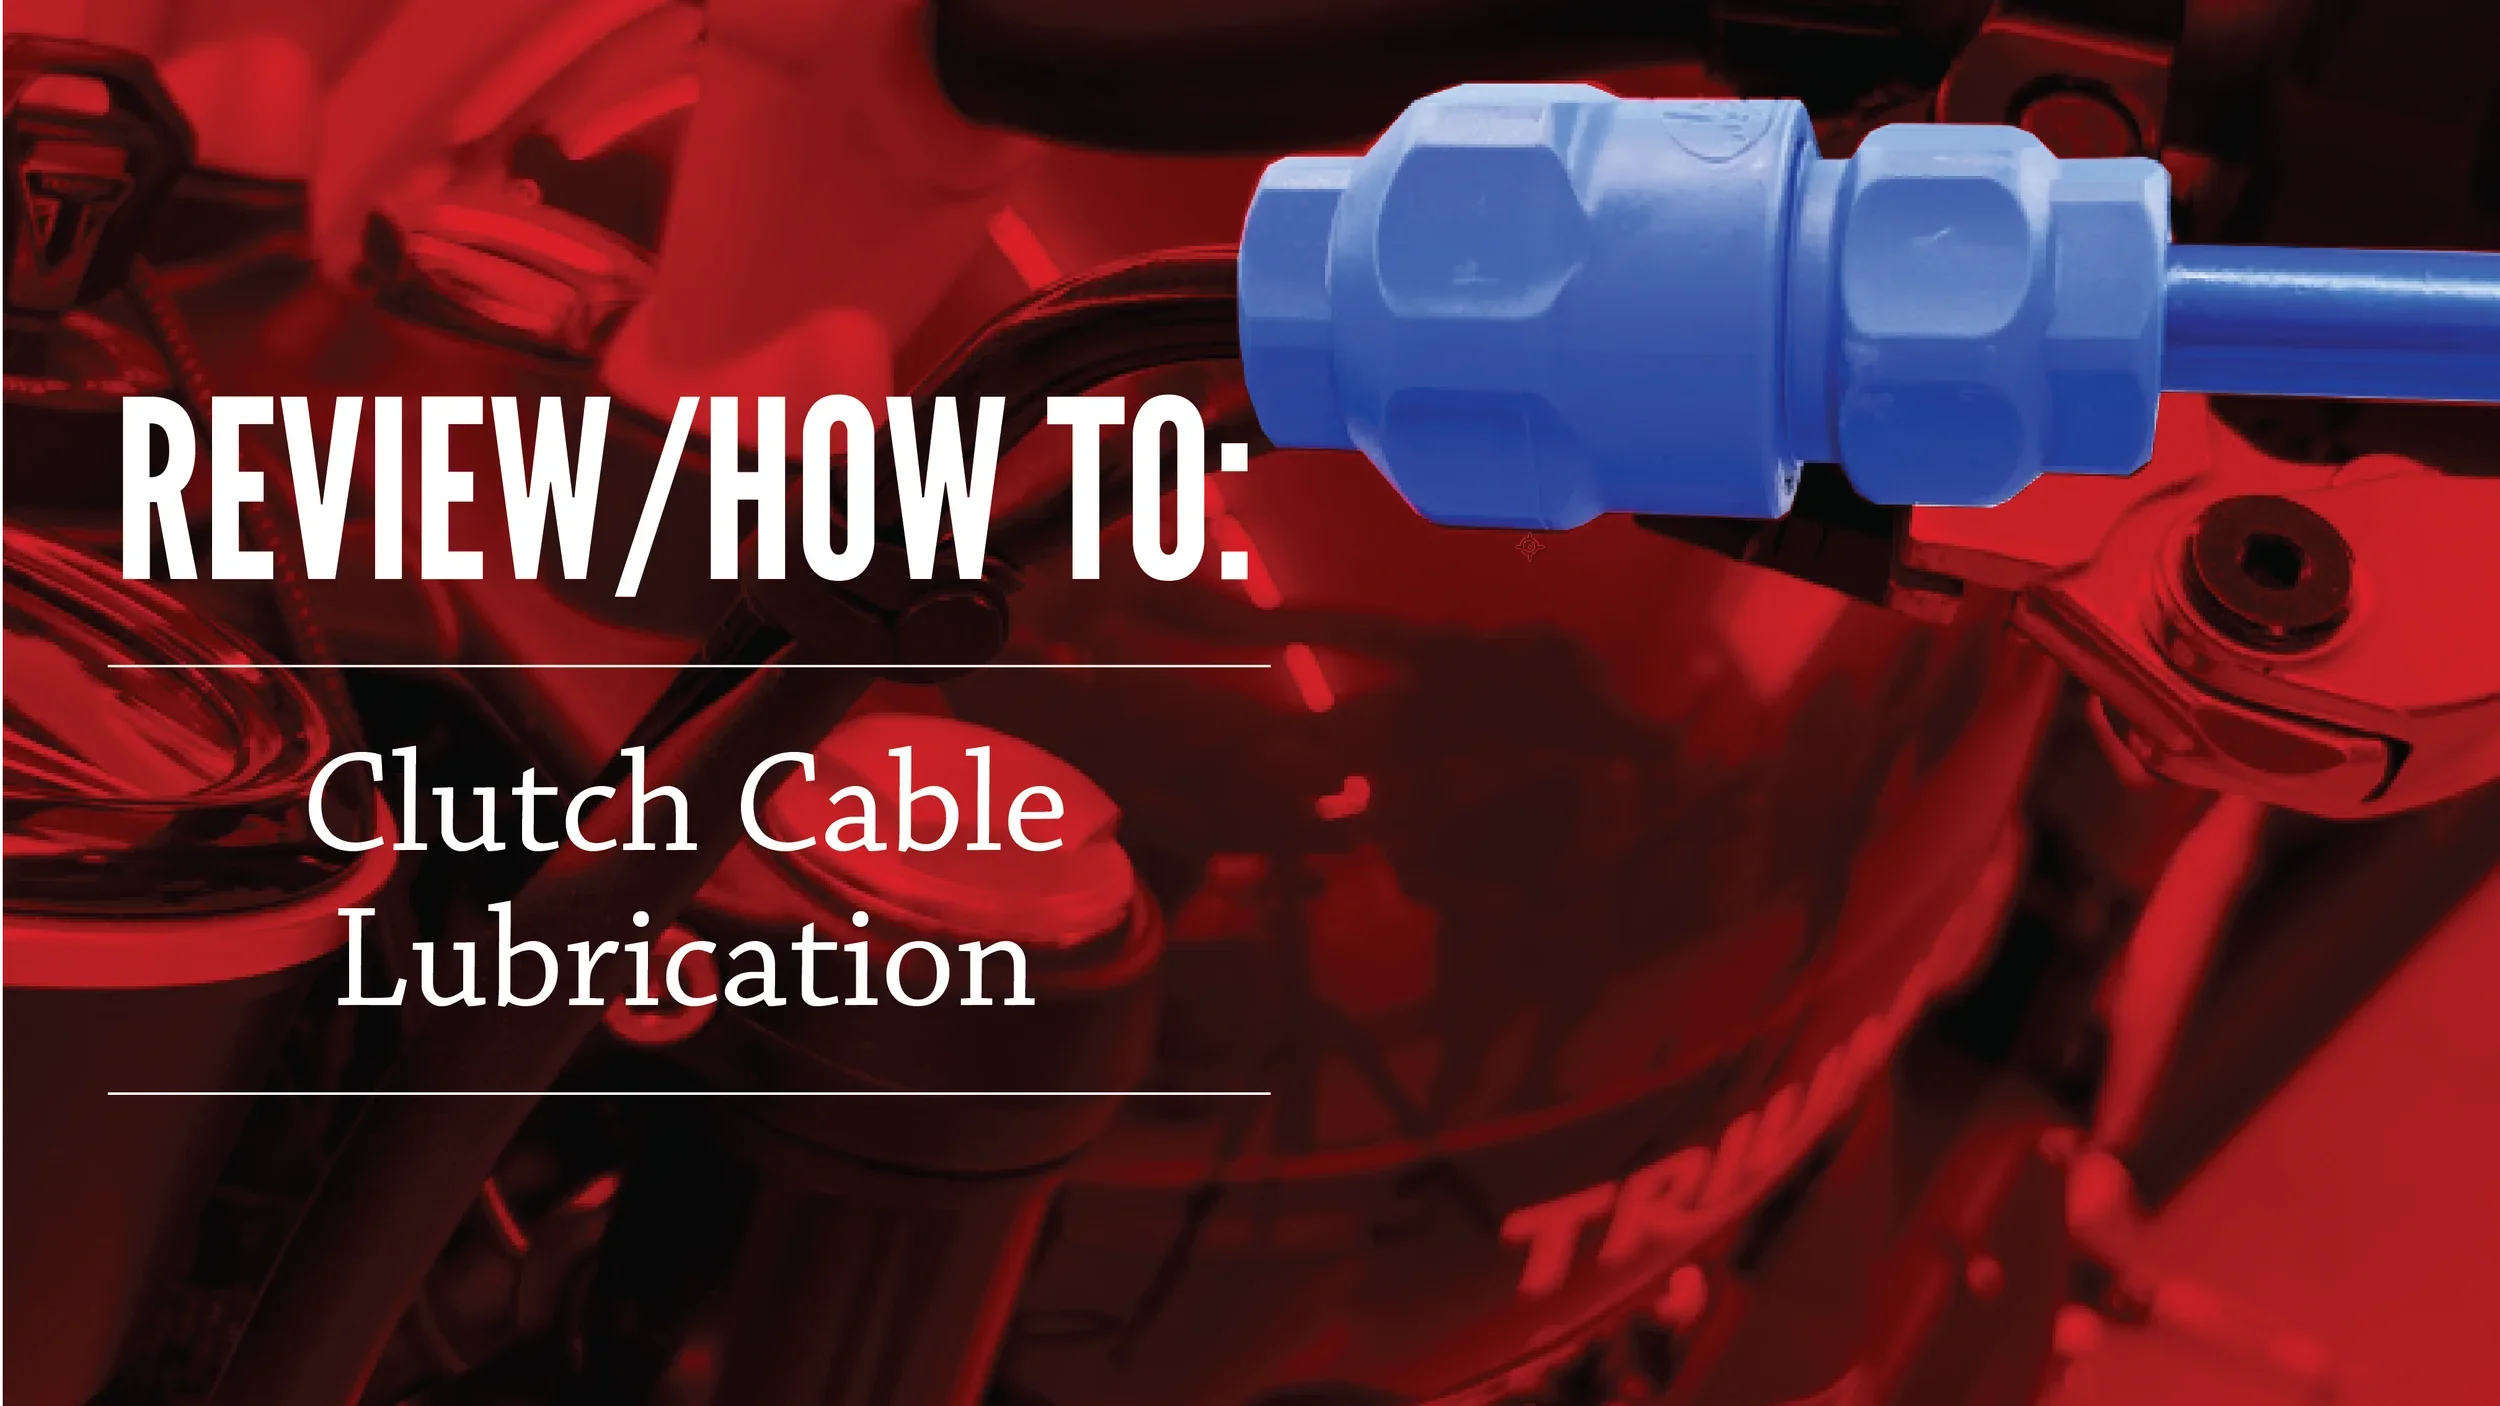
Assembling the Luber
Slide the luber cap over the end of the cable and cable housing, then twist the rubber seal around the cable with the blunt end toward the cap. Push it onto the very end of the cable housing. Next, push the cable barrel all the way inside the housing and thread the luber body tightly to the cap by hand, making sure the plunger remains fully extended. Firmly seat the lubricant straw into the hole at the end of the plunger and then into the lubricant nozzle.

Slide on Cap and Seal

Thread Cap to Body

Attach Straw
Lubricating the cable
Press the lubricant nozzle. This will fill and pressurize the chamber of the tool. Some lubricant will escape through the end of the cable housing and a small amount may escape the chamber. Remove the straw from the plunger, making sure to keep your eyes away from the tip as a very small amount of lubricant may spray out. Force the lubricant through the housing by pressing the plunger into the luber body. Expect lubricant to drain out the other end of the cable housing for up to five minutes. Disassemble the luber tool and remove it from the cable.

Grip Plunger

Compress Plunger

Lubricant Drains
Reassembling the Clutch Cable
Perform the disassembly steps in reverse order. As you thread the adjustment screw out of the clutch perch, the lever will move toward the mating surface of the perch. Stop adjustment when the gap is 2-3mm and the groove in the adjustment screw is facing down. This will reduce the amount of water that enters the cable housing, keeping your lubricant inside as long as possible. Tighten the adjustment nut against the perch making sure not to align the grooves in any of the three components. If your cable has a cap at the end, slide that over the housing.

Insert Barrel in Lever

Slide Cable Through Slot

Set Gap to 2-3mm
Too Late to Lubricate?
It actually can be. The worst case scenario is a broken cable, of course. That can leave you stranded and with an expensive tow bill. I’ve never gotten to that point personally, but as I mentioned above, my motivation for performing this task was to improve the lever feel on my old SV. When I pulled the clutch cable out of the lever, it looked like it was coated in chewing gum. Nevertheless, I proceeded to lubricate the cable hoping for a minor miracle. That wish was not fulfilled. Barely a drop of lubricant came out the other end of the cable and the lever feel was virtually unchanged. Now I have a clutch cable on order and need to set aside time to replace it all because I never serviced it in the 17 years I’ve owned the bike. Let that be your cautionary tale.
Latest Article

Follow Us


Related Posts

