
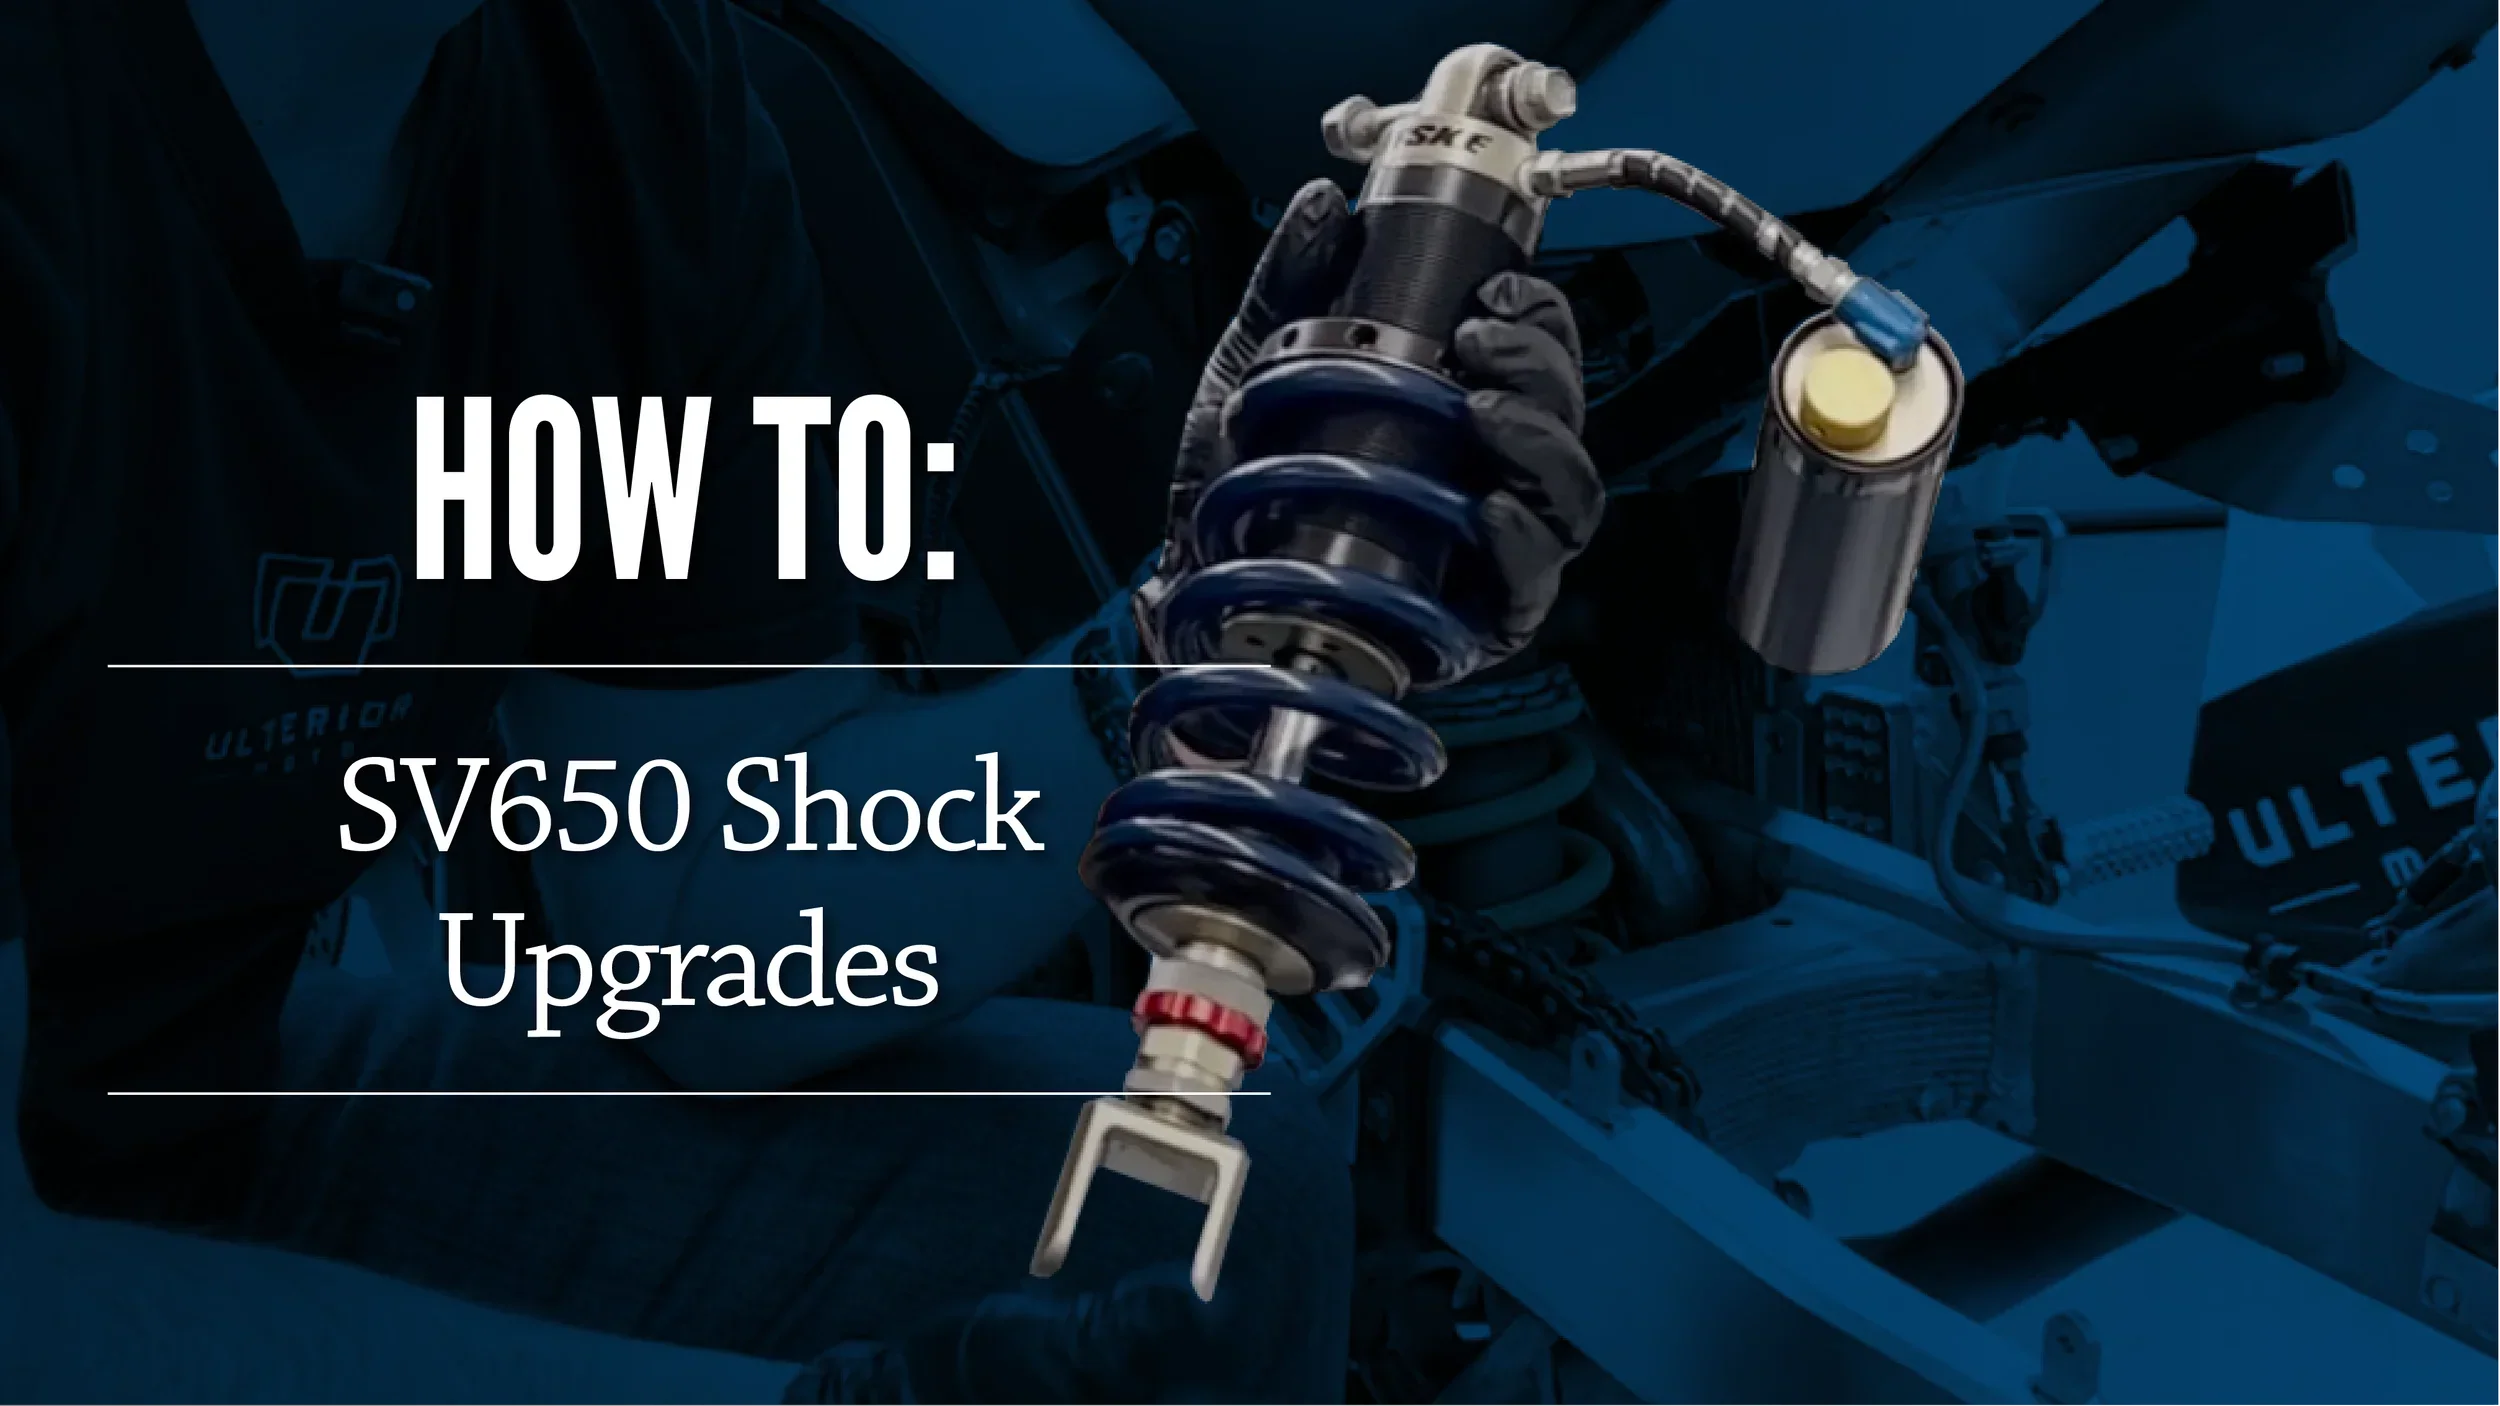
How To: Replace an SV650 Shock with a Penske
We make things that work better and last longer. Our products solve real problems with clean design and honest materials.
Over the course of my bike’s journey from humble street bike to humble track bike, it has been a long time since one change has made such a drastic difference as changing the rear shock geometry. There’s a lot that goes into the settings, from spring rate to rebound and compression adjustments, but I believe the greatest improvement with this modification was the added length of the shock.
Which Shock is Best?
While there are plenty of answers to this question, you need to consider your budget and skill levels. Do you need a brand new in the box triple-clicker? Chances are, if you’re riding a 13-20 year old bike like the second generation SV650 the answer has a high probability of being “no”.
Stock
If you have the bike, you probably have a stock shock. The biggest advantage here is that it is free. The biggest downside of course is that it is ancient and, aside from pre-load, completely non-adjustable. Not to mention it is very conservative in length. Combined with the relatively long stock forks it is a chopper compared to a super sport bike.

The stock SV shock offers preload adjustment and nothing more.
Take-Offs
Shocks from other bikes offer a lot of upside compared to the stock SV650 unit. You can find a fairly comprehensive list of options here. This is an opportunity for you to gain compression and rebound damping abilities and a longer fixed length shock. If you are pushing near the limit, these added features will give you the ability to get more traction and more life out of your rear tire. You do have to know how to set them up however. For this, I recommend a suspension tuner local to you. This is the best way for you to actually put those adjusters to good use. A good tuner will not only set your bike up, they will also explain to you why they are making the changes they’re making so you can make educated adjustments in the future.
The downside to this approach is that most compatible shocks are pretty old themselves. They are also more likely to create packaging problems. The battery tray on the SV can vary even within the second generation, and not provide you with enough space for the reservoir. Be sure to fully research the fitment specifics before you make the purchase or at least plan to make further modifications when things don’t line up quite right. I opted for a 2004 GSX-R1000 shock many years ago. It required a small amount of trimming to the battery box of the ‘03 bike. With later models I imagine the intrusion would be far more significant. Even though I haven’t put too many miles on that shock, I did buy it used and what few miles I have put on it since have been hard miles. Now that it is pushing 20 years old it was well beyond its service interval. That left me with a choice to make—invest in rebuilding a shock with no length adjustment or exploring the market for a used shock. My local suspension tuner quoted me $471 for a complete rebuild. Is an old stock shock worth the investment? Unless you are restoring a bike, I would think not.

ZX10-R

GSX-R 1000
Aftermarket Shocks
Brands like Penske, Elka, and Ohlins make top quality units that offer plenty of adjustment and customization options including variable length and spring rates suited for your specific weight and speed. Yes, weight and speed. If you are contemplating a high-end shock like these, it likely means your pace is well above the average rider. Your pace will have much to do with the settings as well as the stiffness of the spring you choose. Rider weight alone does not provide enough data to accurately select a spring. You can get further into the weeds with tire choices and specific tracks, but that is beyond the scope of this article.

K-Tech

Ohlins

Penske
My Choice of Shock
Based on the information above, I searched around and let a few people know what I was looking for in a used shock. If I could get a good brand shock in good condition for $550 or less I would buy it. Fortunately one of those people I reached out to sent me a link to a shock for sale on a local rider forum. Yep, those still exist and they are still very helpful. The shock in question was a Penske listed for $550. Other than coming off a second generation SV650, that was all the information included. Were it not local, I would have hesitated though. You never know what you are going to get when buying online and I don’t have the funds to take more risks than I have to. Getting to discuss a purchase like this with the owner and being able to check it out in person set my mind at ease. He was a bit larger than me and his description of being toward the front of the field in AFM races led me to believe he was also a fair bit quicker. The shock was almost new in appearance, there were no issues with the adjusters clicking or any damaged threads or leaks of any kind. Although I expected more than six compression positions, I bought it on the spot.
My faith in my suspension inspection abilities is not absolute. I also had no idea what the spring rate was. I took it to my local motorcycle shop, which began as a suspension tuning shop, and had them fully inspect the unit. The shock itself was in top condition and the nitrogen was properly pressurized. The model was 8781 which is definitely on the older side, however the only difference between this and the other models is the number of compression adjustment clicks. The spring surprised me though. It was a variable rate unit, which you are more likely to find on a street bike than a dedicated track bike. They are meant more for variable conditions like you might find on public roads as opposed to the very smooth surface of a race track. Nevertheless, I decided to press on and try it out, at least for one track day before making a change.

Merry Christmas, Little Suzi
Disassembly
If you’re not familiar with wrenching on bikes, swapping a shock might seem like a massive undertaking, but it’s really not that difficult. If you are familiar with removing the rear wheel, you are more than half way there.
Remove the Rear Wheel
This step is technically optional, but highly recommended. There are two benefits to doing this; 1, it gives you more access to the shock and 2, it makes removing the dog bone bolt much easier. With the shock sitting directly in front of the rear tire, there isn’t much access to the bolts holding the suspension together. To slide the bolts out of the dog bone, you need to remove all the weight from the swing arm. That’s a lot easier when you don’t have the weight of the wheel leveraging it down.

Unweight the suspension
If the spring is carrying the weight of the bike—you know, suspending it—you won’t get far. To do this, I place jack stands under the foot pegs of the bike. If your bike has folding pegs like those that come stock on the SV, you are going to need another solution to this problem. This may mean using straps to suspend the bike from the ceiling or some other creative way. Whatever you choose, make sure the bike is stable. You don’t want the bike falling down and hurting you. That would suck. Maybe instead, look at this as the perfect opportunity to buy a good set of rear sets like the Vortex units I use. After all, they are for safety—at least for this task. Your S.O. wants you to be safe, right? For even greater stability, use a front stand.

Support the weight of the rear with jack stands under the (non-folding) pegs.
Remove the Shock
Now we are getting close to the good part. This will feel particularly satisfying if you are getting rid of the stock shock. You’ll want to either toss it in the bin or set it aside in case you decided to sell the bike later. If you bought a good shock you’ll probably get more for it off the bike than sold along with it.
Step 1: Remove Back linkage Bolt
You may be tempted to go straight for the lower bolt of the shock. Good luck with that. The linkage (aka “dog bone”) is blocking it on both sides. You could loosen the shock bolt at this point but you wouldn’t be able to remove it. Loosen the rear linkage bolt using 17mm and 14mm wrenches. The bolt won’t just slide right out. You will need to lift up on the swing arm just a bit so the weight is removed from the bolt. When you find the sweet spot, the bolt will come right out and the linkage will swing down, exposing a clear path to the shock bolt.
Step 2: Remove Lower Shock Bolt
A pair of 14mm wrenches will work here, preferably one socket and one combination wrench. Depending on your particular exhaust set up this may be a little awkward, but it won't be too tricky. Hopefully when the shock you are removing was assembled they put the nut on the right side. If not, you may not be able to remove the bolt without removing the rear header pipe. This is a mistake I made myself when I installed the GSXR shock. I must have done this before replacing the exhaust. I ended up having to slide the bolt out as far as possible and cutting it in two. It was a pain, but better than removing that stubborn header pipe.
Step 3: Remove Upper Shock Bolt
The last step in removing the old shock should also be the easiest. Because you followed my advice, the rear tire is out of your way and it’s just a matter of twisting your 14mm wrenches to remove that top bolt. At this point you can simply shimmy the rear shock out of the gap between the swing arm and the engine. If you are removing the stock shock, this is a piece of cake. If you’re removing a more capable take-off shock it may require further finessing, but it will come out.

Remove Rear Linkage Bolt

Remove Bottom Shock Bolt

Remove Top Shock Bolt
Reassembly
Basically, you are going to need to reverse the disassembly directions. For the most part it is just that easy, however you will need a plan for mounting the external reservoir.
Set up the shock
These shocks are easy to adjust, but it’s never easier than when the shock is off the bike. To the extent possible, make those adjustments now.
Compression and Rebound
Your compression adjuster is the one at the top of the shock. Turn this to its maximum and then back it off about 1/3 of the way. Do the same to the rebound adjustment at the bottom. For my particular set up that meant two out on compression and eight out on rebound. This is a good baseline prior to your first ride.
Preload
The collars at the top of the spring are what determine the preload on the spring. How much you need is relative to your weight. In my case, the former rider was about my same weight so I left it as is. How much you add at this point, if any is up to you. This adjustment is best done on the bike when you set the sag, so feel free to skip it until your bike is reassembled. I will cover that below.
Length
If you chose an aftermarket shock, you have a fourth variable to work with. I don’t know what the situation is on your bike’s forks, but a good place to start is 345mm from center of the top mounting hole to the center of the bottom hole. This is significantly longer than the stability-oriented length of the stock shock, but you will be vastly rewarded with a bike far more eager to tip in than it was before. Keep in mind, this figure is for the second generation SV. Other generations do vary.

Compression

Rebound

Preload
Install the shock
Now the fun really begins. You’re on the downhill side of this project and soon you’ll be able to sit atop your freshly re-suspended bike.
Step 1: Install Upper Shock Bolt
This was a bit more work than I had anticipated. The Penske unit has a very nice Heim style mount at the top which allows the shock to move more freely. In and of itself this was not a problem, however the collar it sits within must have been sightly wider than that of the GSXR shock’s. I needed to remove a slight amount of material from either the shock or the mounting surface on the bike and I chose the latter, putting a slight lead-in to it in the process. Torque to 50 Nm/36lb-ft.
Step 2: Install Lower Shock Bolt
The Penske shock was different from either of the Suzuki shocks in that it did not need a nut on the end of the bolt. One side of the bottom collar is threaded which makes for a slightly simpler installation which I suppose takes up a bit less space as well. Fortunately the seller included this bolt with the shock. Torque to 50 Nm/36lb-ft.
Step 3: Install Linkage Bolt
Same as taking it out, you will need to lift the swing arm into position and slide the bolt through the linkage and swing arm holes. Torque to 78 Nm/56.5 lb-ft.
Step 4: Mount Reservoir (if necessary)
In the event you opted for a shock with an external reservoir, you will need to find a method of securing it. Popular options for the SV include mounting it to the bottom of the battery tray or along the subframe.
Neither solution was appropriate for my shock. I have a fabricated battery tray that would not be strong enough to support the weight of the reservoir and the shock I bought has a 90 degree connection to the reservoir, making attachment inline with the subframe impossible. Fortunately I discovered one threaded insert on each side of the subframe. I was able to fabricate a bracket from 7/8” extruded aluminum and bolt it in place.
Whatever your mounting solution, you will need to secure a set of generic rubber reservoir mounts. These can be sourced cheaply from eBay.

Battery Tray

Penske Bracket

Custom Bracket
Install the Rear Wheel
This is on the more basic end of the spectrum and one day soon I will cover how this is done, but here are the basics you need to know: the chain should have 1” of movement and the axle nut should be torqued to 100 Nm/72.5 lb-ft.
Set the Sag
Sag is the distance the suspension compresses when the rider climbs on the bike. Unless you have a front wheel chock this is a three-person job, so be prepared to bribe a couple friends, neighbors, or family members for this task. Even if you do have a chock it’s still a two-person job. Maybe that just means twice as many beers for them. Get your riding gear, a measuring tape (preferably metric,) a pen, paper, and some clear tape.
Step 1: Measurement One
Find a location on the tail directly above the axle. it does not matter how high it is, only that it is an easily repeatable location. My bike doesn’t naturally have any feature to measure to so I apply a small piece of clear tape to the bodywork and make a dot with a marker.
Have one person hold the front of the bike to keep it vertical. Have another measure vertically from the axle to that point on the tail of the bike you established. For the sake of consistency, it’s best to have someone other than yourself take this measurement. Record this as Measurement Number One.
Step 2: Measurement Two
Next, climb aboard your bike with all your gear on. If you want to be lazy and not go through the hassle of fully gearing up, lay your leathers over the tank and go nuts to butts with them. Assume the riding position and bounce on the seat a couple times to settle the suspension. Have your measuring assistant take a second measurement at the exact same locations. Record this as Measurement Number Two.
Step 3: Math
Subtract Measurement Two from Measurement One. This number is your current sag. If you are setting sag for the track, shoot for 25mm (+/- 3mm) or one inch (+/- 1/8”).
Step 4: Adjust Preload
Chances are your sag did not fall within the specifications above. If that’s the case, don’t worry. Use your spanner wrenches to adjust the preload. Loosen up the top nut. This one is effectively a jam nut which prevents the nut below from loosening. If you need more sag, move both nuts up. If you need less, move them both down. However much adjustment you think you need, double it. It will go much quicker this way. Repeat steps 1-4 until you have your sag within the specifications.

Tape Reference Point

Measure from Axle
Ride
Congratulations, you have successfully upgraded your rear shock and you’ve done the bulk of the work all by yourself with a minimal number of tools and hopefully not an excessive amount of swearing. Your bike should handle a variety of bumps much more smoothly and it should be more than happy to obey your direction change inputs. Where I once struggled to get a knee down on my bike I can now drop it easily on virtually any corner of any track. This has provided me with a tremendous amount of confidence to start getting my body further and further off the bike and I have taken huge chunks of time off my laps. I am comfortably in the A group at any track day, even with this relatively slow, 20-year old SV650 on street tires.


Latest Article

Follow Us


Related Posts
